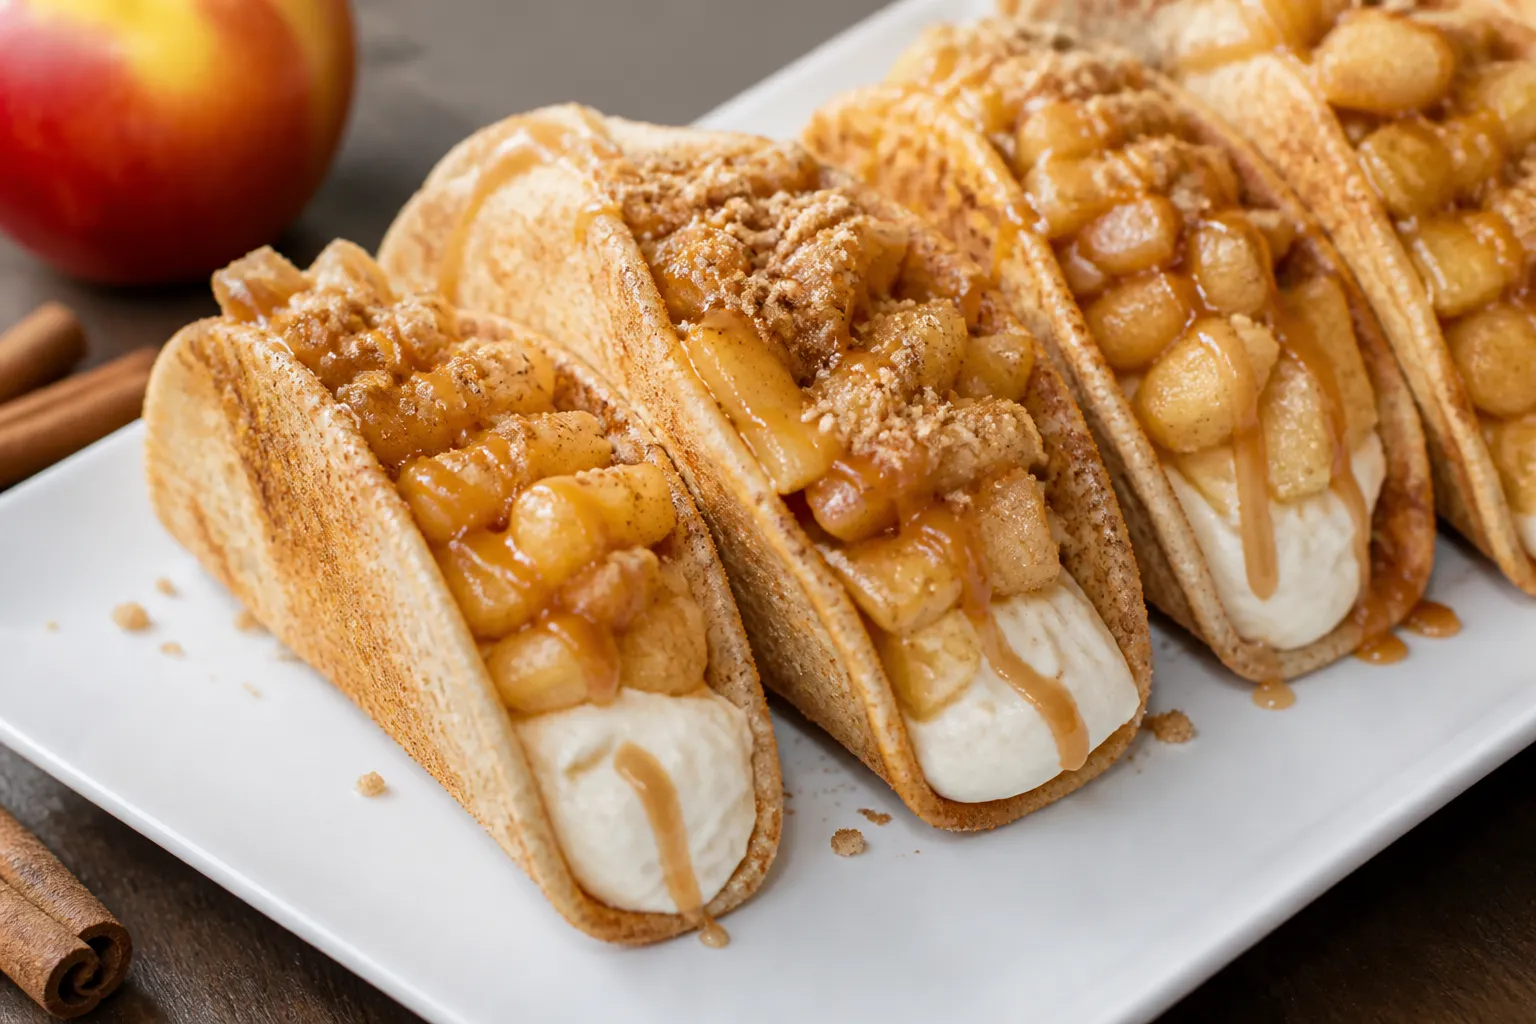
Apple Pie Cheesecake Tacos – A Fun, Cozy Dessert Mash-Up
Apple Pie Cheesecake Tacos are the kind of treat that makes people light up. They’re playful, a little unexpected, and incredibly satisfying. Think crisp, cinnamon-sugar taco shells filled with silky cheesecake cream and warm, spiced apples.
It’s like your favorite fall dessert got dressed up for a party. Great for holidays, potlucks, or a weekend baking project, these tacos look fancy but are easy to make at home.
What Makes This Special
This dessert brings together two comfort classics in a format that’s easy to share. The shells are crunchy and sweet, the cheesecake filling is cool and creamy, and the apple topping is cozy and fragrant.
Each bite hits those contrasting textures in the best way. Plus, you can prep elements ahead and assemble just before serving for peak crunch.
Shopping List
- Small flour tortillas (street taco size) – about 12
- Granulated sugar – for cinnamon-sugar coating
- Ground cinnamon
- Unsalted butter – melted (for brushing shells)
- Cream cheese – 8 oz, softened
- Heavy cream – or whipping cream
- Powdered sugar
- Vanilla extract
- Apples – 3–4 medium (Granny Smith, Honeycrisp, or a mix)
- Brown sugar
- Butter – for sauteing apples
- Lemon juice
- Ground cinnamon and nutmeg
- Cornstarch – optional, to thicken apple mixture
- Pinch of salt
- Optional toppings – caramel sauce, crushed pecans, sea salt
Step-by-Step Instructions
- Prep the cinnamon-sugar. In a shallow bowl, mix 1/2 cup granulated sugar with 2 teaspoons cinnamon. Set aside.
Melt 3–4 tablespoons butter for brushing tortillas.
- Shape the taco shells. Brush both sides of each small tortilla with melted butter. Dredge lightly in the cinnamon-sugar mix. Drape over the rungs of an inverted metal cooling rack or over the bars of your oven rack, so they hang like taco shells.
- Bake the shells. Bake at 375°F (190°C) for 8–10 minutes, until lightly golden and crisp.
Watch closely to avoid scorching. Carefully remove and let them cool so they firm up. (Alternatively, air-fry at 350°F/175°C for 4–6 minutes or shallow-fry and toss in cinnamon sugar.)
- Make the apple pie topping. Peel, core, and dice apples into small cubes. In a skillet, melt 2 tablespoons butter over medium heat.
Add apples, 1/3 cup brown sugar, 1 teaspoon cinnamon, a pinch of nutmeg, a pinch of salt, and 1 tablespoon lemon juice. Cook 6–8 minutes, stirring, until apples are tender but not mushy.
- Thicken if needed. If the apple mixture looks runny, stir 1 teaspoon cornstarch into 1 tablespoon water, then add to the pan. Simmer 1–2 minutes until glossy and thick.
Remove from heat to cool slightly.
- Whip the cheesecake filling. In a mixing bowl, beat 8 oz softened cream cheese with 1/2 cup powdered sugar and 1 teaspoon vanilla until smooth. In a separate bowl, whip 3/4 cup cold heavy cream to soft peaks. Fold whipped cream into the cream cheese mixture until light and fluffy.
- Chill for structure. Transfer the cheesecake mixture to a piping bag (or a zip-top bag with a corner snipped).
Refrigerate 20–30 minutes to help it set, which makes filling the shells easier.
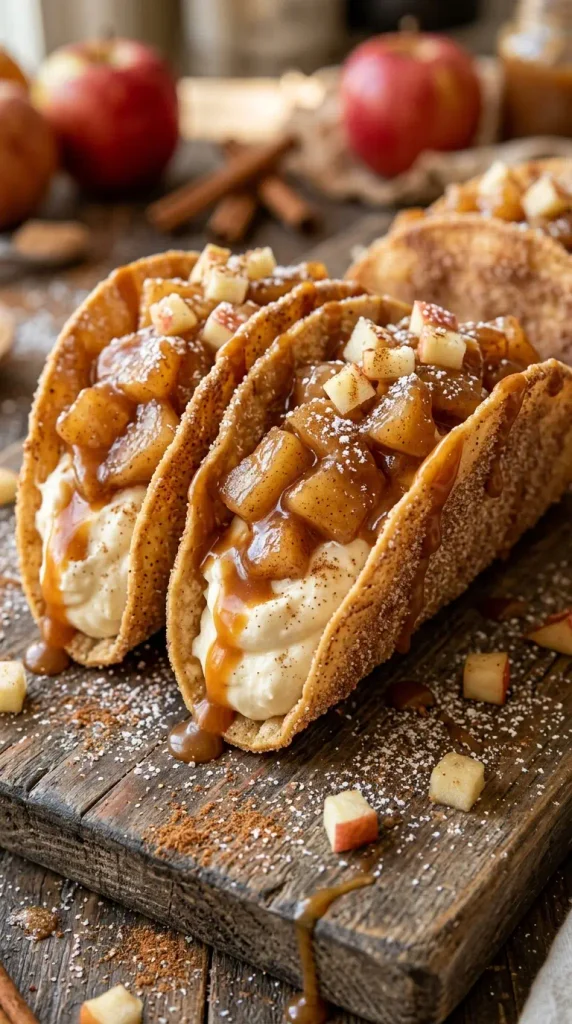
- Assemble the tacos. Pipe a generous ribbon of cheesecake filling into each cooled shell. Spoon warm (not hot) apple topping over the cream. Drizzle with caramel and sprinkle with crushed pecans if you like.
- Serve right away. For the best crunch-to-cream contrast, serve immediately after assembling.
If you need to wait, keep the components separate and assemble just before serving.
Keeping It Fresh
To keep the shells crisp, store them at room temperature in an airtight container with a paper towel inside to absorb moisture. They’ll stay crunchy for about 24–36 hours. Refrigerate the cheesecake filling in a sealed container for up to 3 days.
The apple topping can go in the fridge for 3–4 days; rewarm gently to loosen before serving.
Don’t pre-fill the shells until it’s time to serve. Moisture from the filling and apples softens them quickly. If you need to transport, keep shells, filling, and apples separate and assemble on site.
Benefits of This Recipe
- Make-ahead friendly: Prepare the apples and cheesecake filling in advance; bake shells the day of for maximum crispness.
- Easy to scale: Double or halve the ingredients with no trouble.
- Crowd-pleaser: Familiar flavors, fun presentation, and customizable toppings.
- Flexible cooking methods: Bake, air-fry, or fry the shells depending on your tools and time.
- Great texture contrast: Crunchy, creamy, and tender all in one bite.
What Not to Do
- Don’t overbake the shells. They go from golden to scorched quickly.
Keep an eye on them near the end.
- Don’t skip chilling the filling. Warm filling is runny and will collapse inside the shells.
- Don’t overcook the apples. You want tender pieces that hold their shape, not applesauce.
- Don’t assemble too early. Filling the shells ahead of time guarantees soggy tacos.
- Don’t forget the pinch of salt. It sharpens the sweet flavors and keeps the dessert from tasting flat.
Variations You Can Try
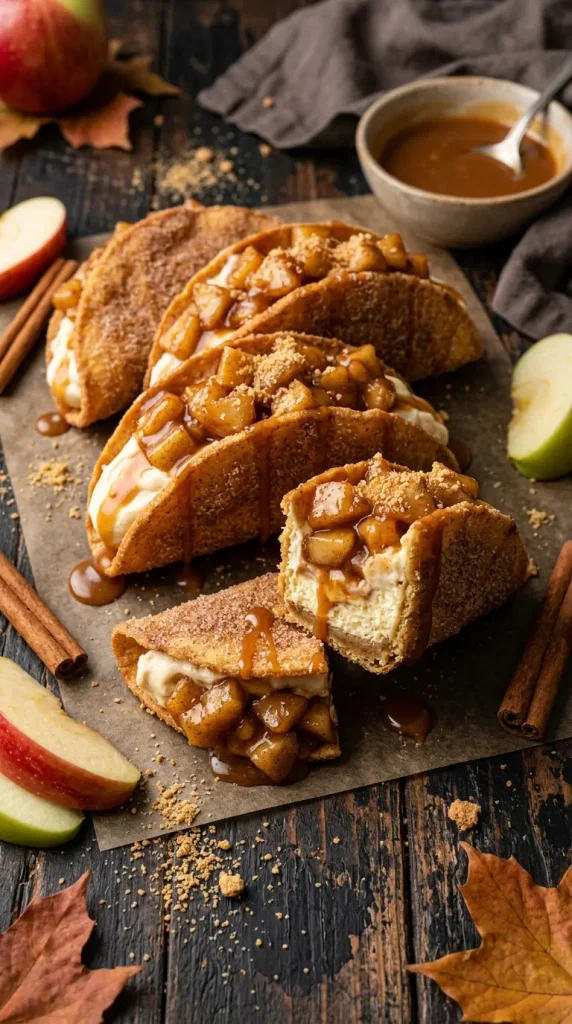
- Graham-dusted shells: Mix crushed graham crackers with cinnamon sugar before coating the tortillas for a “pie crust” vibe.
- Streusel crumble: Top with a quick oat-butter-brown sugar crumble baked until crisp, then sprinkled on the apples.
- Salted caramel: Add a light pinch of flaky sea salt over caramel drizzle for a sweet-salty contrast.
- Spice swap: Try apple pie spice or add cardamom for a fragrant twist.
- Boozy apple: Deglaze the apples with a splash of bourbon or apple brandy after cooking, then simmer 1 minute to cook off alcohol.
- Gluten-free: Use small gluten-free tortillas or press small circles of gluten-free pie dough, bake in molds, and coat with cinnamon sugar.
- No-bake shells: Use stroopwafels, pizzelles, or store-bought waffle cones cut into “taco” shapes as a shortcut.
- Lighter filling: Swap half the cream cheese with Greek yogurt and adjust sweetness to taste.
FAQ
Can I make the shells ahead?
Yes. Bake them up to a day ahead and store airtight with a paper towel inside. Refresh in a 300°F (150°C) oven for 3–4 minutes if they start to soften.
What apples work best?
Use a mix for balanced flavor and texture.
Granny Smith brings tartness and shape; Honeycrisp or Fuji add sweetness and juiciness. Avoid very soft apples that break down quickly.
Can I use canned apple pie filling?
You can. Warm it gently and add a squeeze of lemon and a pinch of salt to brighten the flavor.
Fresh-cooked apples taste brighter, but canned works in a pinch.
How do I keep the shells from sliding off the rack while baking?
Make sure tortillas are evenly balanced over the bars and not overloaded with butter. You can also flip a muffin tin upside down and drape tortillas between the cups to hold their shape.
What if I don’t have heavy cream?
Use whipped topping as a shortcut, or make a denser no-whip cheesecake filling by beating cream cheese with a little milk and powdered sugar until smooth. The texture will be thicker and less airy.
Can I fry the shells instead of baking?
Yes.
Fry tortillas in 350°F (175°C) oil for 30–45 seconds per side, using tongs to fold into a taco shape. Drain, then immediately toss in cinnamon sugar. They’ll be extra crisp and indulgent.
How do I prevent soggy bottoms?
Let the apple topping cool slightly so steam doesn’t soften the shells.
Fill shells right before serving, and avoid excess syrup—use a slotted spoon to scoop apples.
What’s the best way to transport them?
Keep each component separate in airtight containers. Pack the shells in a rigid container, the filling in a chilled bag, and the apples in a leak-proof container. Assemble on site.
Final Thoughts
Apple Pie Cheesecake Tacos are simple, fun, and guaranteed to impress.
With crisp cinnamon shells, creamy filling, and warm apples, they’re a dessert that feels both comforting and festive. Prep ahead, assemble to order, and watch them disappear. Whether it’s a holiday spread or a casual get-together, this mash-up earns a spot on your dessert table.
Printable Recipe Card
Want just the essential recipe details without scrolling through the article? Get our printable recipe card with just the ingredients and instructions.