Red Velvet Cupcake – Soft, Vibrant, and Perfectly Tangy
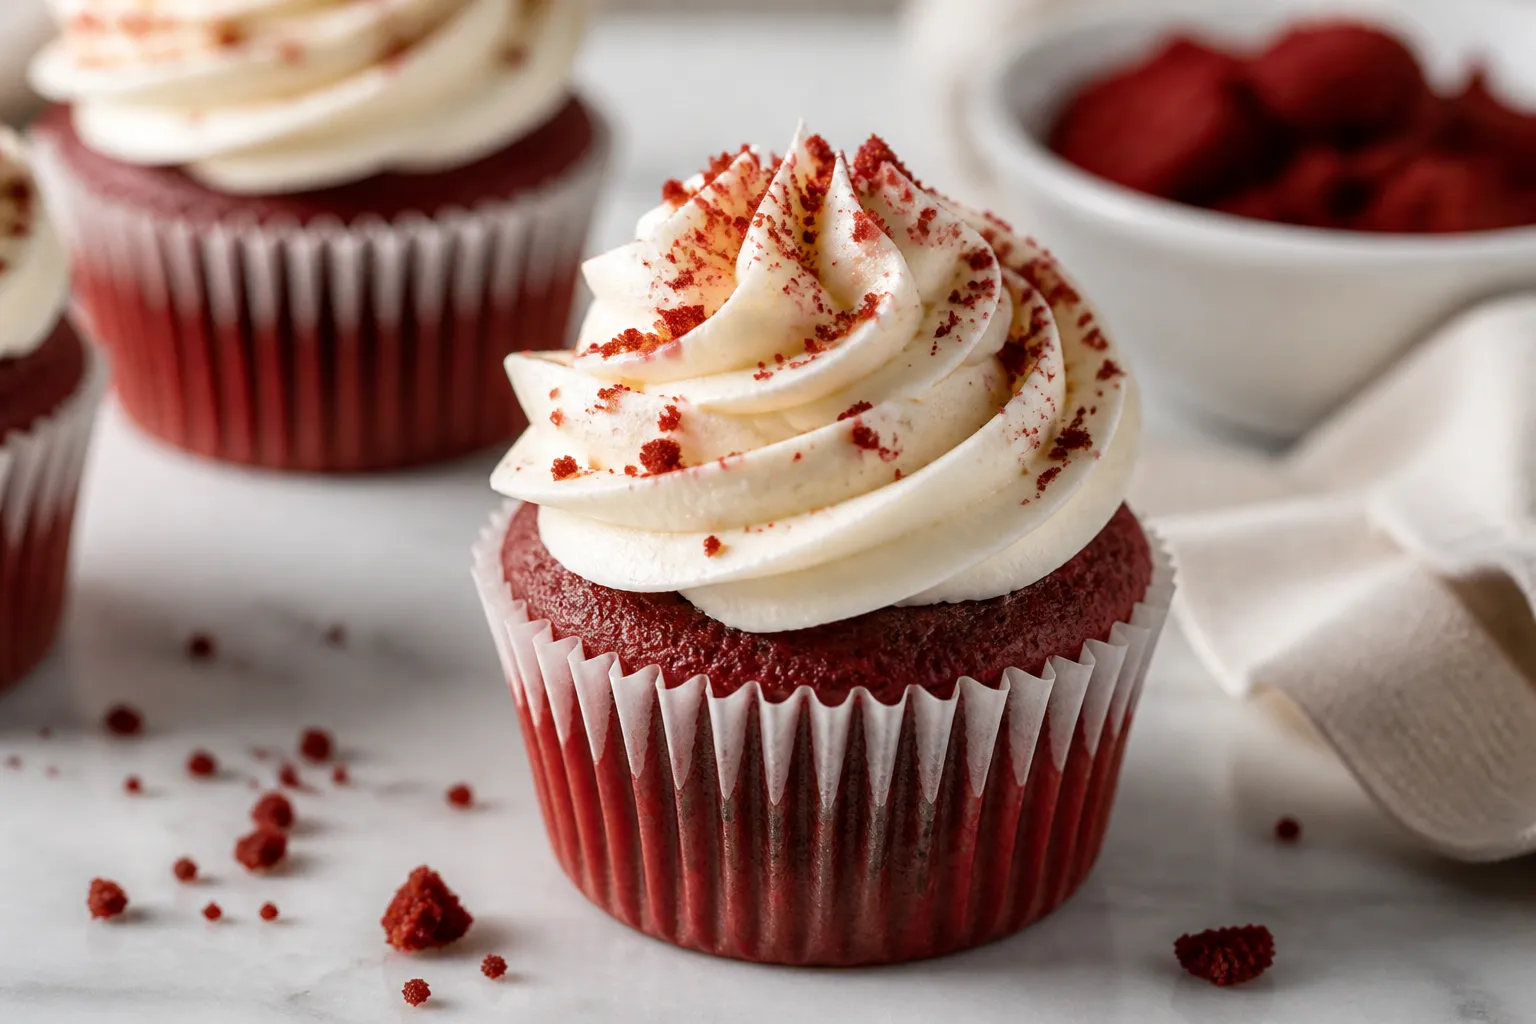
Red velvet cupcakes bring together a tender crumb, a hint of cocoa, and that signature tang that keeps you reaching for another bite. They look festive, taste luxurious, and still feel approachable enough for a weeknight bake. If you love a balance of sweet and slightly tart with a creamy finish, these will hit the spot.
The best part? They’re simple to make and even easier to decorate, whether you’re hosting or just treating yourself.
What Makes This Special

Red velvet cupcakes are more than just a pretty color. The magic comes from a mix of cocoa, buttermilk, and vinegar, which creates a soft, moist texture and a gentle tang.
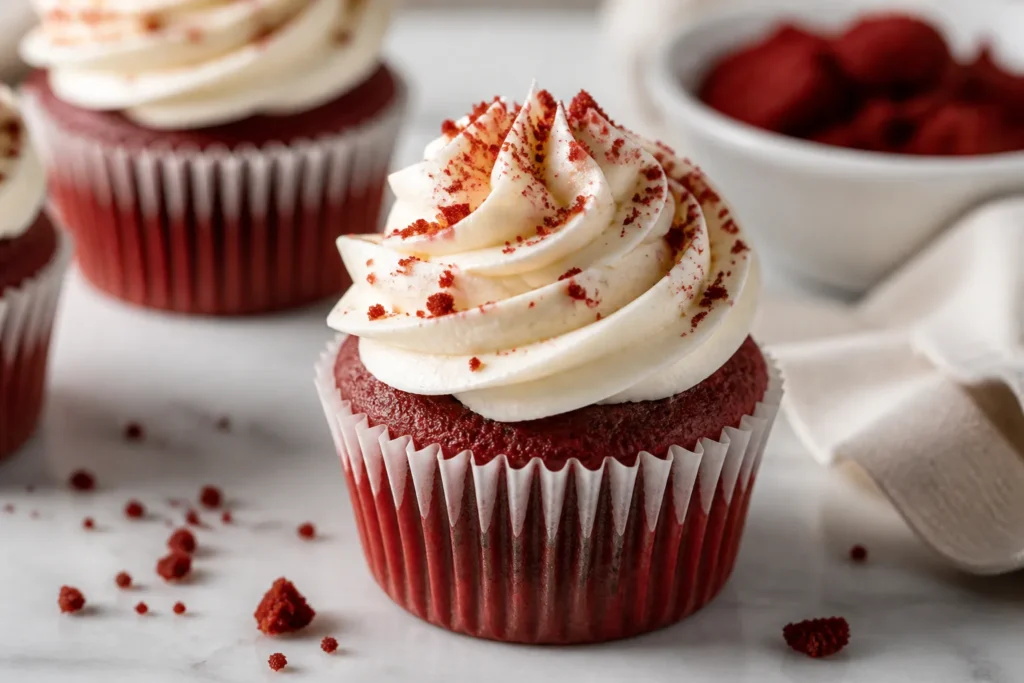
They’re topped with cream cheese frosting, which adds a smooth, slightly tangy finish that complements the cake. These cupcakes also hold their shape well and stay tender for days, making them great for parties and gifting.
Ingredients
- For the cupcakes:
- 1 1/2 cups (190 g) all-purpose flour
- 3 tablespoons unsweetened cocoa powder (natural, not Dutch-processed)
- 1 teaspoon baking soda
- 1/2 teaspoon fine salt
- 3/4 cup (150 g) granulated sugar
- 1/2 cup (100 g) light brown sugar, packed
- 1/2 cup (115 g) unsalted butter, softened
- 2 large eggs, at room temperature
- 1 teaspoon vanilla extract
- 3/4 cup (180 ml) buttermilk, at room temperature
- 2 teaspoons white vinegar or apple cider vinegar
- 1 to 1 1/2 tablespoons red liquid food coloring (gel works too; adjust for vibrancy)
- For the cream cheese frosting:
- 8 oz (225 g) cream cheese, softened
- 1/2 cup (115 g) unsalted butter, softened
- 2 1/2 to 3 cups (300–360 g) powdered sugar, sifted
- 1 teaspoon vanilla extract
- Pinch of salt
- Optional toppings:
- Red velvet crumbs for garnish
- Fresh berries
- White chocolate shavings
Instructions

- Prep your tools and oven. Line a 12-cup muffin pan with paper liners. Preheat the oven to 350°F (175°C).
Make sure your eggs, butter, and buttermilk are at room temperature for a smoother batter.
- Whisk the dry ingredients. In a medium bowl, whisk flour, cocoa powder, baking soda, and salt. Set aside. This step helps prevent lumps and ensures even mixing.
- Cream the butter and sugars. In a large bowl, beat the softened butter with granulated and brown sugars until light and fluffy, about 2–3 minutes.
This traps air and helps create a soft crumb.
- Add eggs and vanilla. Beat in the eggs one at a time, mixing well after each addition. Stir in the vanilla. Scrape the bowl so everything blends evenly.
- Color the buttermilk. In a small cup, stir the food coloring into the buttermilk until evenly tinted.
This prevents streaks in the batter and makes the color more uniform.
- Combine wet and dry in stages. Add one-third of the dry mixture to the butter mixture, then half the colored buttermilk. Repeat, ending with the dry mixture. Mix on low just until combined. Do not overmix or the cupcakes can turn tough.
- Activate with vinegar. Stir the vinegar into the batter.
You may see a light fizz as it reacts with the baking soda—this helps with lift and tenderness.
- Fill and bake. Divide the batter evenly among the liners, filling each about two-thirds full. Bake for 16–20 minutes, or until a toothpick inserted in the center comes out clean or with a few moist crumbs.
- Cool completely. Let the cupcakes cool in the pan for 5 minutes, then transfer to a wire rack to cool fully. Don’t frost warm cupcakes or the frosting will melt.
- Make the frosting. Beat the cream cheese and butter together until smooth and creamy, 2–3 minutes. Add vanilla and salt.
Gradually add powdered sugar, beating on low until incorporated, then on medium until fluffy. Adjust sugar to reach a pipeable but soft texture.
- Frost and garnish. Spread or pipe the frosting onto cooled cupcakes. Finish with red velvet crumbs, berries, or white chocolate shavings if you like.
Keeping It Fresh
These cupcakes stay soft for a couple of days when stored properly.
Keep them in an airtight container in the fridge for up to 4 days. Let them sit at room temperature for 20–30 minutes before serving so the frosting softens and the flavors bloom. For longer storage, freeze unfrosted cupcakes for up to 2 months, then thaw and frost fresh.
Why This is Good for You
This recipe focuses on balance and portion-friendly treats. Real buttermilk brings natural acidity, which helps create a tender texture without needing excessive fat. Cocoa powder adds a touch of chocolate flavor along with antioxidants, while cream cheese provides satisfying richness so a small cupcake feels indulgent.
And because these are single-serve, it’s easier to enjoy a sweet moment without overdoing it.
Common Mistakes to Avoid
- Overmixing the batter: This can make cupcakes dense. Mix just until you don’t see dry streaks.
- Using Dutch-processed cocoa: It can throw off the rise and flavor. Use natural cocoa for the classic red velvet tang.
- Cold ingredients: Cold eggs and butter don’t blend well and can make the batter curdle.
Bring them to room temp.
- Overbaking: A few extra minutes can dry them out. Start checking at 16 minutes.
- Frosting too warm cupcakes: It slides right off. Always cool completely before decorating.
- Too much food coloring: It can taste bitter.
Start with less and build up if needed, especially with gel colors.
Alternatives
- No buttermilk? Use 3/4 cup milk mixed with 2 teaspoons lemon juice or vinegar. Let it sit 5 minutes before using.
- Gel food coloring: More concentrated than liquid. Start with 1/2 teaspoon and adjust to your preferred shade.
- Natural coloring: Beet powder or puree can add color with a mild earthy note.
Use 1–2 tablespoons beet powder or 2–3 tablespoons strained puree and slightly reduce buttermilk.
- Gluten-free: Swap an all-purpose 1:1 gluten-free flour blend that includes xanthan gum. Let the batter rest 10 minutes before baking to hydrate.
- Dairy-free: Use a plant-based butter and cream cheese, and replace buttermilk with almond milk plus 2 teaspoons vinegar. Expect a slightly different texture but still delicious results.
- Different frosting: If you prefer less tang, try vanilla buttercream or whipped cream cheese frosting with lighter sweetness.
FAQ
Can I make these ahead?
Yes.
Bake the cupcakes a day ahead and store them covered at room temperature if unfrosted. Frost the day you plan to serve. For longer storage, freeze unfrosted cupcakes and thaw overnight in the fridge.
Why did my cupcakes turn brown instead of red?
Likely not enough food coloring or you used Dutch-processed cocoa.
Natural cocoa and sufficient coloring produce that classic red hue. Also, avoid overbaking, which can dull the color.
How do I get bakery-style domes?
Fill liners two-thirds full and bake at a consistent 350°F (175°C). Make sure your baking soda is fresh.
Cream the butter and sugars well, and don’t overmix after adding the flour.
Can I make mini cupcakes?
Absolutely. Fill mini liners about halfway and bake 9–12 minutes. Keep a close eye on them—mini cupcakes go from done to dry quickly.
What piping tip works best for cream cheese frosting?
A large open star (like 1M) or a round tip (like 2A) works well.
If your frosting is soft, chill it for 15–20 minutes before piping to help it hold shape.
Is there a way to reduce the sweetness?
Use less powdered sugar in the frosting (start with 2 cups and add to taste). A pinch of salt and a touch of lemon juice can balance sweetness without making the frosting runny.
Wrapping Up
Red velvet cupcakes are a sweet spot between classic chocolate and vanilla, with a vibrant look and gentle tang that feels special every time. With a few simple steps and reliable ingredients, you’ll get tender cakes and silky frosting that impress without stress.
Keep this recipe handy for birthdays, holidays, or any day you want something that looks—and tastes—like a celebration.
Red Velvet Cupcake - Soft, Vibrant, and Perfectly Tangy
Ingredients
- For the cupcakes:
- 1 1/2 cups (190 g) all-purpose flour
- 3 tablespoons unsweetened cocoa powder (natural, not Dutch-processed)
- 1 teaspoon baking soda
- 1/2 teaspoon fine salt
- 3/4 cup (150 g) granulated sugar
- 1/2 cup (100 g) light brown sugar, packed
- 1/2 cup (115 g) unsalted butter, softened
- 2 large eggs, at room temperature
- 1 teaspoon vanilla extract
- 3/4 cup (180 ml) buttermilk, at room temperature
- 2 teaspoons white vinegar or apple cider vinegar
- 1 to 1 1/2 tablespoons red liquid food coloring (gel works too; adjust for vibrancy)
- For the cream cheese frosting:
- 8 oz (225 g) cream cheese, softened
- 1/2 cup (115 g) unsalted butter, softened
- 2 1/2 to 3 cups (300–360 g) powdered sugar, sifted
- 1 teaspoon vanilla extract
- Pinch of salt
- Optional toppings:
- Red velvet crumbs for garnish
- Fresh berries
- White chocolate shavings
Method
- Prep your tools and oven. Line a 12-cup muffin pan with paper liners. Preheat the oven to 350°F (175°C). Make sure your eggs, butter, and buttermilk are at room temperature for a smoother batter.
- Whisk the dry ingredients. In a medium bowl, whisk flour, cocoa powder, baking soda, and salt. Set aside. This step helps prevent lumps and ensures even mixing.
- Cream the butter and sugars. In a large bowl, beat the softened butter with granulated and brown sugars until light and fluffy, about 2–3 minutes. This traps air and helps create a soft crumb.
- Add eggs and vanilla. Beat in the eggs one at a time, mixing well after each addition. Stir in the vanilla. Scrape the bowl so everything blends evenly.
- Color the buttermilk. In a small cup, stir the food coloring into the buttermilk until evenly tinted. This prevents streaks in the batter and makes the color more uniform.
- Combine wet and dry in stages. Add one-third of the dry mixture to the butter mixture, then half the colored buttermilk. Repeat, ending with the dry mixture. Mix on low just until combined. Do not overmix or the cupcakes can turn tough.
- Activate with vinegar. Stir the vinegar into the batter. You may see a light fizz as it reacts with the baking soda—this helps with lift and tenderness.
- Fill and bake. Divide the batter evenly among the liners, filling each about two-thirds full. Bake for 16–20 minutes, or until a toothpick inserted in the center comes out clean or with a few moist crumbs.
- Cool completely. Let the cupcakes cool in the pan for 5 minutes, then transfer to a wire rack to cool fully. Don’t frost warm cupcakes or the frosting will melt.
- Make the frosting. Beat the cream cheese and butter together until smooth and creamy, 2–3 minutes. Add vanilla and salt. Gradually add powdered sugar, beating on low until incorporated, then on medium until fluffy. Adjust sugar to reach a pipeable but soft texture.
- Frost and garnish. Spread or pipe the frosting onto cooled cupcakes. Finish with red velvet crumbs, berries, or white chocolate shavings if you like.
Let us know how it was! ♡