S’mores Chocolate Chip Cookies – Chewy, Gooey, and Campfire-Inspired
There’s something about s’mores that sparks instant nostalgia. Toasty marshmallows, melty chocolate, and a hint of graham—these flavors just feel like summer nights. Now imagine all of that wrapped into a warm, chewy chocolate chip cookie.
These S’mores Chocolate Chip Cookies deliver that campfire magic without the smoke. They’re fun to make, even more fun to eat, and perfect for sharing.
What Makes This Recipe So Good
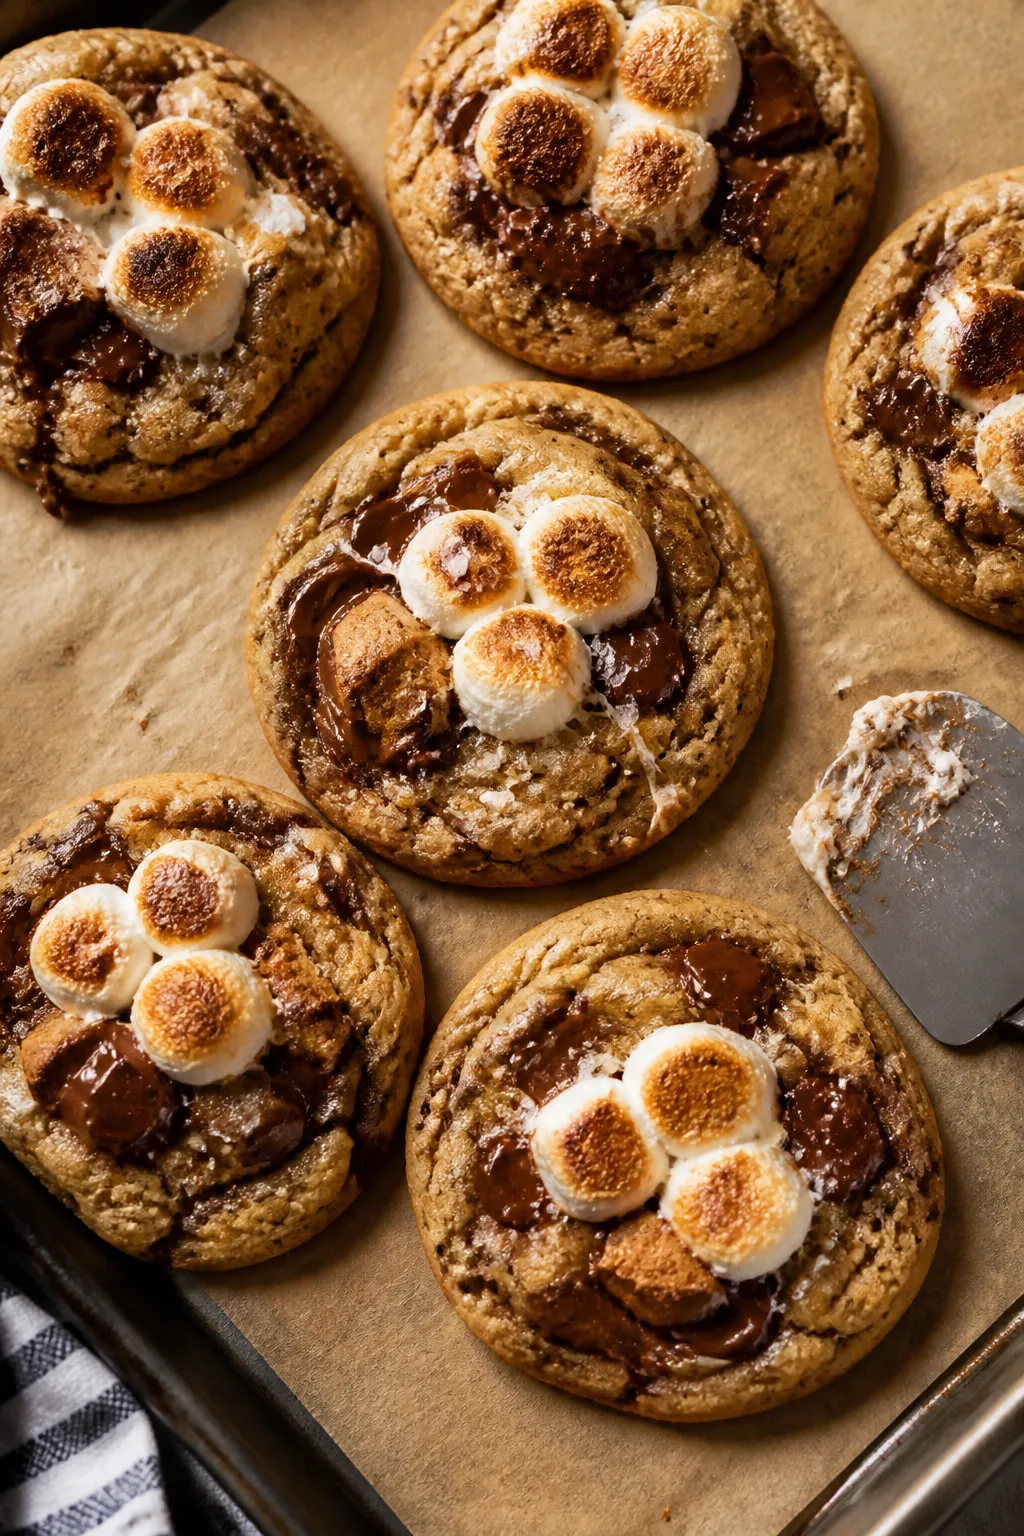
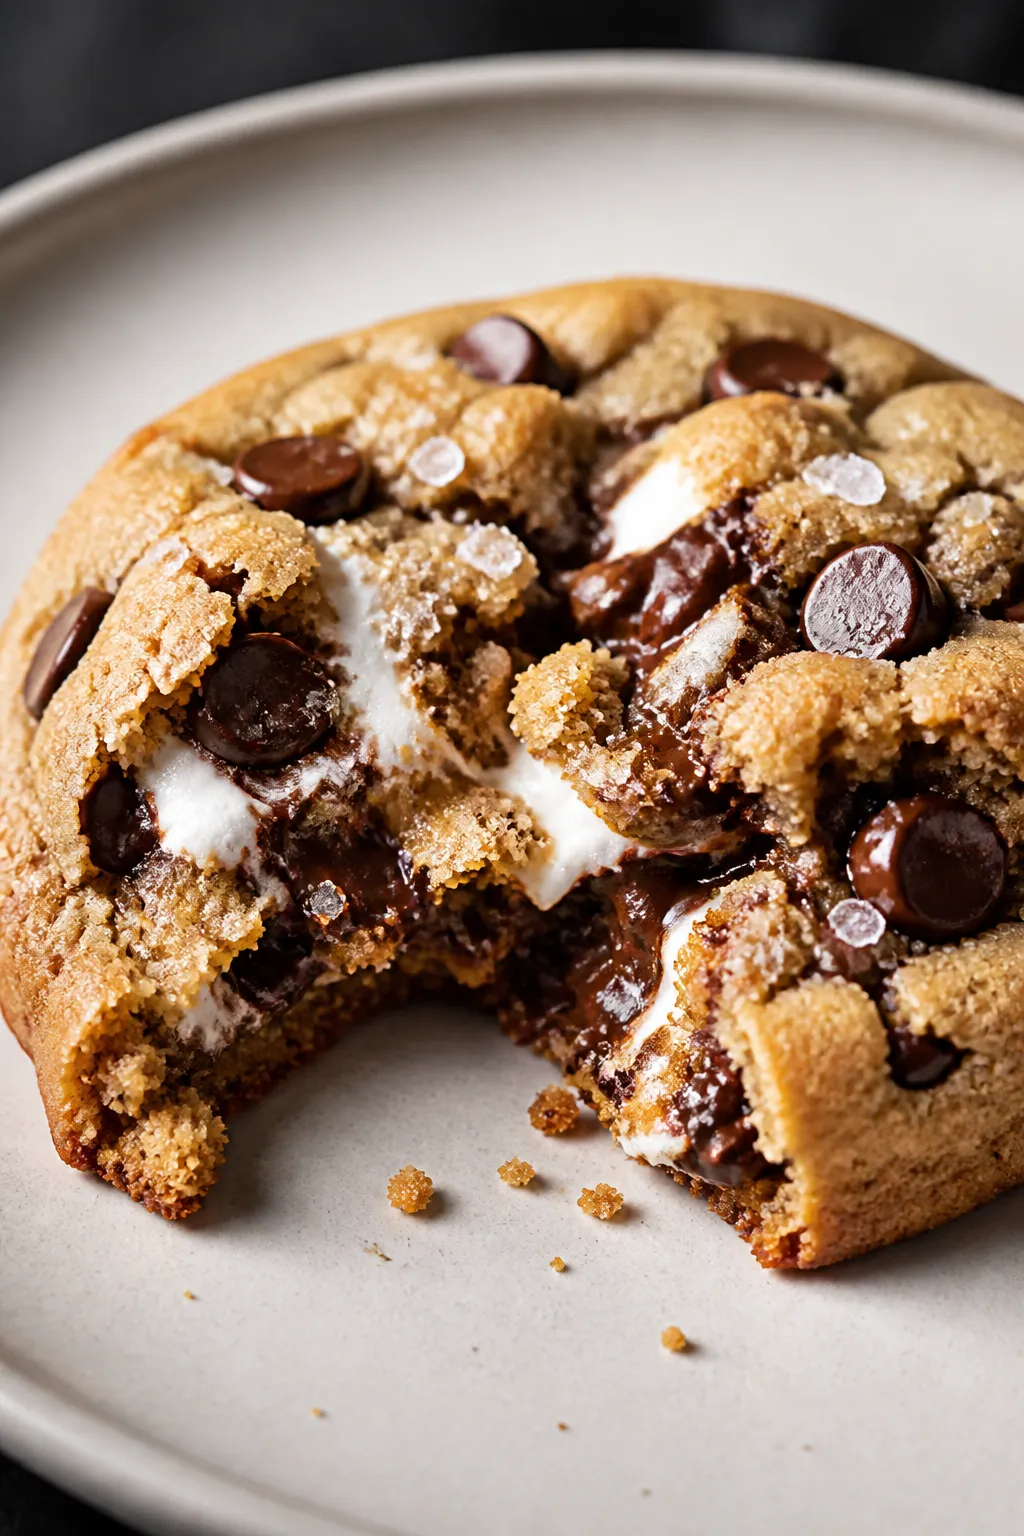
These cookies are the best parts of a s’more and a classic chocolate chip cookie combined. You get golden edges, soft centers, and gooey marshmallow pockets in every bite.
Crushed graham crackers add a light crunch and a buttery, toasty flavor that balances the sweetness.
They’re also easy to make with pantry staples. No fancy equipment, no long chill times, and no complicated steps. Just mix, scoop, top with mini marshmallows, and bake.
They’re crowd-pleasers for birthdays, BBQs, and cozy nights at home.
Shopping List
- All-purpose flour – the base for structure
- Baking soda
- Fine sea salt
- Unsalted butter – softened to room temperature
- Granulated sugar
- Light brown sugar – packed
- Large eggs
- Vanilla extract
- Graham crackers – roughly crushed, not powdered
- Chocolate chips – semisweet or milk, or a mix
- Mini marshmallows
- Flaky sea salt (optional, for finishing)
Instructions
- Preheat the oven to 350°F (175°C). Line two baking sheets with parchment paper or silicone baking mats.
- In a medium bowl, whisk together 2 3/4 cups all-purpose flour, 1 teaspoon baking soda, and 3/4 teaspoon fine sea salt. Set aside.
- In a large mixing bowl, beat 1 cup (2 sticks) unsalted butter, softened with 3/4 cup granulated sugar and 1 cup packed light brown sugar until light and creamy, about 2–3 minutes.
Use a hand mixer or stand mixer on medium speed.
- Add 2 large eggs, one at a time, beating well after each addition. Mix in 2 teaspoons vanilla extract until smooth.
- On low speed, add the dry ingredients to the wet ingredients and mix just until combined. Don’t overmix.
- Fold in 1 1/2 cups chocolate chips and 1 cup roughly crushed graham crackers.
You want the graham pieces to be small chunks, not crumbs, for better texture.
- Scoop dough into balls, about 2 tablespoons each (a medium cookie scoop works great). Place them 2 inches apart on the prepared sheets.
- Press 3–4 mini marshmallows gently into the top of each dough ball. Don’t bury them—leaving them on top helps prevent melting messes.
- Bake for 9–11 minutes, or until the edges are set and lightly golden but the centers still look slightly soft.
If the marshmallows get too toasty, tent loosely with foil for the last minute.
- Right out of the oven, use a spatula to nudge any runaway marshmallow back onto the cookie. If you like, add a few extra chocolate chips and a pinch of flaky sea salt on top for a bakery look and balanced flavor.
- Let cookies cool on the baking sheet for 5–7 minutes, then transfer to a wire rack to cool completely—or enjoy warm for maximum gooeyness.
Keeping It Fresh
Store cooled cookies in an airtight container at room temperature for 3–4 days. To keep them extra soft, tuck a slice of sandwich bread into the container.
The cookies absorb the moisture and stay tender.
For longer storage, freeze the baked cookies in a zip-top bag for up to 2 months. Rewarm in a 300°F oven for 4–5 minutes or microwave for 10–12 seconds to bring back the gooey texture.
You can also freeze the dough. Scoop into balls, freeze on a tray until solid, then store in a freezer bag.
Bake from frozen at 350°F, adding 1–2 extra minutes.
Benefits of This Recipe
- Familiar flavors, fun twist: Combines a favorite campfire treat with a classic cookie.
- Beginner-friendly: Simple steps, no chilling required.
- Flexible ingredients: Works with different chocolate types and add-ins.
- Great for sharing: Crowd-pleasing and photogenic—those marshmallow tops are a showstopper.
- Make-ahead friendly: Dough and baked cookies both freeze well.
Common Mistakes to Avoid
- Overmixing the dough: This makes cookies tough. Mix just until the flour disappears.
- Hiding the marshmallows inside: They can melt out and create holes. Keep them mostly on top.
- Overbaking: Pull them when the centers look slightly underdone.
They’ll finish setting on the sheet.
- Using graham cracker dust: You want small chunks for texture; too fine and you’ll lose that s’mores bite.
- Skipping salt: A pinch of flaky sea salt on top balances the sweetness and boosts flavor.
Variations You Can Try
- Chocolate medley: Swap in half milk chocolate chips and half dark chocolate chunks for depth.
- Peanut butter twist: Add 1/2 cup peanut butter chips or swirl 2 tablespoons warmed peanut butter into the dough.
- Cookies-and-cream s’mores: Stir in chopped chocolate sandwich cookies with the graham crackers.
- Toasted marshmallow finish: After baking, add one extra mini marshmallow on top and briefly torch it for a campfire look.
- Skillet style: Press the dough into a greased 10-inch oven-safe skillet. Bake 18–22 minutes and serve warm with spoons.
- Gluten-free: Use a 1:1 gluten-free flour blend and gluten-free graham crackers. Check your chocolate chips too.
FAQ
Can I make these cookies smaller or larger?
Yes.
For smaller cookies, use 1 tablespoon of dough and bake 7–9 minutes. For bakery-size cookies, use 3 tablespoons and bake 11–13 minutes. Watch the edges for doneness and keep marshmallows on top to prevent excessive melting.
Do I have to use mini marshmallows?
Mini marshmallows work best because they melt evenly and stay put on top.
If you only have regular marshmallows, snip them into small pieces with kitchen scissors lightly coated in oil to reduce sticking.
Why did my marshmallows melt out onto the pan?
They were likely tucked inside the dough or placed on the edges. Press them gently onto the top center, and don’t overbake. If they slide, reshape the cookies with a spatula right after baking.
Can I use marshmallow creme instead?
Marshmallow creme spreads too much in the oven and can make the cookies messy.
Stick with mini marshmallows for the best texture and look.
What kind of chocolate is best?
Semisweet chips are a safe bet, but a mix of semisweet and milk chocolate gives a classic s’mores vibe. Chopped chocolate bars create puddles of melty chocolate if you prefer a more decadent cookie.
Do I need to chill the dough?
Not required. The recipe is designed to bake right away.
If your kitchen is very warm or you want thicker cookies, chill the dough for 20–30 minutes to reduce spread.
How do I keep the cookies soft the next day?
Store them in an airtight container with a slice of bread. The cookies will draw in moisture from the bread and stay tender. Avoid leaving them uncovered, which dries them out.
Can I make them nut-free?
Absolutely.
The base recipe contains no nuts. Just confirm your chocolate chips and graham crackers are made in a nut-free facility if allergies are a concern.
Final Thoughts
These S’mores Chocolate Chip Cookies bring all the campfire comfort in a simple, homemade treat. They’re gooey, chocolatey, and just the right amount of toasty.
Keep a batch in the freezer, bake them for last-minute guests, or make them on a quiet afternoon when you want something nostalgic. One bite, and you’ll see why this mash-up never lasts long on the cookie plate.
Ingredients
Method
- Preheat the oven to 350°F (175°C). Line two baking sheets with parchment paper or silicone baking mats.
- In a medium bowl, whisk together 2 3/4 cups all-purpose flour, 1 teaspoon baking soda, and 3/4 teaspoon fine sea salt. Set aside.
- In a large mixing bowl, beat 1 cup (2 sticks) unsalted butter, softened with 3/4 cup granulated sugar and 1 cup packed light brown sugar until light and creamy, about 2–3 minutes. Use a hand mixer or stand mixer on medium speed.
- Add 2 large eggs, one at a time, beating well after each addition. Mix in 2 teaspoons vanilla extract until smooth.
- On low speed, add the dry ingredients to the wet ingredients and mix just until combined. Don’t overmix.
- Fold in 1 1/2 cups chocolate chips and 1 cup roughly crushed graham crackers. You want the graham pieces to be small chunks, not crumbs, for better texture.
- Scoop dough into balls, about 2 tablespoons each (a medium cookie scoop works great). Place them 2 inches apart on the prepared sheets.
- Press 3–4 mini marshmallows gently into the top of each dough ball. Don’t bury them—leaving them on top helps prevent melting messes.
- Bake for 9–11 minutes, or until the edges are set and lightly golden but the centers still look slightly soft. If the marshmallows get too toasty, tent loosely with foil for the last minute.
- Right out of the oven, use a spatula to nudge any runaway marshmallow back onto the cookie. If you like, add a few extra chocolate chips and a pinch of flaky sea salt on top for a bakery look and balanced flavor.
- Let cookies cool on the baking sheet for 5–7 minutes, then transfer to a wire rack to cool completely—or enjoy warm for maximum gooeyness.
Printable Recipe Card
Want just the essential recipe details without scrolling through the article? Get our printable recipe card with just the ingredients and instructions.