5 Ingredient Granola Bars – Simple, Chewy, and Satisfying
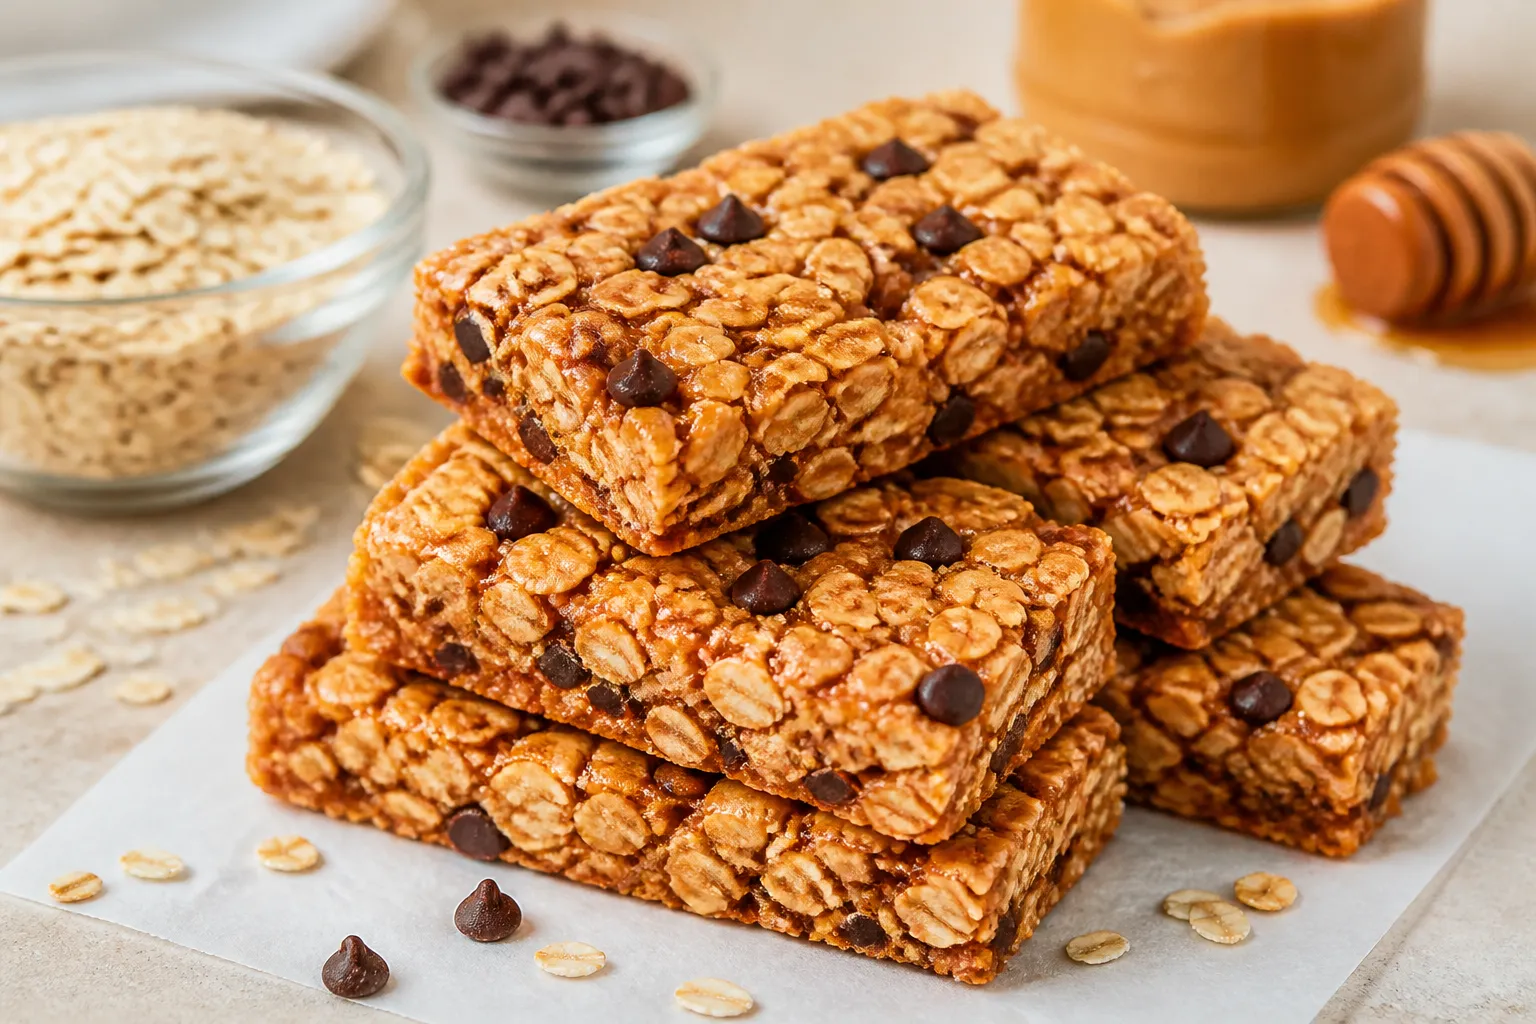
These bars are for the days when you want something wholesome without a lot of fuss. Five real ingredients, a bowl, a pan, and you’re set. They’re chewy, lightly sweet, and hold together beautifully—no crumbles everywhere.
Make them on a Sunday and you’ve got grab-and-go breakfasts or after-school snacks for the week. They’re also easy to customize, so you can keep things classic or switch it up with what you have on hand.
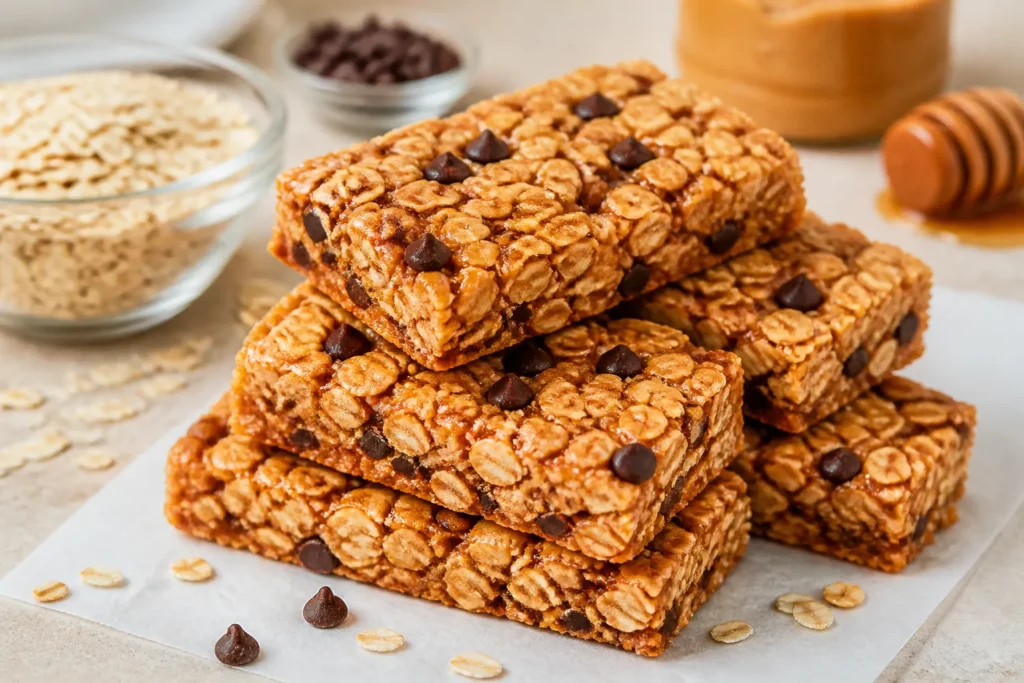
What Makes This Recipe So Good
- Only five ingredients: Nothing extra, nothing strange. Just pantry staples that taste good together.
- No-bake option: Press and chill for soft, chewy bars.
Or bake for a toasty edge and a slightly firmer bite.
- Budget-friendly: Oats, peanut butter, honey, and a couple mix-ins—simple and affordable.
- Customizable: Swap the nut butter, change the sweetener, or add spices and seeds. It still works.
- Meal prep gold: They store well and travel well, making snack time a no-brainer.
Ingredients
- 2 1/2 cups old-fashioned rolled oats (not quick oats or steel-cut)
- 1/2 cup creamy peanut butter (or another nut/seed butter)
- 1/2 cup honey (or pure maple syrup)
- 1/2 cup chopped nuts or seeds (almonds, walnuts, sunflower seeds, or a mix)
- 1/2 cup mini chocolate chips (or dried fruit like cranberries or raisins)
- Pinch of salt (optional, but it brightens the flavor)
- 1/2 teaspoon vanilla extract (optional, but recommended)
How to Make It
- Line your pan: Use an 8×8-inch pan lined with parchment, leaving an overhang for easy lifting. Lightly grease the parchment so nothing sticks.
- Warm the binder: In a small pot over low heat, gently warm the peanut butter and honey until loose and smooth, 1–2 minutes.
Stir in the vanilla and a pinch of salt. Don’t let it simmer; you just want it pourable.
- Mix the dry: In a large bowl, combine the oats and chopped nuts/seeds. If you’re using dried fruit instead of chocolate, add it here.
- Combine: Pour the warm peanut butter-honey mixture over the oat mixture.
Stir until every oat is coated and the mix looks evenly sticky.
- Add chocolate last: Let the mixture cool for 2–3 minutes so the chocolate won’t melt completely. Fold in the chocolate chips.
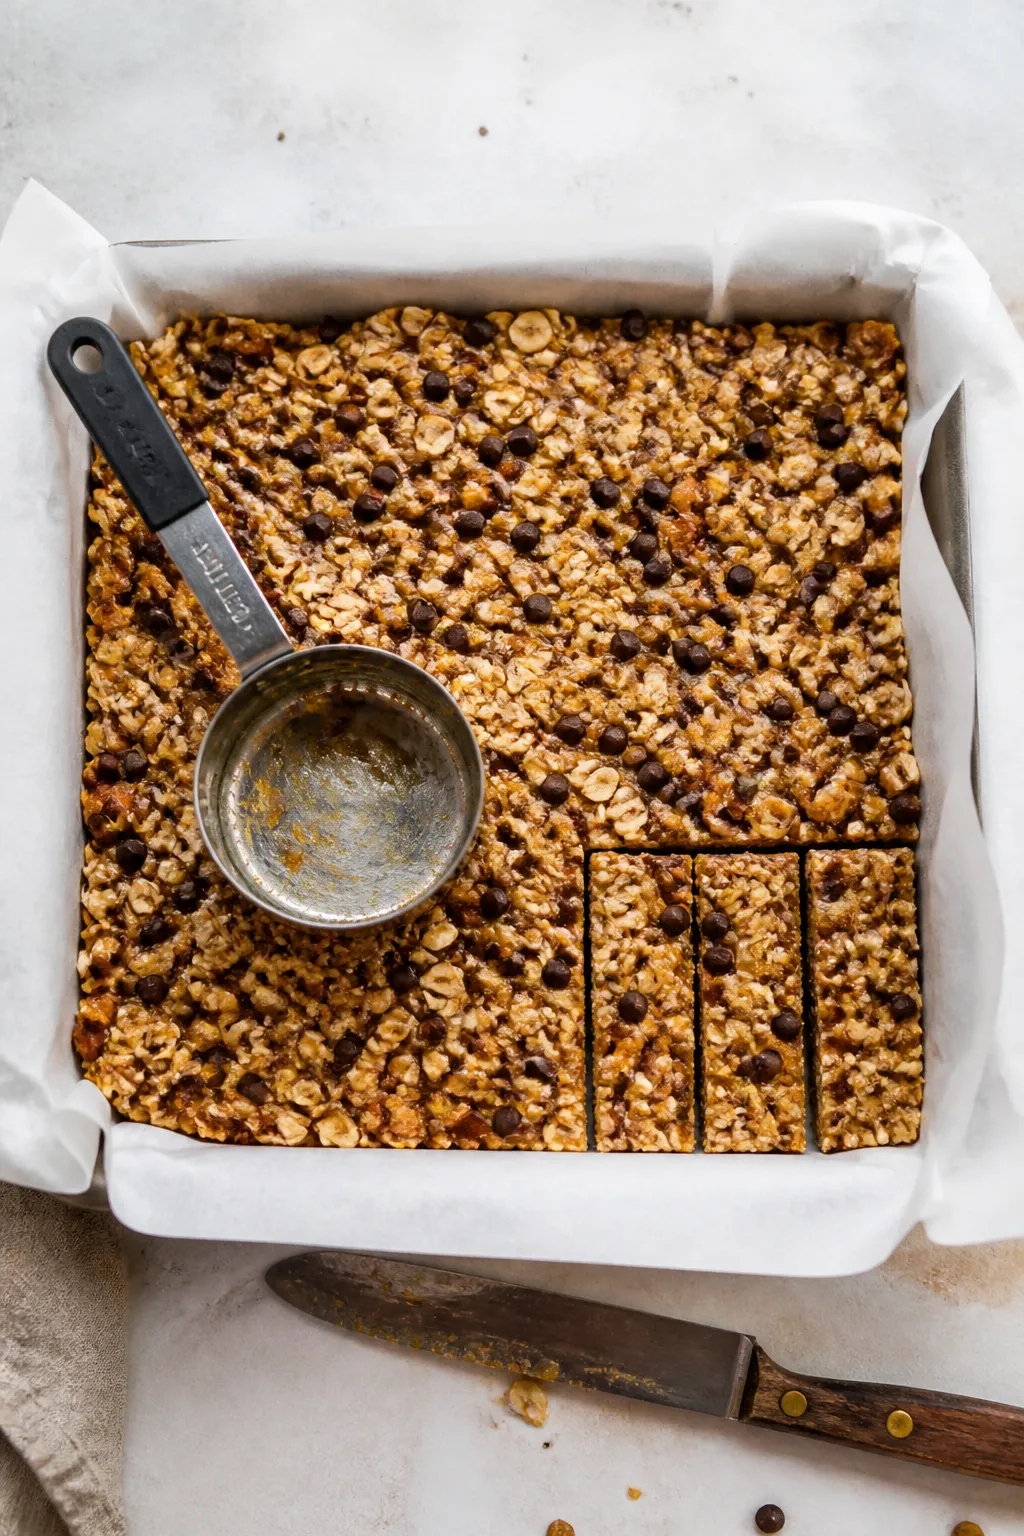
- Press firmly: Transfer the mixture to the lined pan. Press it down very firmly with a spatula or the bottom of a measuring cup.
The tighter you pack it, the better the bars hold.
- Choose your finish: For no-bake bars, chill for 1–2 hours until set. For a firmer, lightly toasted bar, bake at 325°F (163°C) for 12–15 minutes, then cool completely.
- Slice: Lift the slab out using the parchment overhang. Use a sharp knife to cut into 10–12 bars.
Wipe the knife between cuts for clean edges.
How to Store
- Room temperature: Keep in an airtight container for up to 3 days. Separate layers with parchment to prevent sticking.
- Refrigerator: Store for up to 10 days for the best texture and freshness. They’ll be firmer straight from the fridge.
- Freezer: Wrap bars individually and freeze for up to 2 months.
Thaw at room temperature for 20–30 minutes, or overnight in the fridge.
Why This is Good for You
- Steady energy: Oats offer complex carbs and fiber, which support a slow, steady release of energy.
- Healthy fats and protein: Nut or seed butter adds satiating fats and a bump of protein to keep you full longer.
- Minerals and antioxidants: Nuts and seeds bring magnesium, zinc, and vitamin E. If you use dark chocolate, you’ll get antioxidants, too.
- Lower added sugar option: You control the sweetness. Use less honey or choose maple syrup if you prefer a different flavor profile.
Common Mistakes to Avoid
- Using quick oats: They can make the bars sandy and prone to crumbling.
Rolled oats give the best chewy texture.
- Skipping the press: Lightly packing won’t cut it. Pressing the mixture firmly is key to bars that hold together.
- Overheating the binder: Boiling honey or nut butter can cause separation and a greasy texture. Warm just enough to stir.
- Adding chocolate too soon: If the mixture is hot, the chips will melt and you’ll lose that nice bite.
Let it cool a couple of minutes first.
- Cutting too early: Bars need time to set. If you slice while warm or soft, they can fall apart.
Alternatives
- Nut/seed butter swaps: Almond, cashew, or sunflower seed butter all work. Choose creamy varieties for smooth binding.
- Sweetener options: Maple syrup gives a cleaner, lighter sweetness.
Brown rice syrup creates extra-chewy bars and helps with binding.
- Mix-ins: Try dried cherries, apricots, coconut flakes, pumpkin seeds, or chopped dates. Keep total mix-ins to about 1 cup.
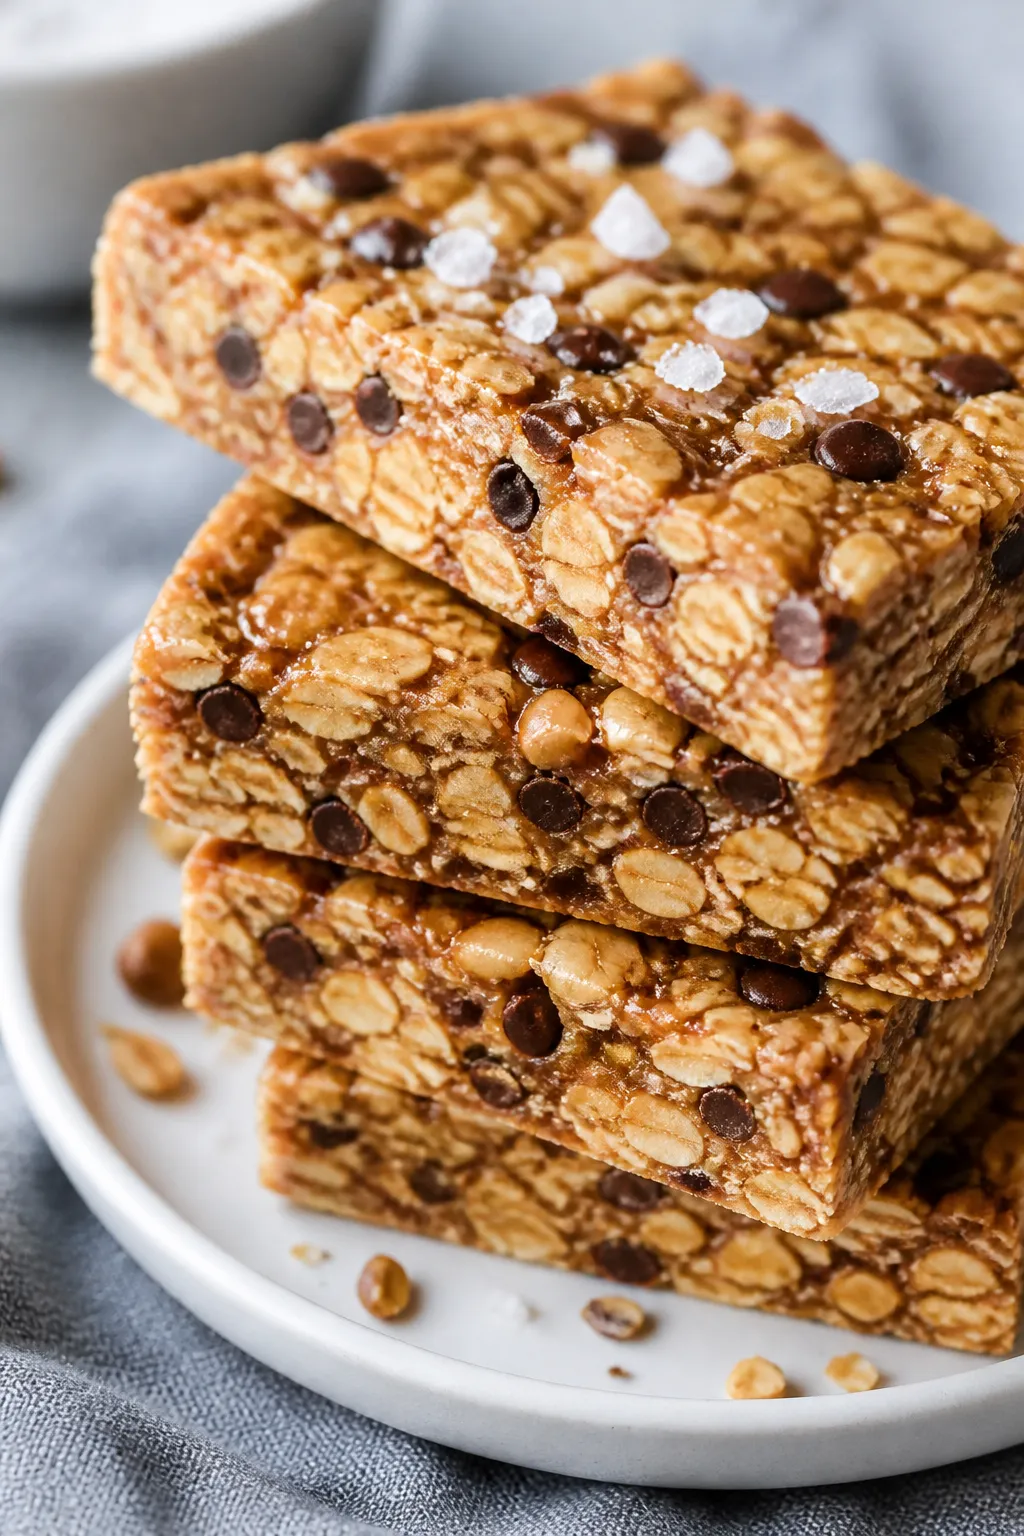
- Flavor boosters: Add 1/2 teaspoon cinnamon, a pinch of cardamom, or a sprinkle of flaky salt on top for contrast.
- Gluten-free and vegan: Use certified gluten-free oats. For vegan bars, pick maple syrup or another vegan liquid sweetener and dairy-free chocolate.
FAQ
Can I use quick oats instead of rolled oats?
Yes, but expect a different texture.
Quick oats make softer, slightly crumbly bars. If that’s what you have, reduce the oats by a couple of tablespoons to keep the mixture from drying out.
How do I make the bars less sweet?
Reduce the honey or maple by 1–2 tablespoons and add a little extra nut butter to maintain stickiness. You can also add a tablespoon of ground flaxseed to help bind without adding sweetness.
Why are my bars falling apart?
They may need more binder or more pressure when packing.
Add an extra tablespoon of honey or nut butter, and make sure to press very firmly into the pan. Chill longer before slicing.
Can I double the recipe?
Absolutely. Use a 9×13-inch pan and add a few extra minutes if baking.
Make sure to line the pan well and press the mixture firmly for even bars.
Do I have to bake them?
No. The no-bake version is soft and chewy. Baking simply toasts the oats and nuts slightly and makes the bars a touch firmer.
Can I replace chocolate chips with cocoa nibs?
Yes, but cocoa nibs are less sweet and more crunchy.
They add a pleasant bitterness and extra texture—great if you want a lower-sugar bar.
What if my nut butter is too thick?
Warm it gently with the sweetener and add 1–2 teaspoons of neutral oil or a splash of hot water to loosen. Stir until smooth before combining with the oats.
In Conclusion
These 5 ingredient granola bars are straightforward, reliable, and easy to tweak to your taste. With a short ingredient list and simple steps, they deliver a chewy, satisfying bite you’ll actually look forward to.
Keep a batch in the fridge, change up the mix-ins, and you’ve got a quick win for busy mornings, lunchboxes, or afternoon slumps. Simple food, done well, never gets old.
5 Ingredient Granola Bars - Simple, Chewy, and Satisfying
Ingredients
- 2 1/2 cups old-fashioned rolled oats (not quick oats or steel-cut)
- 1/2 cup creamy peanut butter (or another nut/seed butter)
- 1/2 cup honey (or pure maple syrup)
- 1/2 cup chopped nuts or seeds (almonds, walnuts, sunflower seeds, or a mix)
- 1/2 cup mini chocolate chips (or dried fruit like cranberries or raisins)
- Pinch of salt (optional, but it brightens the flavor)
- 1/2 teaspoon vanilla extract (optional, but recommended)
Method
- Line your pan: Use an 8x8-inch pan lined with parchment, leaving an overhang for easy lifting. Lightly grease the parchment so nothing sticks.
- Warm the binder: In a small pot over low heat, gently warm the peanut butter and honey until loose and smooth, 1–2 minutes. Stir in the vanilla and a pinch of salt. Don’t let it simmer; you just want it pourable.
- Mix the dry: In a large bowl, combine the oats and chopped nuts/seeds. If you’re using dried fruit instead of chocolate, add it here.
- Combine: Pour the warm peanut butter-honey mixture over the oat mixture. Stir until every oat is coated and the mix looks evenly sticky.
- Add chocolate last: Let the mixture cool for 2–3 minutes so the chocolate won’t melt completely. Fold in the chocolate chips.
- Press firmly: Transfer the mixture to the lined pan. Press it down very firmly with a spatula or the bottom of a measuring cup. The tighter you pack it, the better the bars hold.
- Choose your finish: For no-bake bars, chill for 1–2 hours until set. For a firmer, lightly toasted bar, bake at 325°F (163°C) for 12–15 minutes, then cool completely.
- Slice: Lift the slab out using the parchment overhang. Use a sharp knife to cut into 10–12 bars. Wipe the knife between cuts for clean edges.
Notes
- Room temperature: Keep in an airtight container for up to 3 days. Separate layers with parchment to prevent sticking.
- Refrigerator: Store for up to 10 days for the best texture and freshness. They’ll be firmer straight from the fridge.
- Freezer: Wrap bars individually and freeze for up to 2 months. Thaw at room temperature for 20–30 minutes, or overnight in the fridge.
Let us know how it was! ♡