Chocolate Chip Granola Bars – Chewy, Simple, and Satisfying
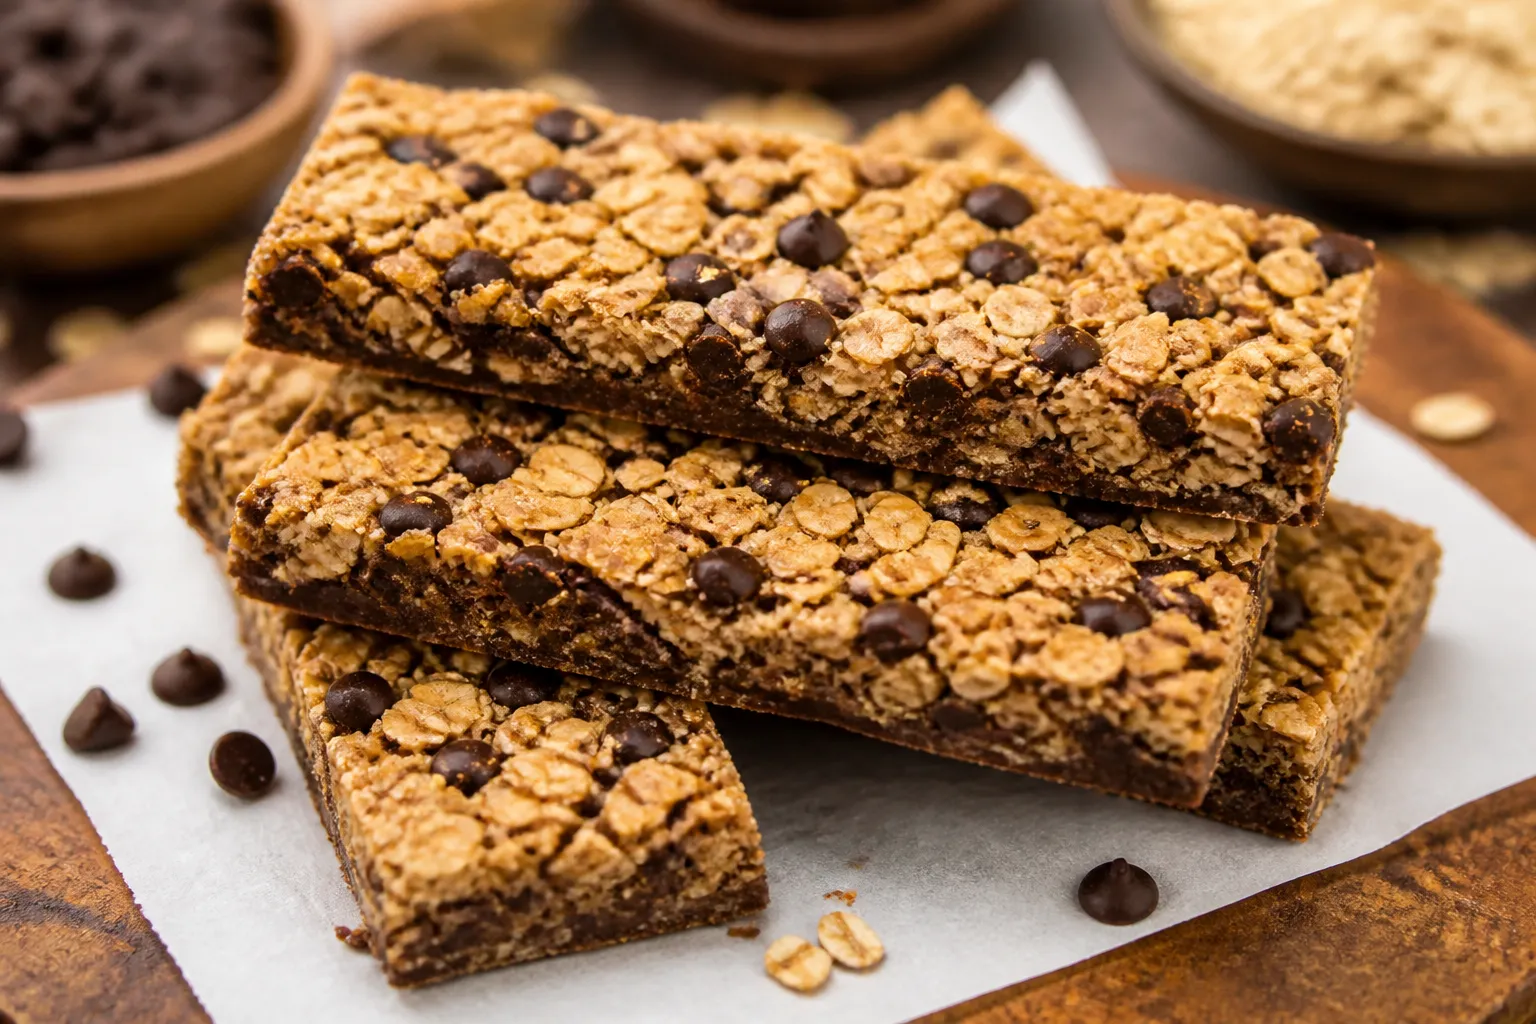
These chocolate chip granola bars are the kind of snack you’ll actually look forward to. They’re chewy, a little crunchy, and full of warm, toasty flavor. You can pack them in lunchboxes, keep a batch in the freezer, or grab one before a workout.
Best of all, you control the sweetness and the mix-ins. If you’ve ever wanted a go-to homemade bar that doesn’t crumble or taste overly sweet, this is it.
Why This Recipe Works
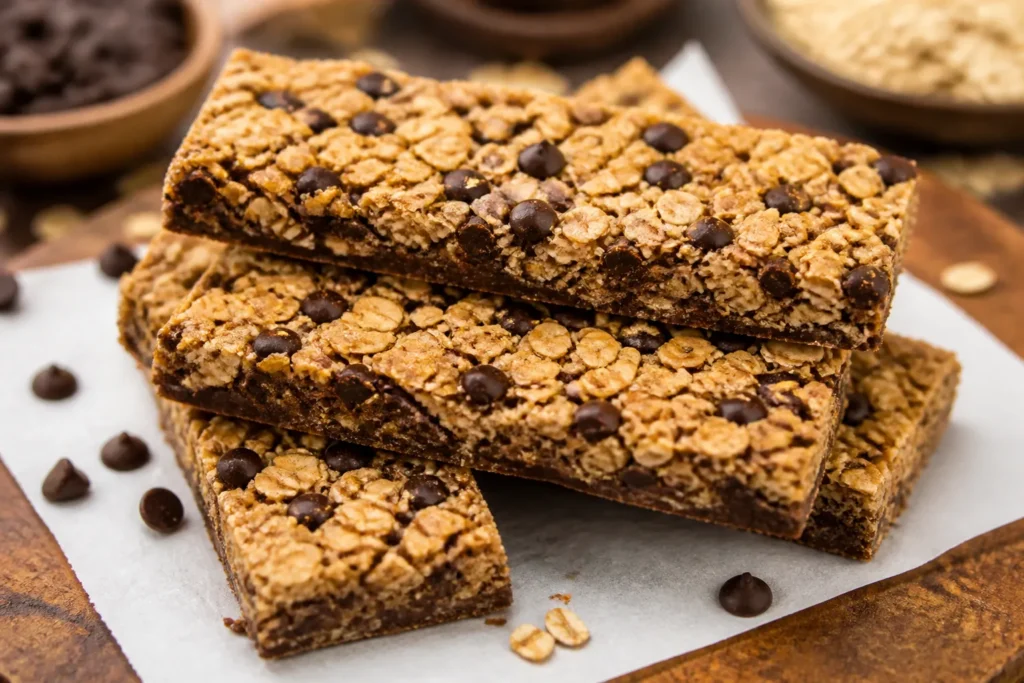
Store-bought bars can be hit or miss—too sweet, too dry, or full of additives. This recipe uses a smart balance of oats, nut butter, and a sticky binder to create bars that hold together without being hard.
Toasting the oats and nuts adds deeper flavor and a satisfying bite. The mix of honey (or maple) and brown sugar gives structure and chew while keeping the sweetness in check. Finally, we press the mixture firmly into the pan and chill it, which locks in the shape and texture.
Ingredients
- 3 cups old-fashioned rolled oats
- 1/2 cup chopped nuts or seeds (almonds, pecans, walnuts, sunflower seeds, or a mix)
- 1/3 cup unsweetened shredded coconut (optional, for texture)
- 1/2 cup creamy peanut butter (or almond butter, cashew butter, or sunflower seed butter)
- 1/3 cup honey or pure maple syrup
- 1/4 cup light brown sugar, packed
- 4 tablespoons unsalted butter (or coconut oil)
- 1 teaspoon vanilla extract
- 1/2 teaspoon fine sea salt
- 1/2 cup mini chocolate chips (plus extra for sprinkling)
- Optional add-ins: 1/3 cup dried fruit (cranberries, raisins, chopped apricots), 2 tablespoons ground flaxseed or chia seeds, 1 tablespoon hemp hearts
Instructions
- Prep the pan: Line an 8×8-inch baking pan with parchment paper, leaving an overhang on two sides for easy lifting.
Lightly grease the parchment.
- Toast the dry mix: In a large skillet over medium heat, toast the oats, nuts/seeds, and coconut (if using) for 5–7 minutes, stirring often, until fragrant and lightly golden. Transfer to a large bowl to cool slightly.
- Make the binder: In a small saucepan, combine peanut butter, honey (or maple), brown sugar, and butter. Warm over medium-low heat, stirring until melted and smooth.
Let it gently bubble for 20–30 seconds to help it set later. Remove from heat and stir in vanilla and salt.
- Combine: Pour the warm binder over the oat mixture. Stir with a sturdy spatula until everything is evenly coated.
Let it cool 2–3 minutes so the chocolate won’t fully melt.
- Add chocolate chips: Fold in the mini chocolate chips and any optional add-ins. If some chips melt a little, that’s fine—it helps the bars stick together.
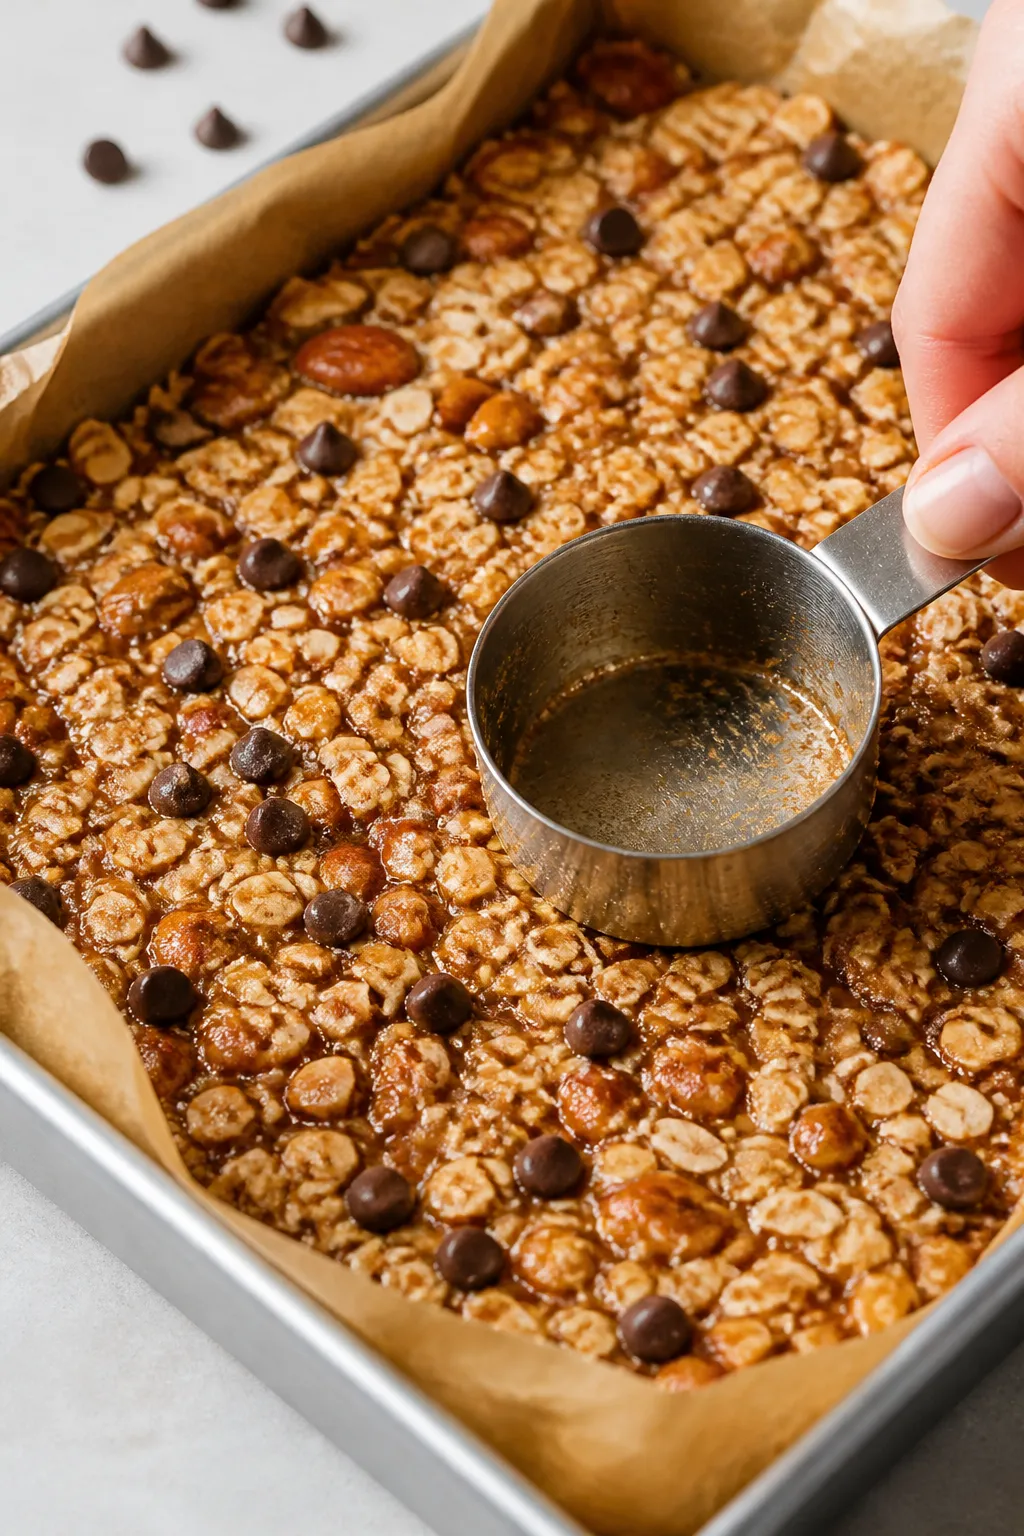
- Press firmly: Scrape the mixture into the lined pan. Place another sheet of parchment on top and press down hard with your hands or the bottom of a measuring cup. Really compact it—this is key for bars that don’t crumble.
- Chill: Sprinkle a few extra chocolate chips on top and press them in.
Refrigerate for at least 1–2 hours, or freeze for 30–40 minutes, until very firm.
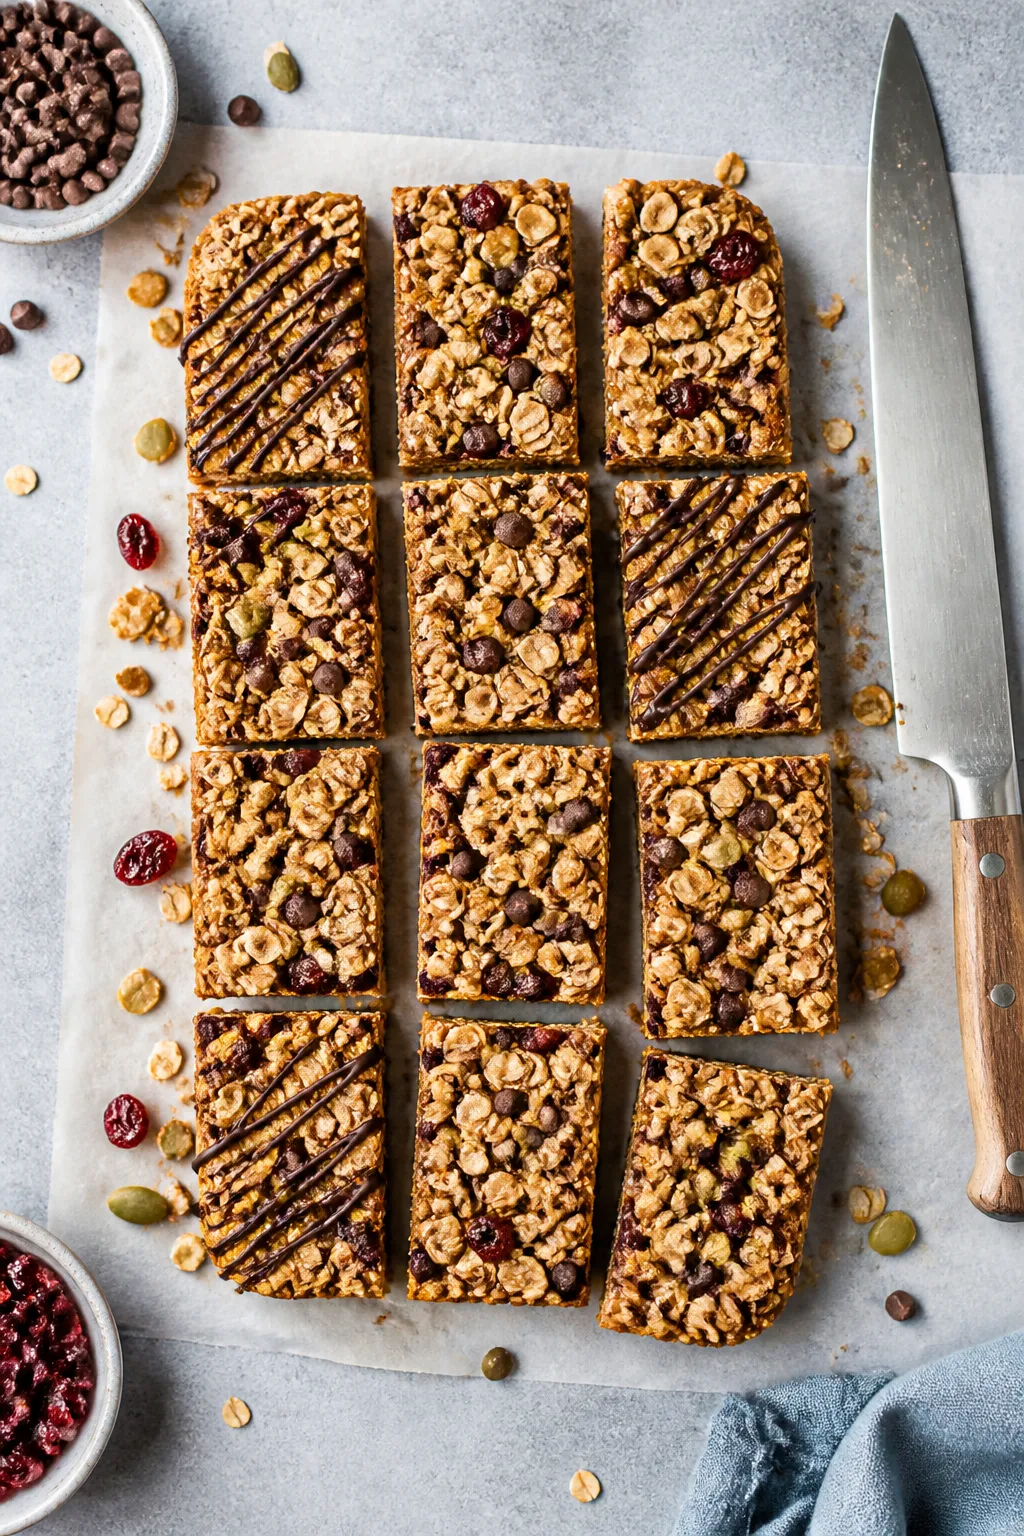
- Slice: Lift out using the parchment overhang. Use a sharp knife to cut into 12 bars or 16 squares. Wipe the knife between cuts for neat edges.
- Serve or store: Enjoy right away, or wrap individually for grab-and-go snacks.
How to Store
- Room temperature: Store in an airtight container for up to 4 days if your kitchen is cool.
Separate layers with parchment.
- Refrigerator: Keeps best for 1–2 weeks. The bars stay firm and chewy.
- Freezer: Freeze individually wrapped bars for up to 3 months. Thaw at room temperature for 15–20 minutes or eat slightly chilled.
- On-the-go: Wrap in parchment or wax paper to prevent sticking.
Add a small ice pack if traveling in heat.
Benefits of This Recipe
- Customizable: Swap nuts, seeds, or dried fruit based on what you like or have on hand.
- Cheaper than store-bought: Big batch, simple pantry ingredients, and no mystery fillers.
- Reliable texture: Chewy, not crumbly, thanks to the right ratio and firm pressing.
- Kid-friendly: Mini chocolate chips mean even distribution without overloading on sugar.
- Make-ahead friendly: These freeze well and keep their shape after thawing.
What Not to Do
- Don’t skip toasting. It adds flavor and helps the oats hold up.
- Don’t rush the chill time. Warm bars will fall apart when sliced.
- Don’t skimp on pressing. Light pressure equals crumbly bars. Use real force.
- Don’t overload add-ins. Too many mix-ins can break the structure. Stick to about 3/4 cup total extras.
- Don’t use quick oats only. Rolled oats give the best chew.
If using some quick oats, keep them under 1 cup.
Alternatives
- No-nut version: Use sunflower seed butter and swap nuts for pumpkin or sunflower seeds. Check your chocolate chips for nut-free labeling if needed.
- Lower sugar: Reduce brown sugar to 2 tablespoons and use a touch more nut butter (add 1–2 tablespoons). Flavor stays balanced but a bit less sweet.
- Vegan: Use coconut oil instead of butter and maple syrup instead of honey.
Choose dairy-free chocolate chips.
- High-protein twist: Add 1/4 cup vanilla or chocolate protein powder and reduce oats by the same amount. Taste the binder and adjust sweetness.
- Oven-baked bars: Press into the pan and bake at 325°F (163°C) for 12–15 minutes, then chill to set. You’ll get a slightly toasted, firmer bar.
- Flavor swaps: Add orange zest with cranberries, a pinch of cinnamon, or espresso powder for a mocha vibe.
FAQ
Why are my bars falling apart?
They likely weren’t pressed firmly enough or didn’t chill long enough.
Make sure to pack the mixture tightly into the pan and refrigerate until very firm before slicing. Also check that you used rolled oats and the full amount of binder.
Can I use steel-cut oats?
Steel-cut oats won’t soften the same way and will make the bars tough and crumbly. Stick with old-fashioned rolled oats for the right texture.
How do I prevent the chocolate chips from melting?
Let the oat mixture cool a couple of minutes before folding in the chips.
Using mini chips helps because they disperse quickly and cool faster. A little melting is fine and actually helps the bars hold.
Can I skip the brown sugar?
You can, but the bars may be looser. Brown sugar helps create a slightly tacky caramel that binds the mix.
If skipping, increase honey or maple by 1–2 tablespoons and press extra firmly.
What size pan should I use?
An 8×8-inch pan gives thick, chewy bars. A 9×9-inch pan will make them slightly thinner. For a 9×13-inch pan, double the recipe for the same thickness.
How do I make them gluten-free?
Use certified gluten-free rolled oats and confirm that your chocolate chips and add-ins are gluten-free.
The rest of the ingredients are typically safe.
Can I use chunky peanut butter?
Yes. Chunky peanut butter adds texture. If it’s very thick, warm it slightly so it blends smoothly with the honey and butter.
Do these travel well?
They do, especially if chilled first and wrapped individually.
In hot weather, keep them in a cooler bag so the chocolate doesn’t melt.
In Conclusion
These chocolate chip granola bars are simple, reliable, and genuinely tasty. With a chewy base, balanced sweetness, and plenty of room for swaps, they’re a great staple to keep on hand. Make a batch on the weekend, stash some in the freezer, and you’ll always have a better-than-store-bought snack ready to go.
Press well, chill fully, and enjoy every bite.
Chocolate Chip Granola Bars - Chewy, Simple, and Satisfying
Ingredients
- 3 cups old-fashioned rolled oats
- 1/2 cup chopped nuts or seeds (almonds, pecans, walnuts, sunflower seeds, or a mix)
- 1/3 cup unsweetened shredded coconut (optional, for texture)
- 1/2 cup creamy peanut butter (or almond butter, cashew butter, or sunflower seed butter)
- 1/3 cup honey or pure maple syrup
- 1/4 cup light brown sugar, packed
- 4 tablespoons unsalted butter (or coconut oil)
- 1 teaspoon vanilla extract
- 1/2 teaspoon fine sea salt
- 1/2 cup mini chocolate chips (plus extra for sprinkling)
- Optional add-ins: 1/3 cup dried fruit (cranberries, raisins, chopped apricots), 2 tablespoons ground flaxseed or chia seeds, 1 tablespoon hemp hearts
Method
- Prep the pan: Line an 8x8-inch baking pan with parchment paper, leaving an overhang on two sides for easy lifting. Lightly grease the parchment.
- Toast the dry mix: In a large skillet over medium heat, toast the oats, nuts/seeds, and coconut (if using) for 5–7 minutes, stirring often, until fragrant and lightly golden. Transfer to a large bowl to cool slightly.
- Make the binder: In a small saucepan, combine peanut butter, honey (or maple), brown sugar, and butter. Warm over medium-low heat, stirring until melted and smooth. Let it gently bubble for 20–30 seconds to help it set later. Remove from heat and stir in vanilla and salt.
- Combine: Pour the warm binder over the oat mixture. Stir with a sturdy spatula until everything is evenly coated. Let it cool 2–3 minutes so the chocolate won’t fully melt.
- Add chocolate chips: Fold in the mini chocolate chips and any optional add-ins. If some chips melt a little, that’s fine—it helps the bars stick together.
- Press firmly: Scrape the mixture into the lined pan. Place another sheet of parchment on top and press down hard with your hands or the bottom of a measuring cup. Really compact it—this is key for bars that don’t crumble.
- Chill: Sprinkle a few extra chocolate chips on top and press them in. Refrigerate for at least 1–2 hours, or freeze for 30–40 minutes, until very firm.
- Slice: Lift out using the parchment overhang. Use a sharp knife to cut into 12 bars or 16 squares. Wipe the knife between cuts for neat edges.
- Serve or store: Enjoy right away, or wrap individually for grab-and-go snacks.
Notes
- Room temperature: Store in an airtight container for up to 4 days if your kitchen is cool. Separate layers with parchment.
- Refrigerator: Keeps best for 1–2 weeks. The bars stay firm and chewy.
- Freezer: Freeze individually wrapped bars for up to 3 months. Thaw at room temperature for 15–20 minutes or eat slightly chilled.
- On-the-go: Wrap in parchment or wax paper to prevent sticking. Add a small ice pack if traveling in heat.
Let us know how it was! ♡