Vegan Granola Bars – Simple, Chewy, and Perfect for Snacking
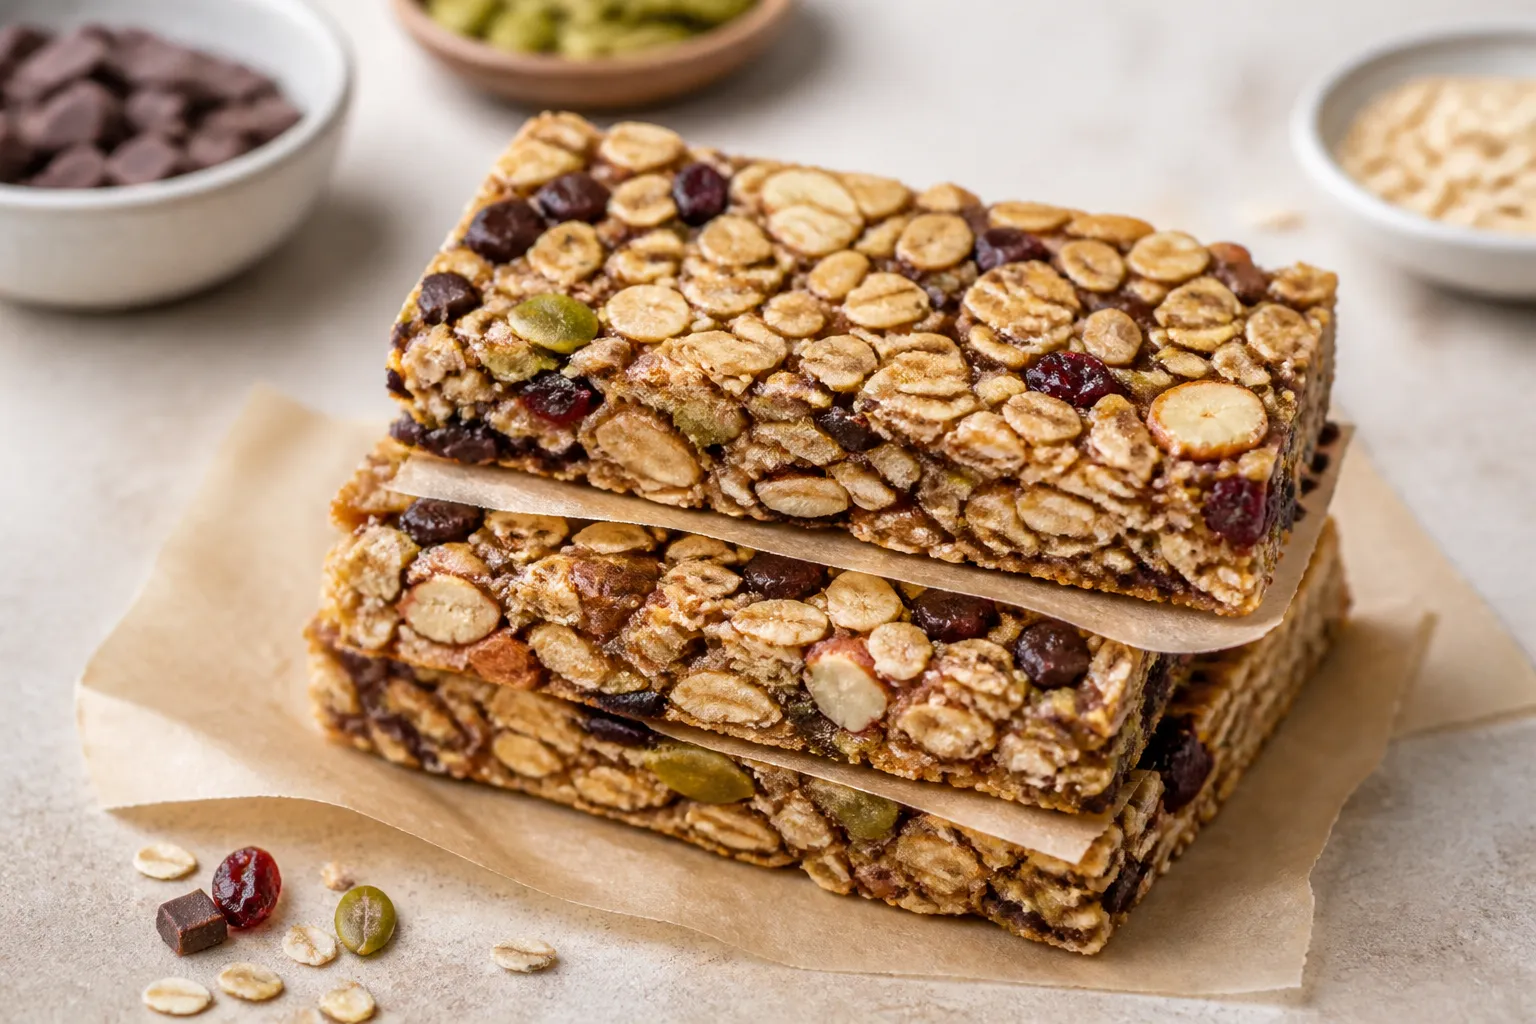
These vegan granola bars are the kind of snack you’ll want to keep on repeat. They’re chewy, a little crunchy, and naturally sweet without tasting like candy. You can pack them for work, crumble them over yogurt, or grab one before a workout.
Best of all, they’re easy to make with pantry staples and they hold together beautifully. If you’ve struggled with crumbly bars before, this recipe will change that.
What Makes This Special
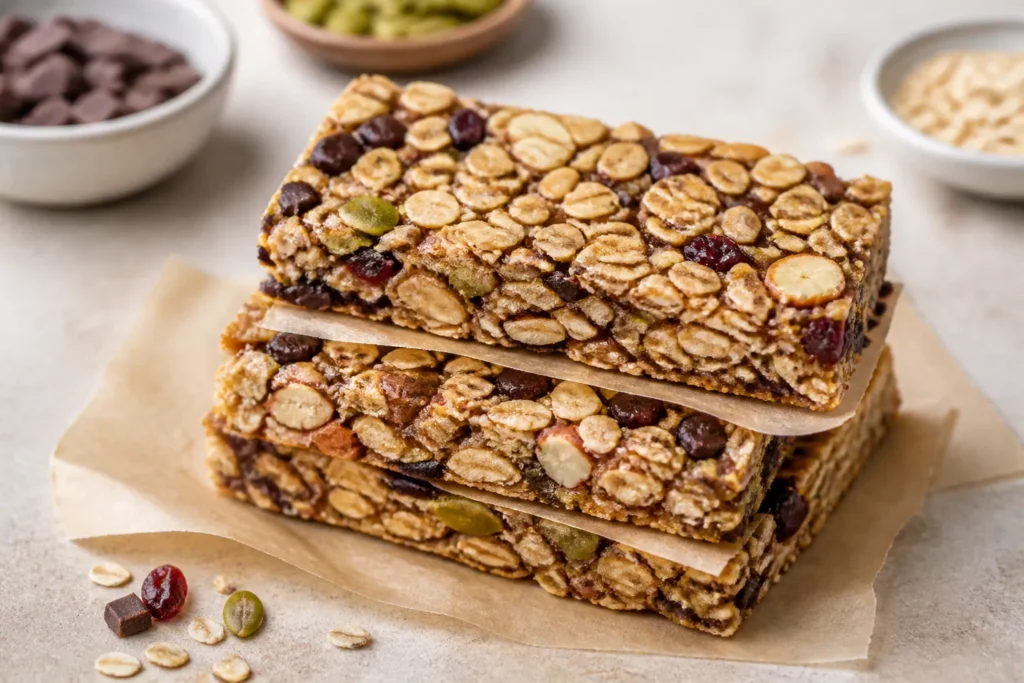
These bars skip refined sugar and butter, relying instead on dates and maple syrup for sweetness and nut butter for structure. The combo creates a soft-chewy texture with just enough snap from toasted oats and seeds.
You can customize the mix-ins based on what you have, and the base recipe is allergy-friendly with simple swaps. There’s no baking required unless you want extra crunch from toasting. The result is a satisfying bar that actually feels like real food.
Ingredients
- Rolled oats (old-fashioned), 2 cups
- Medjool dates, pitted, 1 cup packed (about 10–12 large)
- Natural nut or seed butter (peanut, almond, cashew, or sunflower), 1/2 cup
- Maple syrup, 1/3 cup
- Chopped nuts (almonds, walnuts, pecans), 1/2 cup
- Seeds (pumpkin, sunflower, or a mix), 1/4 cup
- Unsweetened shredded coconut, 1/4 cup (optional)
- Mini dairy-free chocolate chips or cacao nibs, 1/3 cup (optional)
- Vanilla extract, 1 teaspoon
- Fine sea salt, 1/4 teaspoon
- Warm water, 1–2 tablespoons as needed
Step-by-Step Instructions
- Prep your pan. Line an 8×8-inch pan with parchment, leaving overhang on two sides for easy lifting.
Lightly grease the parchment to prevent sticking.
- Toast the dry ingredients (optional but recommended). In a dry skillet over medium heat, toast oats, nuts, seeds, and coconut for 3–5 minutes, stirring until fragrant. Let cool slightly. This step adds flavor and helps the bars hold together.
- Soften the dates. If your dates are firm, soak them in hot water for 5–10 minutes, then drain well.
Soft dates blend smoother and bind better.
- Make the binder. In a food processor, blend dates until they form a sticky paste. Add nut or seed butter, maple syrup, vanilla, and salt. Blend until smooth and glossy.
If it’s too thick to blend, add 1 tablespoon warm water.
- Combine the mixture. In a large bowl, add oats, nuts, seeds, and coconut. Scrape in the date mixture. Use a sturdy spatula or clean hands to mix until everything is evenly coated.
Fold in chocolate chips or nibs last so they don’t melt too much.
- Pack it in firmly. Transfer the mixture to the lined pan. Press it down very firmly with the back of a measuring cup or a flat-bottomed glass. The tighter you pack it, the cleaner the slices will be.
- Chill to set. Refrigerate for at least 1–2 hours, or freeze for 30 minutes, until firm.
- Slice and serve. Lift out using the parchment overhang.
Cut into 10–12 bars with a sharp knife. Wipe the blade between cuts for neat edges.
Storage Instructions
- Room temperature: Store in an airtight container for up to 3 days if your kitchen is cool.
- Refrigerator: Keeps best for 1–2 weeks. Layer bars with parchment to prevent sticking.
- Freezer: Freeze for up to 3 months.
Wrap bars individually or place parchment between layers. Thaw at room temp for 10–15 minutes or enjoy slightly chilled.
Health Benefits
These bars lean on whole-food sweetness from dates and maple syrup, avoiding refined sugar. Oats provide soluble fiber, which supports heart health and steady energy.
Nuts and seeds add healthy fats and plant protein to keep you fuller longer. You also get minerals like magnesium, iron, and zinc, plus antioxidants from dark chocolate or cacao nibs if you include them. The balance of carbs, fat, and fiber makes these a smart snack for busy days.
Pitfalls to Watch Out For
- Crumbly bars: Usually means not enough binder or not packed tightly.
Add a spoonful more nut butter or maple syrup, and press firmly.
- Too sticky: If the mixture is overly tacky, add 2–3 tablespoons more oats and chill longer before slicing.
- Bars not setting: Make sure the date mixture is thick, not runny. Skip extra water unless your processor needs it.
- Over-toasting: Nuts and oats can burn fast. Stir constantly and remove from heat as soon as they smell nutty.
- Allergy concerns: Swap nut butter for sunflower seed butter and choose nut-free add-ins if needed.
Variations You Can Try
- Berry Almond: Add 1/3 cup dried cranberries or cherries and use almond butter with sliced almonds.
- Mocha Crunch: Stir in 1 tablespoon finely ground espresso and use cacao nibs for extra crunch.
- Tropical: Use coconut flakes, dried pineapple or mango (chopped), and macadamias or cashews.
- Protein Boost: Mix in 1/4 cup neutral vegan protein powder.
If dry, add 1–2 teaspoons more maple syrup.
- Seed-Only: Skip nuts and use a mix of pumpkin, sunflower, and hemp seeds with sunflower seed butter.
- Spice It Up: Add 1 teaspoon cinnamon, 1/4 teaspoon ginger, or a pinch of cardamom for warmth.
FAQ
Can I make these bars without a food processor?
Yes. Mash the softened dates with a fork until pasty, then whisk with warmed nut butter and maple syrup. It takes more elbow grease, but it works.
Are these bars gluten-free?
They can be.
Use certified gluten-free oats and check labels on add-ins to avoid cross-contamination.
What can I use instead of dates?
Try prunes or dried figs, finely chopped and soaked, but the texture may be a bit looser. You may need a touch more maple syrup or nut butter to bind.
How do I prevent the chocolate chips from melting?
Let the toasted ingredients cool fully and fold in chocolate last. If your kitchen is warm, use cacao nibs instead.
Can I bake these?
Yes.
Press into a lined pan and bake at 325°F (165°C) for 15–18 minutes until lightly golden. Cool completely before slicing. Baked bars will be firmer and slightly less chewy.
How do I make the bars higher in protein?
Add 1/4 cup vegan protein powder and 2 tablespoons hemp hearts.
If the mixture feels dry, add another tablespoon of maple syrup or a splash of warm water.
Why are my bars oily?
Some nut butters separate. Stir the jar well before measuring, and avoid adding extra oil. If it still seems oily, mix in a few more oats to absorb it.
Can I cut the sugar?
You can reduce the maple syrup to 1/4 cup, but keep the dates for structure.
If the bars won’t hold, add a touch more nut butter.
In Conclusion
Vegan granola bars should be simple, satisfying, and dependable, and this recipe delivers on all three. With a solid chewy base and plenty of room for creativity, you can tailor them to your taste and routine. Make a batch on the weekend, stash them in the fridge, and you’re set for smart snacking all week.
They’re easy to love, even easier to make, and they actually keep you going.
Vegan Granola Bars - Simple, Chewy, and Perfect for Snacking
Ingredients
- Rolled oats (old-fashioned), 2 cups
- Medjool dates, pitted, 1 cup packed (about 10–12 large)
- Natural nut or seed butter (peanut, almond, cashew, or sunflower), 1/2 cup
- Maple syrup, 1/3 cup
- Chopped nuts (almonds, walnuts, pecans), 1/2 cup
- Seeds (pumpkin, sunflower, or a mix), 1/4 cup
- Unsweetened shredded coconut, 1/4 cup (optional)
- Mini dairy-free chocolate chips or cacao nibs, 1/3 cup (optional)
- Vanilla extract, 1 teaspoon
- Fine sea salt, 1/4 teaspoon
- Warm water, 1–2 tablespoons as needed
Method
- Prep your pan. Line an 8x8-inch pan with parchment, leaving overhang on two sides for easy lifting. Lightly grease the parchment to prevent sticking.
- Toast the dry ingredients (optional but recommended). In a dry skillet over medium heat, toast oats, nuts, seeds, and coconut for 3–5 minutes, stirring until fragrant. Let cool slightly. This step adds flavor and helps the bars hold together.
- Soften the dates. If your dates are firm, soak them in hot water for 5–10 minutes, then drain well. Soft dates blend smoother and bind better.
- Make the binder. In a food processor, blend dates until they form a sticky paste. Add nut or seed butter, maple syrup, vanilla, and salt. Blend until smooth and glossy. If it’s too thick to blend, add 1 tablespoon warm water.
- Combine the mixture. In a large bowl, add oats, nuts, seeds, and coconut. Scrape in the date mixture. Use a sturdy spatula or clean hands to mix until everything is evenly coated. Fold in chocolate chips or nibs last so they don’t melt too much.
- Pack it in firmly. Transfer the mixture to the lined pan. Press it down very firmly with the back of a measuring cup or a flat-bottomed glass. The tighter you pack it, the cleaner the slices will be.
- Chill to set. Refrigerate for at least 1–2 hours, or freeze for 30 minutes, until firm.
- Slice and serve. Lift out using the parchment overhang. Cut into 10–12 bars with a sharp knife. Wipe the blade between cuts for neat edges.
Notes
- Room temperature: Store in an airtight container for up to 3 days if your kitchen is cool.
- Refrigerator: Keeps best for 1–2 weeks. Layer bars with parchment to prevent sticking.
- Freezer: Freeze for up to 3 months. Wrap bars individually or place parchment between layers. Thaw at room temp for 10–15 minutes or enjoy slightly chilled.
Let us know how it was! ♡