Homemade Granola Bars for Kids – Easy, Chewy, and Lunchbox-Friendly
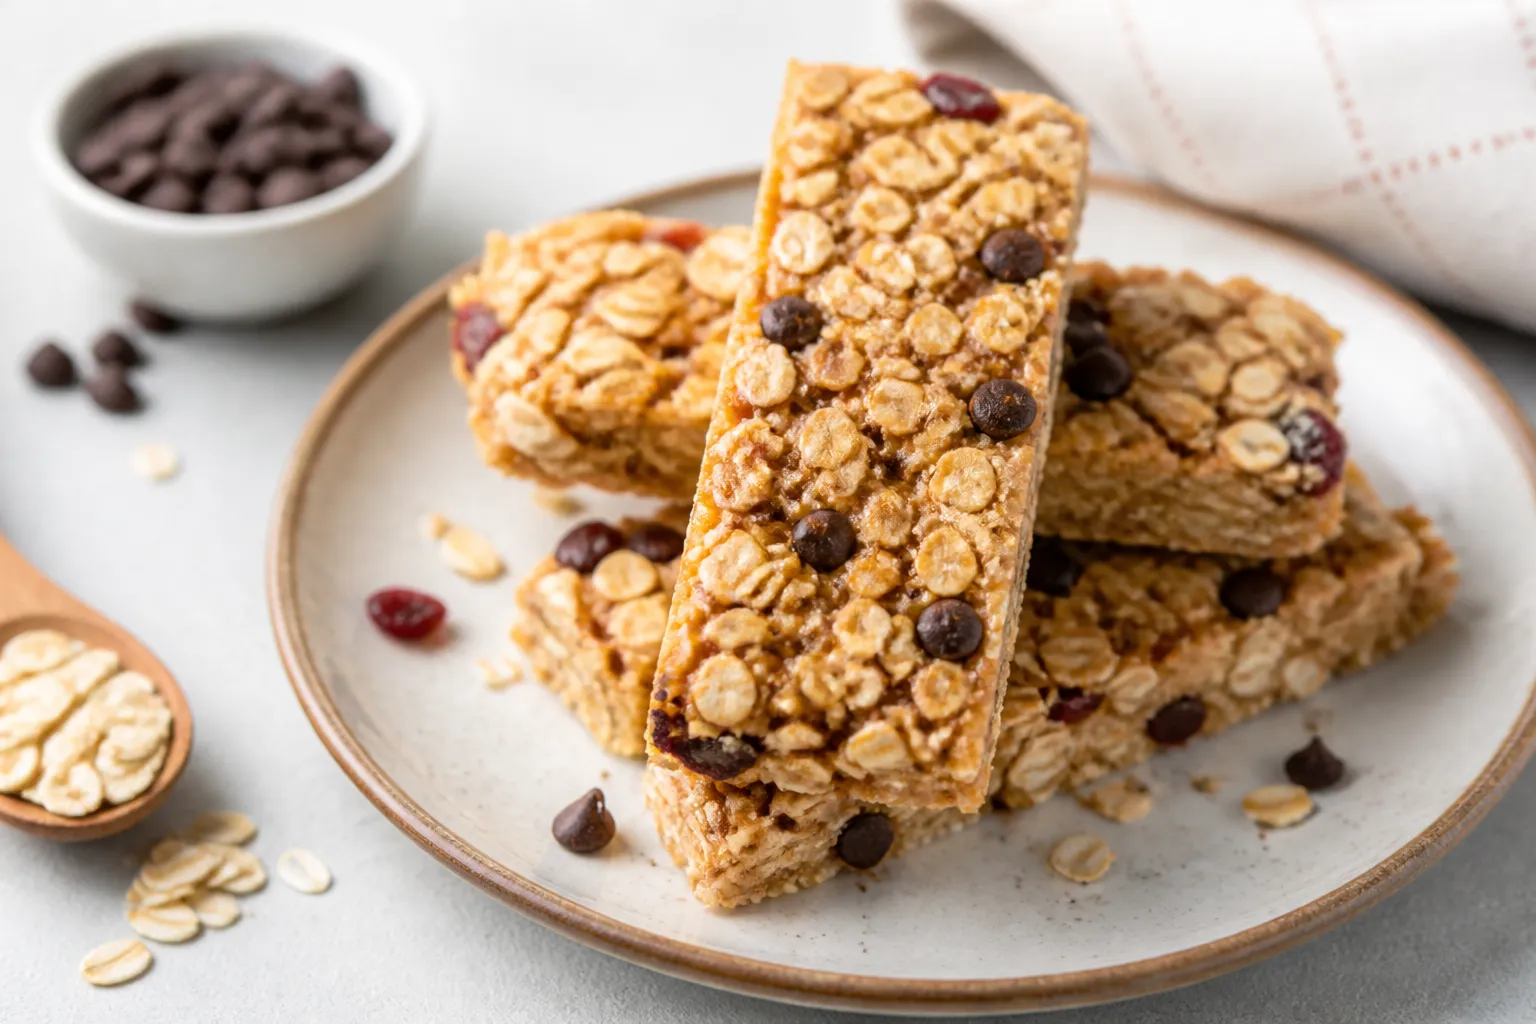
Homemade granola bars are a lifesaver on busy mornings and after-school snack runs. They’re simple to make, budget-friendly, and you can control every ingredient. No mystery syrups or unpronounceable fillers—just wholesome, tasty bites kids love.
The best part? You can adjust the flavor to suit picky eaters and keep the texture soft and chewy for little teeth. Once you make a batch, you’ll wonder why you ever bought boxed bars.
What Makes This Recipe So Good
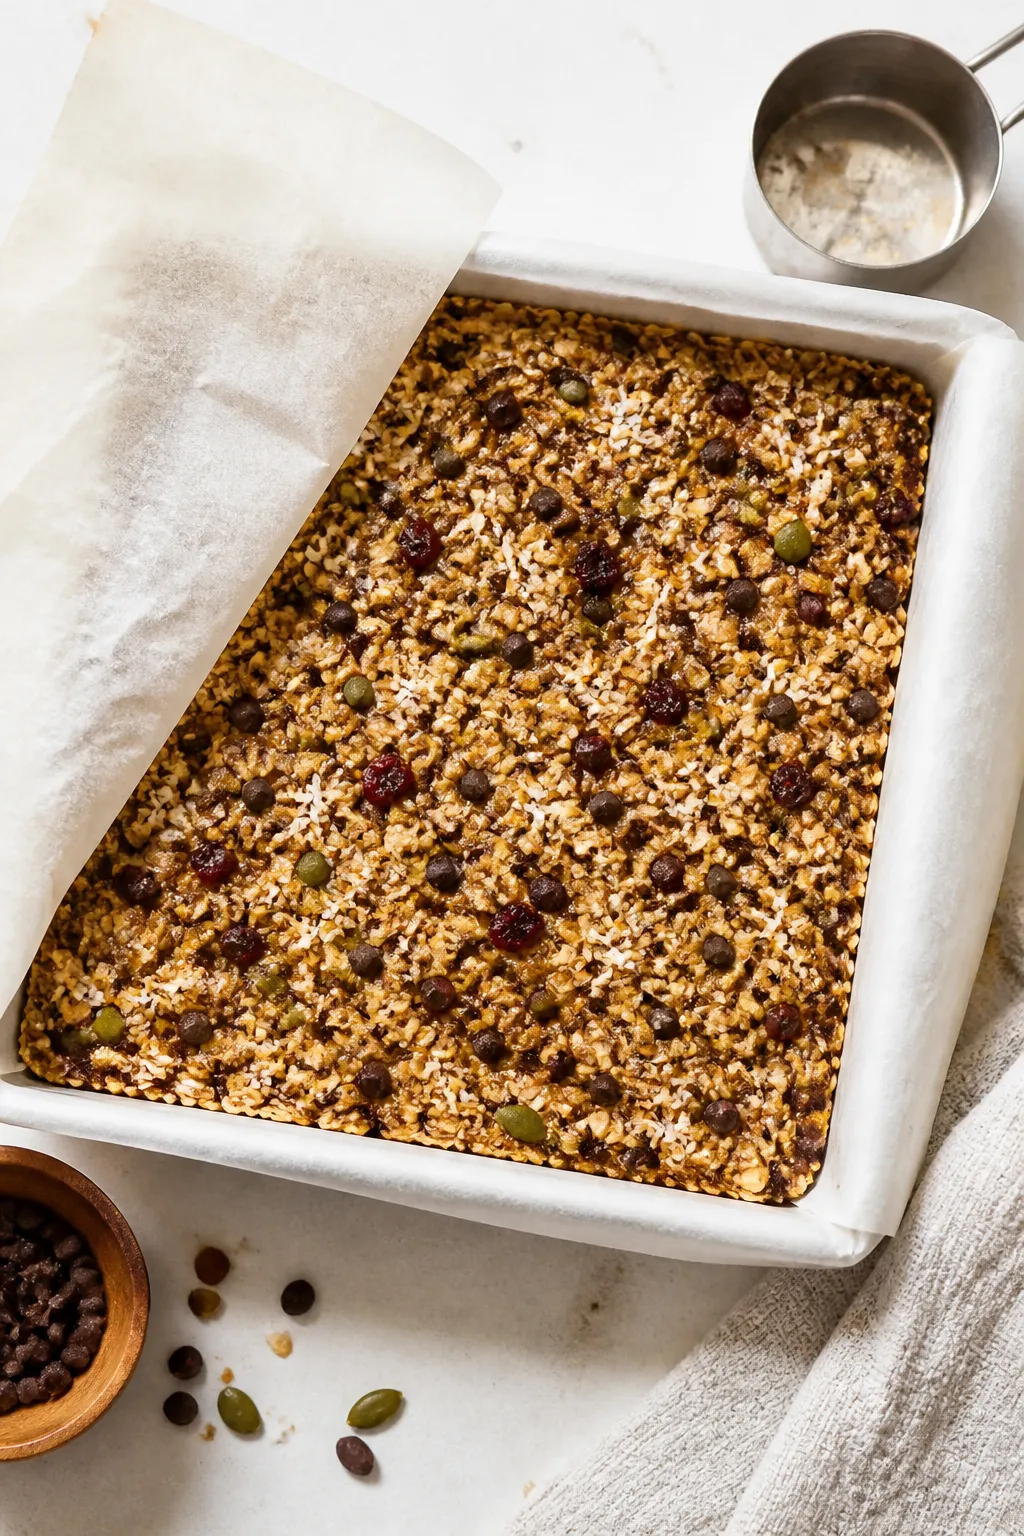
- Kid-approved texture: These bars are soft and chewy, not hard or crumbly, so they’re easy for younger kids to bite into.
- Customizable flavors: Swap in your child’s favorite mix-ins—chocolate chips, dried fruit, or seeds—without changing the base.
- No-bake option: You can press and chill for a no-bake version, or bake briefly for extra hold and a toasty flavor.
- Nut-free friendly: Use seed butter instead of peanut or almond butter to make them school-safe.
- Less sugar, more goodness: Sweetened with honey or maple syrup, and balanced with oats, healthy fats, and fiber.
What You’ll Need
- Old-fashioned rolled oats: The base for chew and fiber.
Avoid instant oats—too powdery.
- Rice cereal or puffed rice (optional): Adds light crunch without making the bars hard.
- Nut or seed butter: Peanut, almond, cashew, or sunflower seed butter for nut-free needs. Choose a creamy, natural variety.
- Honey or maple syrup: Binds the bars and provides gentle sweetness.
- Coconut oil or butter: Helps the bars set and stay tender.
- Vanilla extract: Rounds out the flavor.
- Ground cinnamon: Warm, kid-friendly spice that complements oats.
- Salt: A pinch to bring everything to life.
- Mix-ins: Choose 1 to 1 1/2 cups total from the following:
- Mini chocolate chips (mini melt less and distribute better)
- Raisins, dried cranberries, chopped apricots, or dates
- Shredded coconut (unsweetened preferred)
- Chia seeds, hemp hearts, or ground flaxseed
- Pumpkin or sunflower seeds (for crunch)
- Finely chopped nuts if not packing for a nut-free space
Instructions
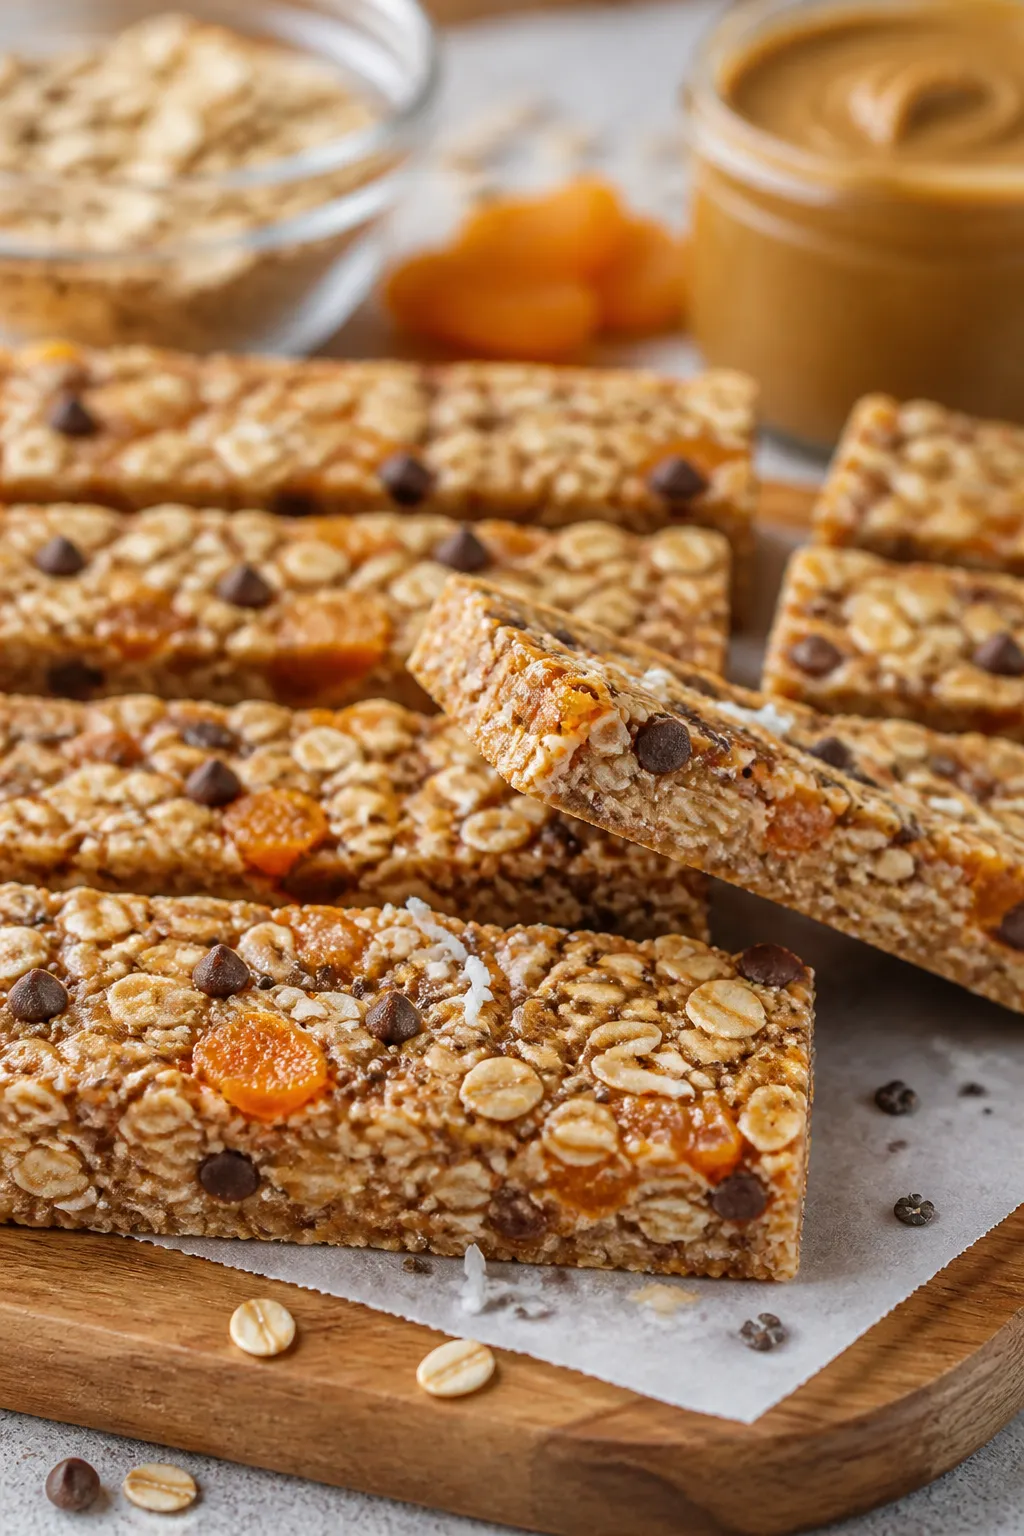
- Prep the pan: Line an 8×8-inch baking pan with parchment paper, leaving a couple of inches overhang on two sides for easy lifting. Lightly grease the parchment.
- Toast the oats (optional but tasty): Warm a dry skillet over medium heat.
Add the oats and stir for 3–4 minutes until lightly fragrant. Let them cool. This step adds depth without baking the whole batch.
- Combine dry ingredients: In a large bowl, add oats, puffed rice (if using), cinnamon, salt, and your chosen dry mix-ins like seeds, coconut, and dried fruit.
Save chocolate chips for later so they don’t melt.
- Make the binder: In a small saucepan over low heat, combine nut/seed butter, honey or maple syrup, coconut oil or butter, and vanilla. Stir until smooth and glossy. Do not boil—just warm enough to melt together.
- Mix it up: Pour the warm binder over the dry ingredients.
Stir well, pressing with a spatula to coat every bit. If the mixture feels dry, add 1–2 tablespoons more honey or a splash of warm water. If using chocolate chips, let the mixture cool 3–4 minutes, then fold them in.
- Press firmly: Transfer to the prepared pan.
Place another piece of parchment on top and press very firmly with your hands or the bottom of a measuring cup. Firm packing is key for bars that hold together.
- Choose your finish:
- No-bake: Chill for at least 2 hours until set, then slice.
- Light bake: Bake at 325°F (165°C) for 10–12 minutes for a slightly toastier flavor and better hold. Cool completely, then chill 30 minutes before slicing.
- Slice smart: Lift the slab out by the parchment. Use a sharp knife to cut into 10–12 bars or 16 small squares for toddlers.
Wipe the blade between cuts for clean edges.
Storage Instructions
- Room temperature: Store in an airtight container up to 4 days. Separate layers with parchment to prevent sticking.
- Refrigerator: Keeps bars firm for up to 10 days. Great for warm climates and lunchboxes with ice packs.
- Freezer: Freeze individually wrapped bars for up to 2 months.
Thaw at room temp for 20–30 minutes or pop into a lunchbox frozen to be ready by lunchtime.
- On the go: Wrap bars in parchment or reusable wraps. If using lots of chocolate chips, keep cool to avoid melting.
Health Benefits
- Steady energy: Oats provide complex carbs and soluble fiber, which help kids feel full and energized without big sugar spikes.
- Healthy fats: Nut or seed butters add fats that support brain development and keep hunger at bay.
- Micronutrients: Seeds like chia, hemp, and pumpkin deliver iron, magnesium, and omega-3s in kid-friendly form.
- Natural sweetness: Using honey or maple syrup lets you control sugar levels while avoiding artificial sweeteners and high-fructose corn syrup.
- Fiber boost: Dried fruits and oats add fiber for healthy digestion—especially helpful for picky eaters.
Pitfalls to Watch Out For
- Bars falling apart: Usually caused by not pressing firmly enough or not using enough binder. Pack the mixture tightly and don’t skimp on the honey/nut butter combo.
- Too sweet or not sweet enough: Taste the mixture before pressing.
Add a bit more honey or a pinch more salt to balance flavor.
- Allergy surprises: If making for school, confirm nut policies. Swap nut butters for sunflower seed butter and use seed mix-ins.
- Hard texture: Overbaking or using quick oats can make bars dry. Stick to rolled oats and keep the bake light.
- Chocolate melting mess: Add chips after the mixture cools slightly, and store bars cool if your kitchen runs warm.
Alternatives
- Nut-free school-safe: Sunflower seed butter + pumpkin seeds + dried cranberries + mini dairy-free chips.
- Toddler-friendly: Skip whole nuts and hard seeds.
Use finely chopped soft dried fruit, ground flax, and mini chips for tiny bites.
- High-protein twist: Stir in 2–3 tablespoons hemp hearts or a scoop of plain protein powder. If using protein powder, add an extra tablespoon of honey or a splash of milk to maintain moisture.
- No added sugar: Use mashed ripe banana or date paste for part of the sweetener. Note: bars will be softer and best kept chilled.
- Gluten-free: Choose certified gluten-free oats and ensure all mix-ins are gluten-free.
- Dairy-free: Use coconut oil instead of butter and dairy-free chocolate chips if using chocolate.
- Spice swap: Try a pinch of nutmeg, pumpkin spice, or a tablespoon of cocoa powder for a chocolate base.
FAQ
Can I use quick oats instead of rolled oats?
Yes, but expect a denser, more crumbly bar.
Rolled oats give the best chewy texture. If using quick oats, add a bit more binder and press very firmly.
How do I make the bars less sweet?
Reduce honey or maple by 1–2 tablespoons and add a tablespoon of nut butter to keep the mixture cohesive. A pinch more salt and extra vanilla help the flavor pop without more sugar.
Do I have to bake them?
No.
The no-bake method works well if you chill them thoroughly. Baking just adds a toasty flavor and a little extra structure.
What if my mix looks too dry?
Add 1–2 tablespoons warm water or a drizzle more honey. Mix well and press very firmly.
Dryness often comes from very absorbent oats or lots of seeds.
Are these safe for toddlers?
Yes, with adjustments. Skip whole nuts and hard seeds, cut bars into small squares, and keep the texture soft by choosing the no-bake option and extra nut butter.
Can I double the recipe?
Absolutely. Use a 9×13-inch pan.
Increase the bake time by 2–3 minutes if baking, and be sure to press down even more firmly.
How do I keep chocolate chips from melting?
Let the oat mixture cool for a few minutes before stirring chips in, and press quickly. Chill right after shaping if your kitchen is warm.
What’s the best way to pack them in lunchboxes?
Wrap individually and store in the fridge. Add an ice pack to lunch bags in hot weather, especially if you used chocolate or a no-bake version.
Wrapping Up
Homemade granola bars for kids are simple, flexible, and genuinely tasty.
With a reliable base and plenty of mix-in options, you can tailor each batch to your child’s taste and dietary needs. Make a pan on Sunday, slice, and stash for the week. You’ll have a quick snack that feels like a treat and fuels kids with the good stuff they need.
Method
- Prep the pan: Line an 8x8-inch baking pan with parchment paper, leaving a couple of inches overhang on two sides for easy lifting. Lightly grease the parchment.
- Toast the oats (optional but tasty): Warm a dry skillet over medium heat. Add the oats and stir for 3–4 minutes until lightly fragrant. Let them cool. This step adds depth without baking the whole batch.
- Combine dry ingredients: In a large bowl, add oats, puffed rice (if using), cinnamon, salt, and your chosen dry mix-ins like seeds, coconut, and dried fruit. Save chocolate chips for later so they don’t melt.
- Make the binder: In a small saucepan over low heat, combine nut/seed butter, honey or maple syrup, coconut oil or butter, and vanilla. Stir until smooth and glossy. Do not boil—just warm enough to melt together.
- Mix it up: Pour the warm binder over the dry ingredients. Stir well, pressing with a spatula to coat every bit. If the mixture feels dry, add 1–2 tablespoons more honey or a splash of warm water. If using chocolate chips, let the mixture cool 3–4 minutes, then fold them in.
- Press firmly: Transfer to the prepared pan. Place another piece of parchment on top and press very firmly with your hands or the bottom of a measuring cup. Firm packing is key for bars that hold together.
- Choose your finish: No-bake: Chill for at least 2 hours until set, then slice.
- Light bake: Bake at 325°F (165°C) for 10–12 minutes for a slightly toastier flavor and better hold. Cool completely, then chill 30 minutes before slicing.
- Slice smart: Lift the slab out by the parchment. Use a sharp knife to cut into 10–12 bars or 16 small squares for toddlers. Wipe the blade between cuts for clean edges.