Chewy Granola Bars Homemade – Easy, Soft, and Customizable
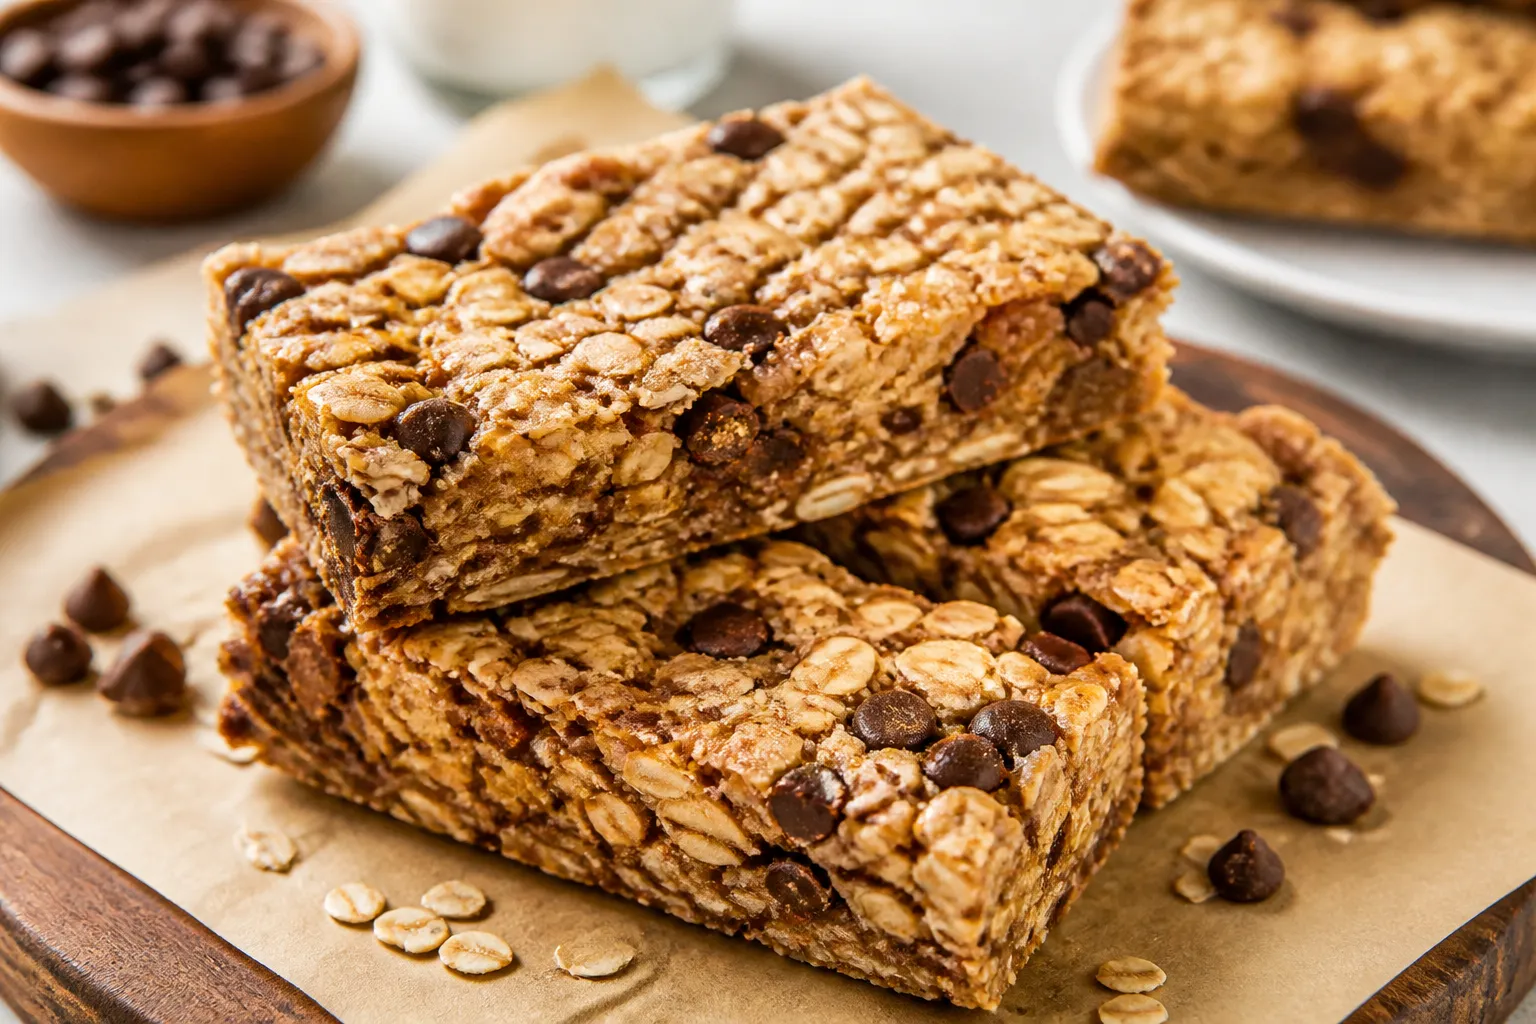
Homemade chewy granola bars beat store-bought every time. They’re softer, fresher, and you decide exactly what goes in. With a few pantry staples and 15 minutes of prep, you get a stack of bars that hold together well and taste amazing.
These are perfect for lunch boxes, road trips, or a quick afternoon snack. You’ll also save money and skip the additives you don’t want.
Why This Recipe Works

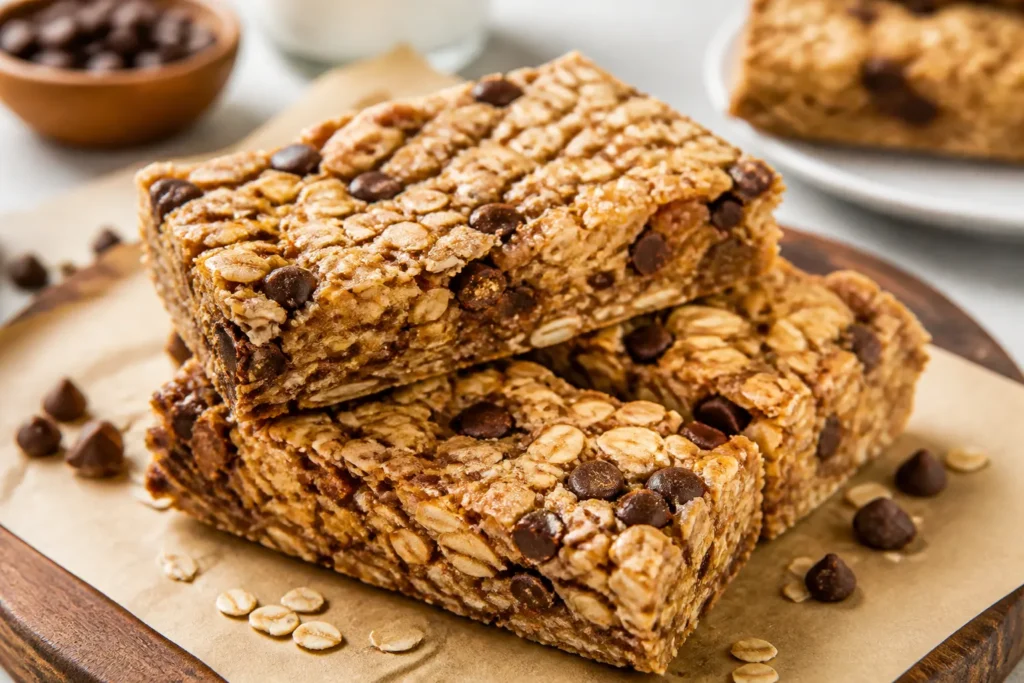
This recipe uses a smart mix of binders to keep the bars soft but sturdy. Honey and nut butter create a sticky base that holds oats and mix-ins together without crumbling. A touch of butter or coconut oil keeps the texture chewy instead of dry.
Toasting the oats and nuts briefly adds a deep, toasty flavor that makes these bars taste bakery-level. Finally, we press the mixture firmly and chill it, which sets the bars so they slice cleanly and keep their shape.
Ingredients
- 3 cups old-fashioned rolled oats (not quick oats)
- 1/2 cup chopped nuts (almonds, pecans, or walnuts)
- 1/2 cup unsweetened shredded coconut (optional but great for chew)
- 1/2 cup honey (or pure maple syrup for a slightly looser set)
- 1/2 cup creamy peanut butter (or almond/sunflower butter)
- 3 tablespoons unsalted butter (or coconut oil)
- 1/4 cup brown sugar (light or dark; for extra chew and sweetness)
- 1 teaspoon pure vanilla extract
- 1/2 teaspoon fine sea salt (reduce to 1/4 teaspoon if nuts are salted)
- 1/2–3/4 cup mix-ins (mini chocolate chips, dried cranberries, raisins, chopped apricots, pumpkin seeds, chia, or flax)
Step-by-Step Instructions

- Prep the pan: Line an 8×8-inch or 9×9-inch square pan with parchment paper, leaving overhang on two sides to lift out later. Lightly grease the parchment.
- Toast oats and nuts: In a dry skillet over medium heat, toast the oats, nuts, and coconut (if using) for 5–7 minutes, stirring often, until lightly golden and fragrant.
Transfer to a large bowl to cool slightly.
- Warm the binder: In a small saucepan over low heat, combine honey, peanut butter, butter, and brown sugar. Stir until smooth and just starting to bubble at the edges. Remove from heat and stir in vanilla and salt.
- Combine: Pour the warm mixture over the oat mixture.
Stir until every bit is coated. Let it cool 2–3 minutes before adding chocolate chips or they’ll melt.
- Add mix-ins: Fold in your chosen add-ins. Keep total mix-ins around 1/2–3/4 cup so the bars still hold together.
- Pack it tightly: Transfer mixture to the prepared pan.
Use a sheet of parchment on top and press very firmly with your hands or the bottom of a measuring cup. The tighter you pack, the chewier and sturdier the bars.
- Chill to set: Refrigerate for at least 1–2 hours, or freeze for 30 minutes, until firm.
- Slice: Lift the slab out using the parchment overhang. Use a sharp knife to cut into 10–12 bars or 16 squares.
For clean edges, wipe the knife between cuts.
- Optional glaze: Drizzle with melted dark chocolate and let set before storing.
How to Store
- Room temperature: Keep in an airtight container up to 4 days. Separate layers with parchment to prevent sticking.
- Refrigerator: Lasts up to 2 weeks. Chilling keeps them extra firm and chewy.
- Freezer: Wrap bars individually and freeze up to 3 months.
Thaw at room temperature for 15–20 minutes or eat slightly chilled.
- On-the-go tip: Wrap in parchment or wax paper, then place in a reusable bag. This prevents melting mix-ins from sticking to wrappers.
Benefits of This Recipe
- Customizable sweetness: Adjust honey or brown sugar to taste without losing texture.
- Soft, chewy texture: The combo of nut butter, honey, and fat gives a bend-not-break bite.
- Budget-friendly: Uses pantry staples and costs less than most boxed bars.
- Cleaner ingredients: No preservatives, artificial flavors, or mystery syrups.
- Great for meal prep: One pan makes enough snacks for the week.
- Flexible for diets: Easy to make gluten-free, dairy-free, or nut-free with simple swaps.
What Not to Do
- Don’t skip pressing firmly: Loose packing leads to crumbly, fall-apart bars.
- Don’t reduce the binder too much: Cutting honey or nut butter below the amounts listed can ruin the structure.
- Don’t add too many mix-ins: Overloading chips and fruit makes bars unstable. Stick to 1/2–3/4 cup total.
- Don’t rush the chill time: Warm bars won’t slice cleanly and can break.
- Don’t use quick oats: They absorb differently and can make bars dry or powdery.
Variations You Can Try
- Chocolate Almond: Almond butter + mini chocolate chips + sliced almonds + a pinch of cinnamon.
- Tropical Chew: Coconut oil + dried pineapple + chopped macadamias + coconut flakes.
- Cranberry Pistachio: Maple syrup + dried cranberries + chopped pistachios + orange zest.
- Trail Mix: Peanut butter + raisins + peanuts + sunflower seeds + a few M&M-style candies.
- Protein Boost: Stir 1/4 cup vanilla or unflavored protein powder into the oats and add 1–2 tablespoons extra honey if needed.
- Nut-Free School Safe: Sunflower seed butter + pumpkin seeds + mini chocolate chips or dried fruit.
- Gluten-Free: Use certified gluten-free oats and verify all mix-ins are GF.
- Low-Sugar Lean: Reduce brown sugar to 1–2 tablespoons and use unsweetened mix-ins like nuts and seeds.
FAQ
How do I keep granola bars from falling apart?
Use the full amount of sticky binders, press the mixture very firmly in the pan, and chill until completely set before slicing.
If your bars still feel loose, add 1–2 tablespoons more honey next time or reduce mix-ins slightly.
Can I bake these bars instead?
Yes. Press into a lined pan and bake at 325°F (165°C) for 12–15 minutes until lightly golden at the edges. Cool fully before slicing.
Baking gives a slightly firmer, toastier result while staying chewy.
What’s the best way to cut clean slices?
Chill the slab well, lift it out, and use a long, sharp knife. Press straight down rather than sawing, and wipe the blade between cuts. A quick 10-minute freezer chill before slicing helps, too.
Can I replace honey with maple syrup or agave?
Maple syrup works, but the set will be a touch looser.
If using maple or agave, slightly increase nut butter by 1 tablespoon or add 1 tablespoon ground flax or chia to help bind.
Are quick oats or steel-cut oats okay?
Stick with old-fashioned rolled oats. Quick oats can get mealy and steel-cut oats won’t soften properly in a no-bake bar.
How do I make these dairy-free?
Use coconut oil instead of butter and choose dairy-free chocolate chips. Everything else in the base is already dairy-free.
How do I prevent chocolate chips from melting in the mix?
Let the oat mixture cool a couple of minutes before folding in chips.
If the bowl still feels hot to the touch, wait another minute or two.
Can I add seeds like chia or flax?
Absolutely. Add 1–2 tablespoons ground flax or whole chia. They help with binding and add a subtle nutty flavor and fiber boost.
What pan size is best?
An 8×8-inch pan makes thicker bars; a 9×9-inch pan makes slightly thinner ones.
For a double batch, use a 9×13-inch pan and extend chilling time.
How do I fix a batch that’s too dry?
Warm 2 tablespoons honey with 1 tablespoon nut butter and drizzle over the mixture, then press again and chill. For next time, reduce dry mix-ins slightly or add a bit more fat.
Final Thoughts
These homemade chewy granola bars are simple, reliable, and endlessly adaptable. With the right balance of oats, binders, and mix-ins, you get a snack that’s both satisfying and portable.
Make a batch on Sunday, stash them in the fridge, and you’re set for stress-free snacking all week. Once you lock in your favorite combo, this will be a recipe you return to again and again.
Chewy Granola Bars Homemade - Easy, Soft, and Customizable
Ingredients
- 3 cups old-fashioned rolled oats (not quick oats)
- 1/2 cup chopped nuts (almonds, pecans, or walnuts)
- 1/2 cup unsweetened shredded coconut (optional but great for chew)
- 1/2 cup honey (or pure maple syrup for a slightly looser set)
- 1/2 cup creamy peanut butter (or almond/sunflower butter)
- 3 tablespoons unsalted butter (or coconut oil)
- 1/4 cup brown sugar (light or dark; for extra chew and sweetness)
- 1 teaspoon pure vanilla extract
- 1/2 teaspoon fine sea salt (reduce to 1/4 teaspoon if nuts are salted)
- 1/2–3/4 cup mix-ins (mini chocolate chips, dried cranberries, raisins, chopped apricots, pumpkin seeds, chia, or flax)
Method
- Prep the pan: Line an 8x8-inch or 9x9-inch square pan with parchment paper, leaving overhang on two sides to lift out later. Lightly grease the parchment.
- Toast oats and nuts: In a dry skillet over medium heat, toast the oats, nuts, and coconut (if using) for 5–7 minutes, stirring often, until lightly golden and fragrant. Transfer to a large bowl to cool slightly.
- Warm the binder: In a small saucepan over low heat, combine honey, peanut butter, butter, and brown sugar. Stir until smooth and just starting to bubble at the edges. Remove from heat and stir in vanilla and salt.
- Combine: Pour the warm mixture over the oat mixture. Stir until every bit is coated. Let it cool 2–3 minutes before adding chocolate chips or they’ll melt.
- Add mix-ins: Fold in your chosen add-ins. Keep total mix-ins around 1/2–3/4 cup so the bars still hold together.
- Pack it tightly: Transfer mixture to the prepared pan. Use a sheet of parchment on top and press very firmly with your hands or the bottom of a measuring cup. The tighter you pack, the chewier and sturdier the bars.
- Chill to set: Refrigerate for at least 1–2 hours, or freeze for 30 minutes, until firm.
- Slice: Lift the slab out using the parchment overhang. Use a sharp knife to cut into 10–12 bars or 16 squares. For clean edges, wipe the knife between cuts.
- Optional glaze: Drizzle with melted dark chocolate and let set before storing.
Notes
- Room temperature: Keep in an airtight container up to 4 days. Separate layers with parchment to prevent sticking.
- Refrigerator: Lasts up to 2 weeks. Chilling keeps them extra firm and chewy.
- Freezer: Wrap bars individually and freeze up to 3 months. Thaw at room temperature for 15–20 minutes or eat slightly chilled.
- On-the-go tip: Wrap in parchment or wax paper, then place in a reusable bag. This prevents melting mix-ins from sticking to wrappers.
Let us know how it was! ♡