No_Bake Chocolate – Easy, Rich, and Ready in Minutes
No-bake chocolate desserts are the kind of treat you pull together when a craving hits and the oven is off-limits. This recipe gives you a fudgy, glossy chocolate slice with just a handful of pantry staples. No tricky techniques.
No long chill times. Just pure, rich chocolate flavor with a satisfying bite. It’s perfect for weeknights, holidays, or anytime you want dessert without the fuss.
What Makes This Recipe So Good
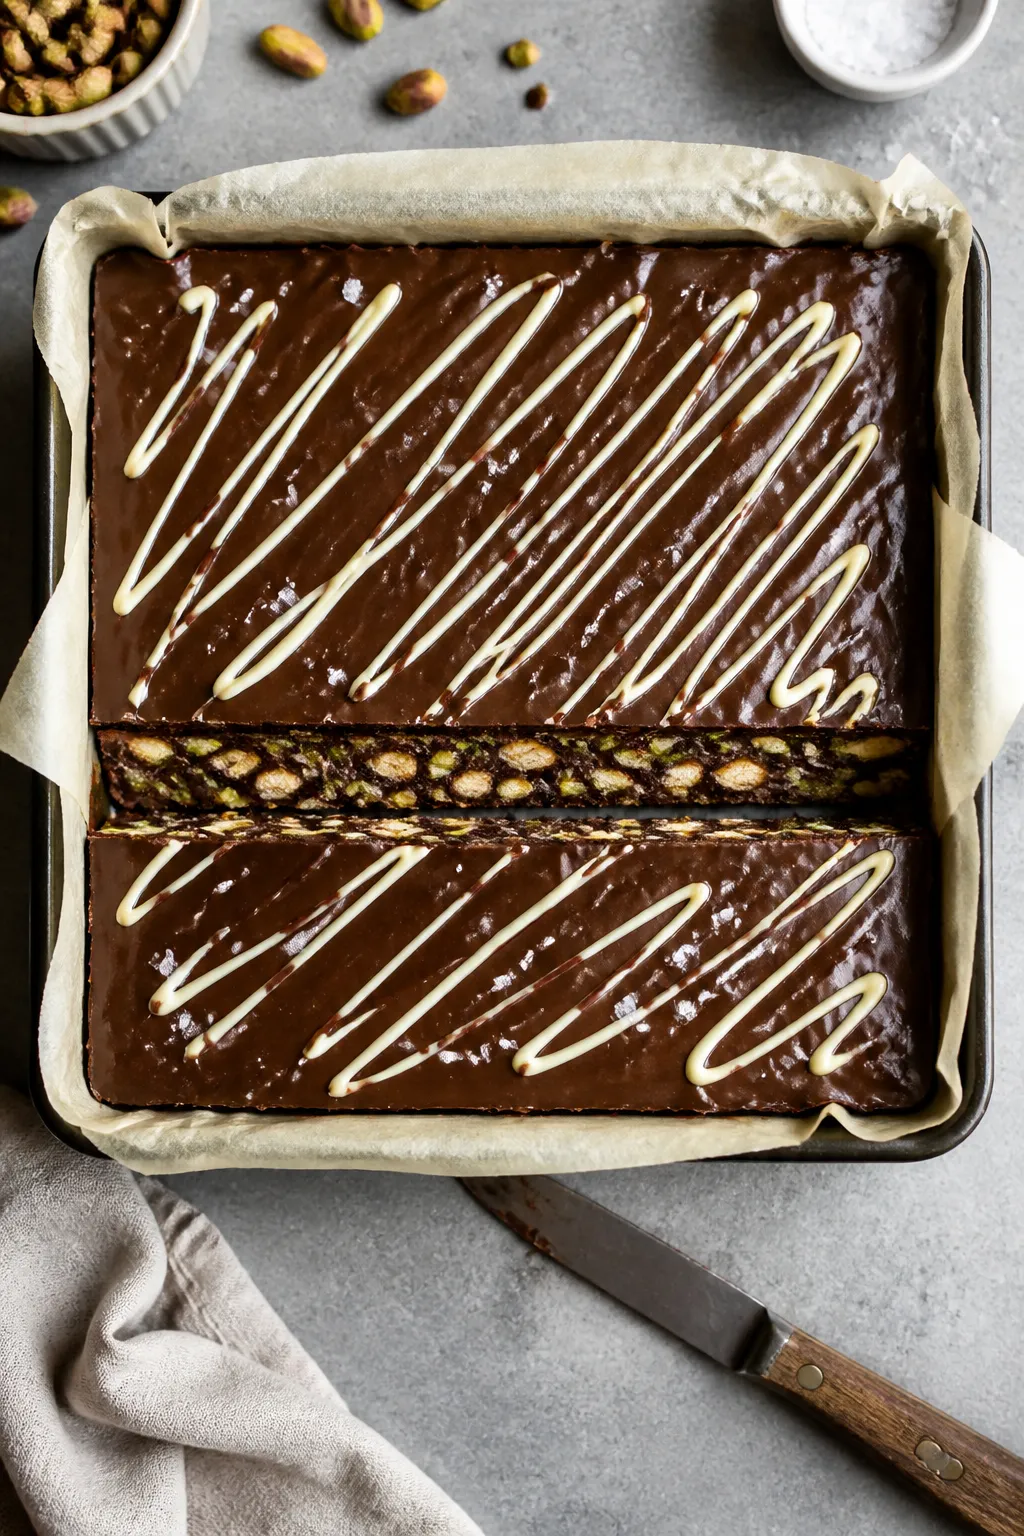
This no-bake chocolate recipe hits that sweet spot between elegance and simplicity.
It’s smooth, sliceable, and not overly sweet, with a clean chocolate finish. You can keep it classic or load it up with nuts, crushed cookies, or dried fruit. It firms up beautifully without eggs or flour, making it a great option for different diets.
It’s also a make-ahead dream.
Mix, pour, chill, and you’re done. The texture sits somewhere between fudge and a firm truffle—rich, melt-in-your-mouth, and deeply satisfying. And because it uses basic ingredients, you can whip it up with zero stress.
Shopping List
- Dark chocolate (60–70% cocoa) – 12 ounces (roughly 340 g), chopped
- Unsalted butter – 6 tablespoons
- Sweetened condensed milk – 1 can (14 ounces / 396 g)
- Vanilla extract – 1 teaspoon
- Salt – a pinch
- Optional mix-ins:
- Chopped toasted nuts (walnuts, almonds, pistachios)
- Crushed biscuits or graham crackers
- Dried fruit (cherries, cranberries, apricots)
- Mini marshmallows
- Shredded coconut
- Espresso powder (1/2 teaspoon for deeper chocolate flavor)
- Optional toppings:
- Flaky sea salt
- Cocoa powder (for dusting)
- Melted white chocolate drizzle
- Equipment:
- 8-inch square pan
- Parchment paper
- Heatproof bowl
- Saucepan (for a double boiler) or microwave-safe bowl
- Rubber spatula
- Sharp knife for slicing
Instructions
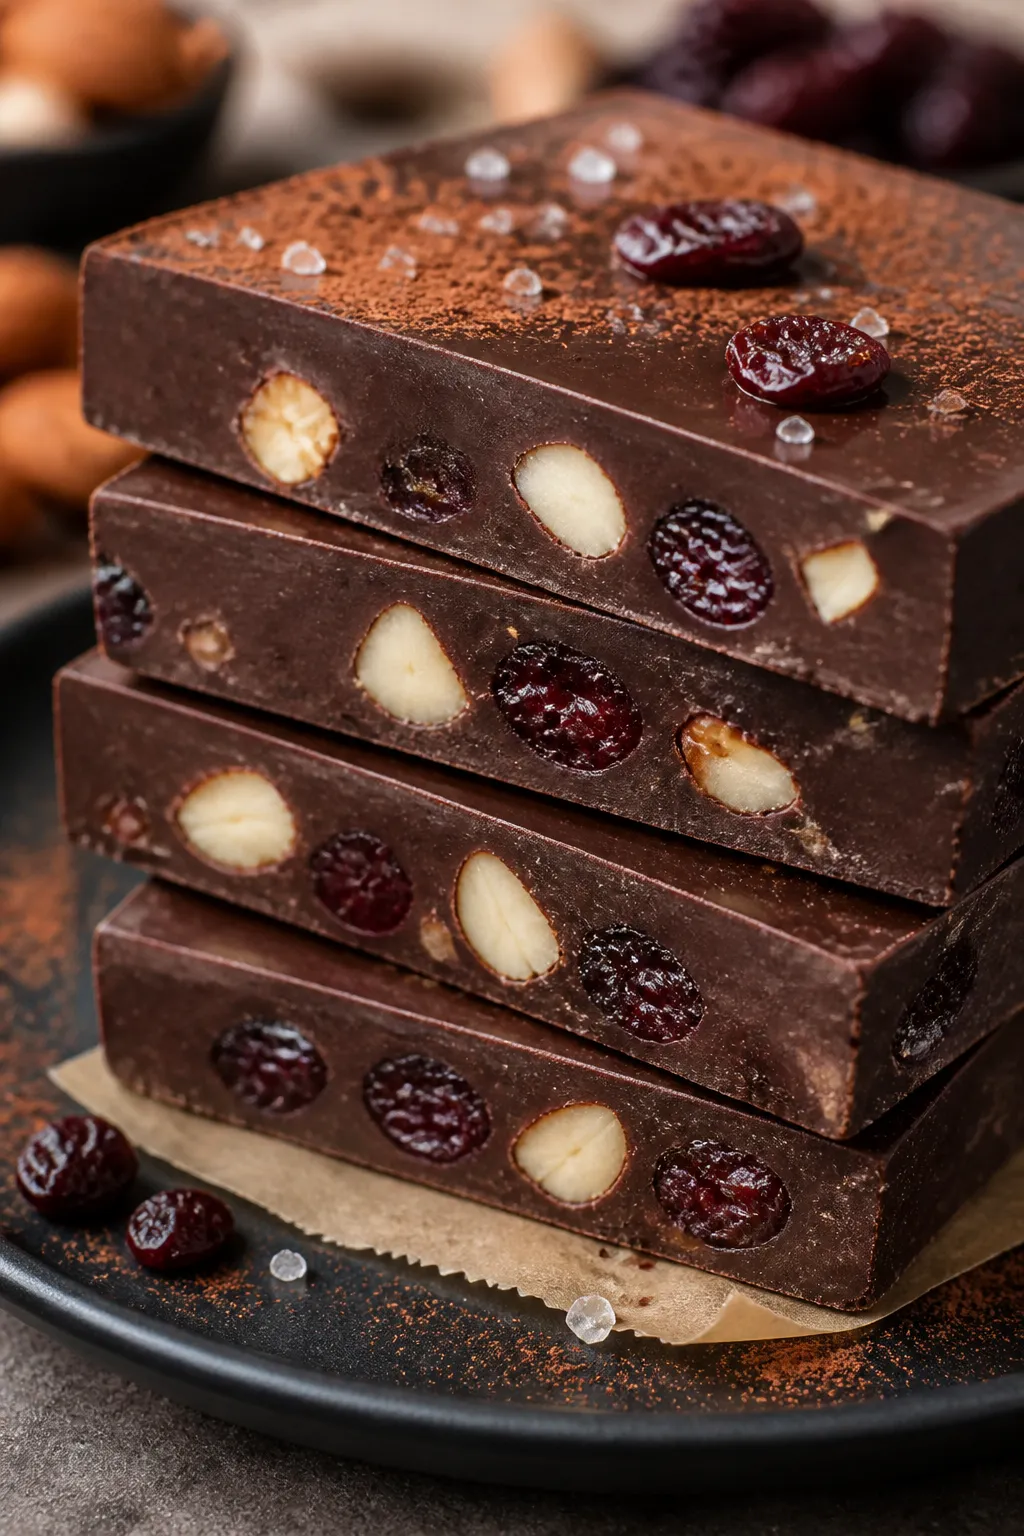
- Prep the pan. Line an 8-inch square pan with parchment, leaving overhang on two sides.
This creates a sling so you can lift the set chocolate out easily.
- Melt the base. Add chopped dark chocolate, butter, and sweetened condensed milk to a heatproof bowl. Melt gently over a saucepan of barely simmering water, stirring often until smooth and glossy. Alternatively, microwave in 20–30 second bursts, stirring between each, until fully melted.
- Flavor it. Remove from heat.
Stir in vanilla and a pinch of salt. If using espresso powder, add it now. Mix until the chocolate looks thick and uniform.
- Fold in extras. If adding nuts, crushed cookies, or fruit, gently fold them in with a spatula.
Keep the add-ins to about 1 to 1 1/2 cups total so the mixture still sets firmly.
- Pour and level. Scrape the mixture into the lined pan. Smooth the top with the spatula. Tap the pan lightly on the counter to release any air bubbles.
- Finish the top. Sprinkle with flaky sea salt or add a light drizzle of melted white chocolate if you like contrast and a bit of crunch.
- Chill to set. Refrigerate for 2–3 hours, or until firm enough to slice cleanly.
For quicker setting, you can chill in the freezer for about 45–60 minutes, but keep an eye on it.
- Slice and serve. Lift the slab out using the parchment sling. Warm a sharp knife under hot water, dry it, and cut into squares or bars. Wipe the knife between cuts for neat edges.
Storage Instructions
Refrigerator: Store in an airtight container for up to 2 weeks.
Separate layers with parchment to prevent sticking.
Freezer: Freeze for up to 3 months. Wrap tightly in parchment and then in a freezer bag or container. Thaw in the fridge for a few hours before serving.
Room temperature: If your kitchen is cool, the bars can sit out for several hours on a platter, but they’ll soften in warm rooms.
For the best texture, keep them chilled and bring to room temp for 10 minutes before serving.
Health Benefits
Dark chocolate offers antioxidants like flavanols, which can support heart health in moderation. Choosing a 60–70% cocoa bar means you get more cocoa solids and generally less sugar. Nuts add healthy fats, a bit of protein, and satisfying crunch, while dried fruit brings fiber and natural sweetness.
This recipe also uses sweetened condensed milk to achieve a silky, fudge-like set without eggs or flour.
That makes it an accessible treat for some dietary preferences. As with any dessert, portion size matters. A small square goes a long way thanks to the rich, intense flavor.
Pitfalls to Watch Out For
- Overheating the chocolate: High heat can seize or burn chocolate.
Melt low and slow, and stir often.
- Water contact: Even a little water can cause chocolate to clump. Keep tools dry and avoid steam dripping from the double boiler lid.
- Too many mix-ins: Overloading can make the bars crumbly and prevent a clean set.
- Cutting too soon: If you rush slicing, you’ll get ragged edges and a sticky texture. Chill fully before cutting.
- Using weak chocolate: Low-cocoa or poor-quality chocolate can taste waxy and overly sweet.
Aim for a reputable brand with 60–70% cocoa.
Alternatives
- Dairy-free/vegan: Use dairy-free dark chocolate and vegan butter. Swap sweetened condensed milk for sweetened condensed coconut milk. The set and flavor remain excellent, with a light coconut note.
- Nut-free: Skip nuts and use crushed biscuits, seeds (like pumpkin or sunflower), or mini marshmallows for texture.
- Lower sugar: Choose higher-percentage dark chocolate (70–85%) and keep toppings minimal.
A dusting of cocoa and a pinch of sea salt go a long way.
- Flavor twists: Add orange zest and a drop of orange extract; stir in peppermint extract; fold in chili flakes for heat; or add cardamom for warmth.
- Shape and size: Pour into silicone molds for individual bites, or use a loaf pan for thicker, truffle-like bars.
FAQ
Can I use milk chocolate instead of dark?
Yes, but reduce the sweetened condensed milk by a few tablespoons to avoid an overly soft, sweet result. Milk chocolate has more sugar and milk solids, so the final texture can be softer. Consider mixing half dark and half milk for balance.
How do I fix seized chocolate?
If your chocolate becomes grainy and stiff, whisk in a small amount of warm cream or warm condensed milk, a teaspoon at a time, until it loosens.
It won’t be perfect, but it can still be usable for this recipe.
Do I need to temper the chocolate?
No. This recipe sets via the condensed milk and butter mixture, not through tempered cocoa butter. You’ll get a firm, fudge-like texture without the snap of tempered chocolate.
Why didn’t my bars set?
Common causes include too many mix-ins, using very low-cocoa chocolate, or not chilling long enough.
Pop the pan back in the fridge or freezer. If still soft, you can repurpose it as a chocolate spread or truffle filling.
Can I double the recipe?
Absolutely. Use a 9×13-inch pan for a double batch.
The chill time may be slightly longer due to the thicker slab.
What’s the best way to get clean slices?
Use a long, sharp knife warmed under hot water and wiped dry. Press down in a single motion instead of sawing, and clean the blade between cuts. Chilling a bit longer also helps.
Is this gluten-free?
The base is naturally gluten-free if your chocolate and vanilla extract are certified gluten-free.
Avoid adding biscuits or any gluten-containing mix-ins if you need it fully gluten-free.
Can I add peanut butter?
Yes. Swirl in 1/3 to 1/2 cup smooth peanut butter after melting the base. It adds flavor and creaminess without affecting the set too much.
How long can it sit out at a party?
About 2–3 hours in a cool room.
In warm conditions, keep it on a chilled platter or rotate a few pieces at a time from the fridge to maintain the best texture.
Wrapping Up
This No_Bake chocolate recipe is the kind of simple pleasure that always delivers. It’s rich, reliable, and endlessly adaptable. With a short ingredient list and minimal effort, you get a dessert that looks polished and tastes luxurious.
Keep a batch on hand for last-minute guests, late-night cravings, or those moments when only chocolate will do.
Ingredients
Method
- Prep the pan. Line an 8-inch square pan with parchment, leaving overhang on two sides. This creates a sling so you can lift the set chocolate out easily.
- Melt the base. Add chopped dark chocolate, butter, and sweetened condensed milk to a heatproof bowl. Melt gently over a saucepan of barely simmering water, stirring often until smooth and glossy. Alternatively, microwave in 20–30 second bursts, stirring between each, until fully melted.
- Flavor it. Remove from heat. Stir in vanilla and a pinch of salt. If using espresso powder, add it now. Mix until the chocolate looks thick and uniform.
- Fold in extras. If adding nuts, crushed cookies, or fruit, gently fold them in with a spatula. Keep the add-ins to about 1 to 1 1/2 cups total so the mixture still sets firmly.
- Pour and level. Scrape the mixture into the lined pan. Smooth the top with the spatula. Tap the pan lightly on the counter to release any air bubbles.
- Finish the top. Sprinkle with flaky sea salt or add a light drizzle of melted white chocolate if you like contrast and a bit of crunch.
- Chill to set. Refrigerate for 2–3 hours, or until firm enough to slice cleanly. For quicker setting, you can chill in the freezer for about 45–60 minutes, but keep an eye on it.
- Slice and serve. Lift the slab out using the parchment sling. Warm a sharp knife under hot water, dry it, and cut into squares or bars. Wipe the knife between cuts for neat edges.
Printable Recipe Card
Want just the essential recipe details without scrolling through the article? Get our printable recipe card with just the ingredients and instructions.