No Bake Peanut Butter Granola Bars – Simple, Chewy, and Satisfying
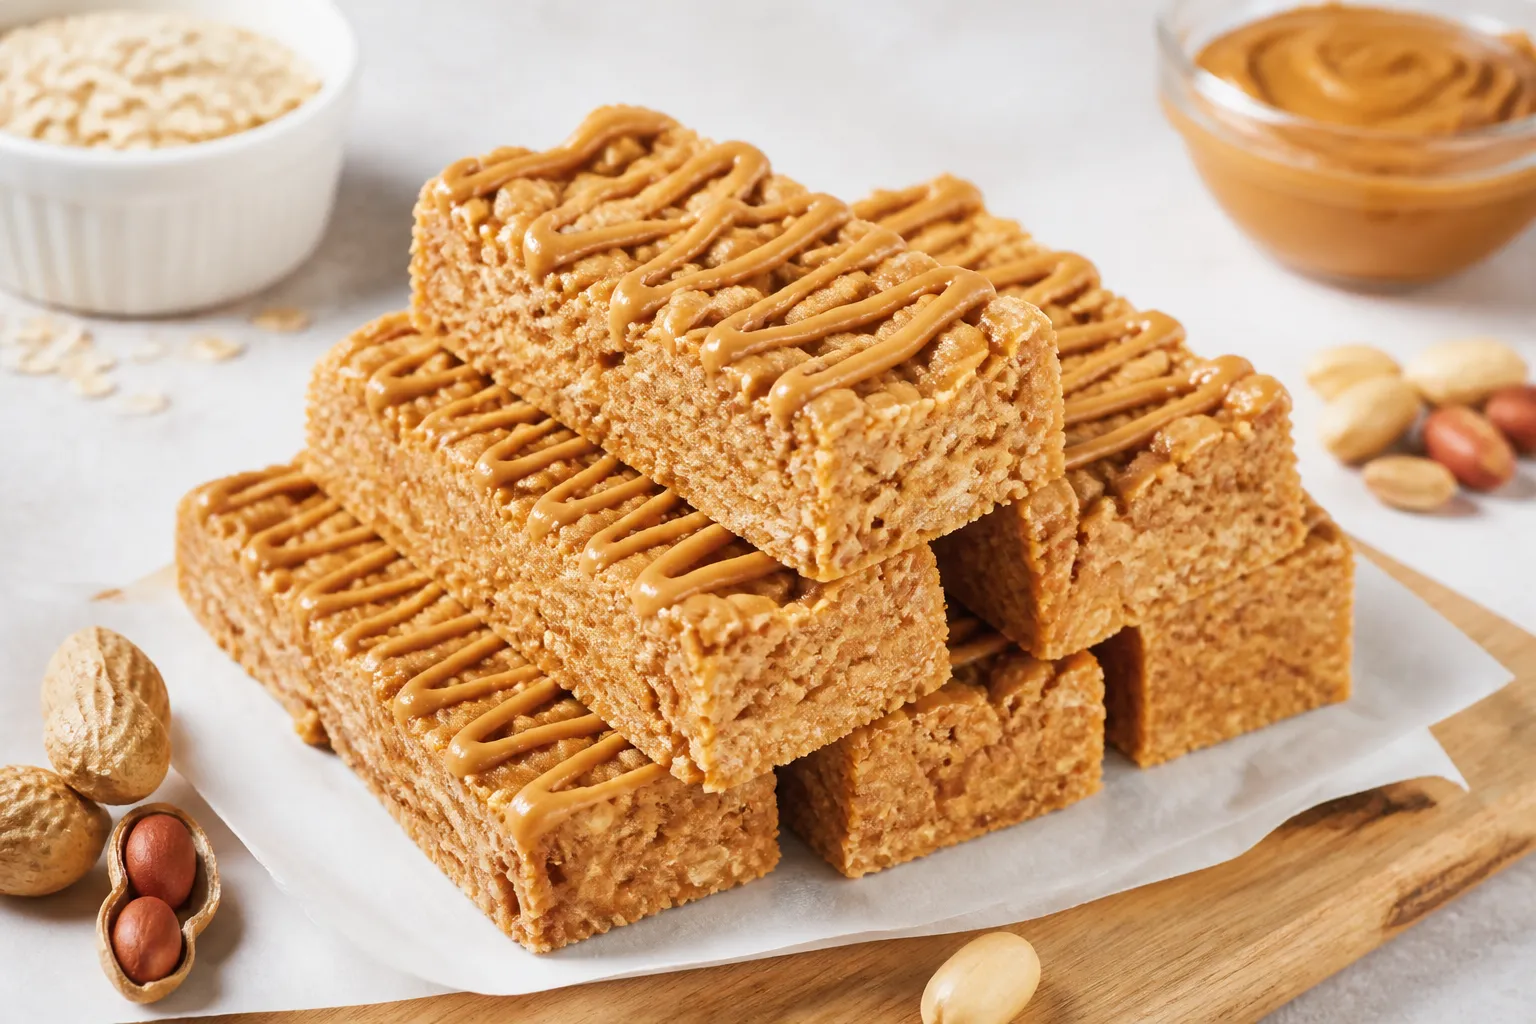
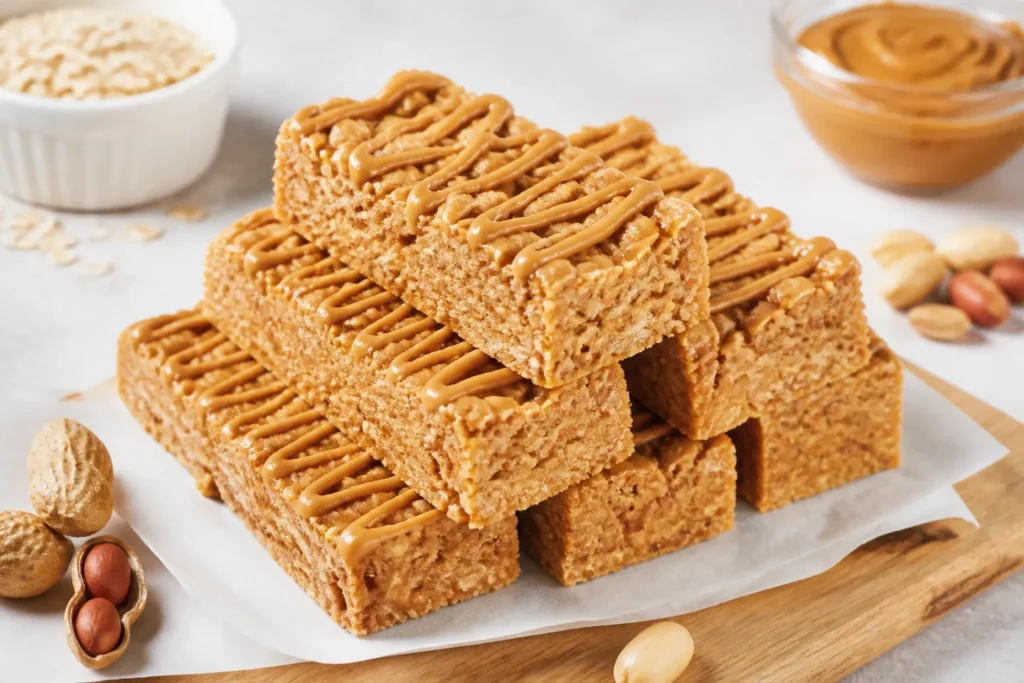
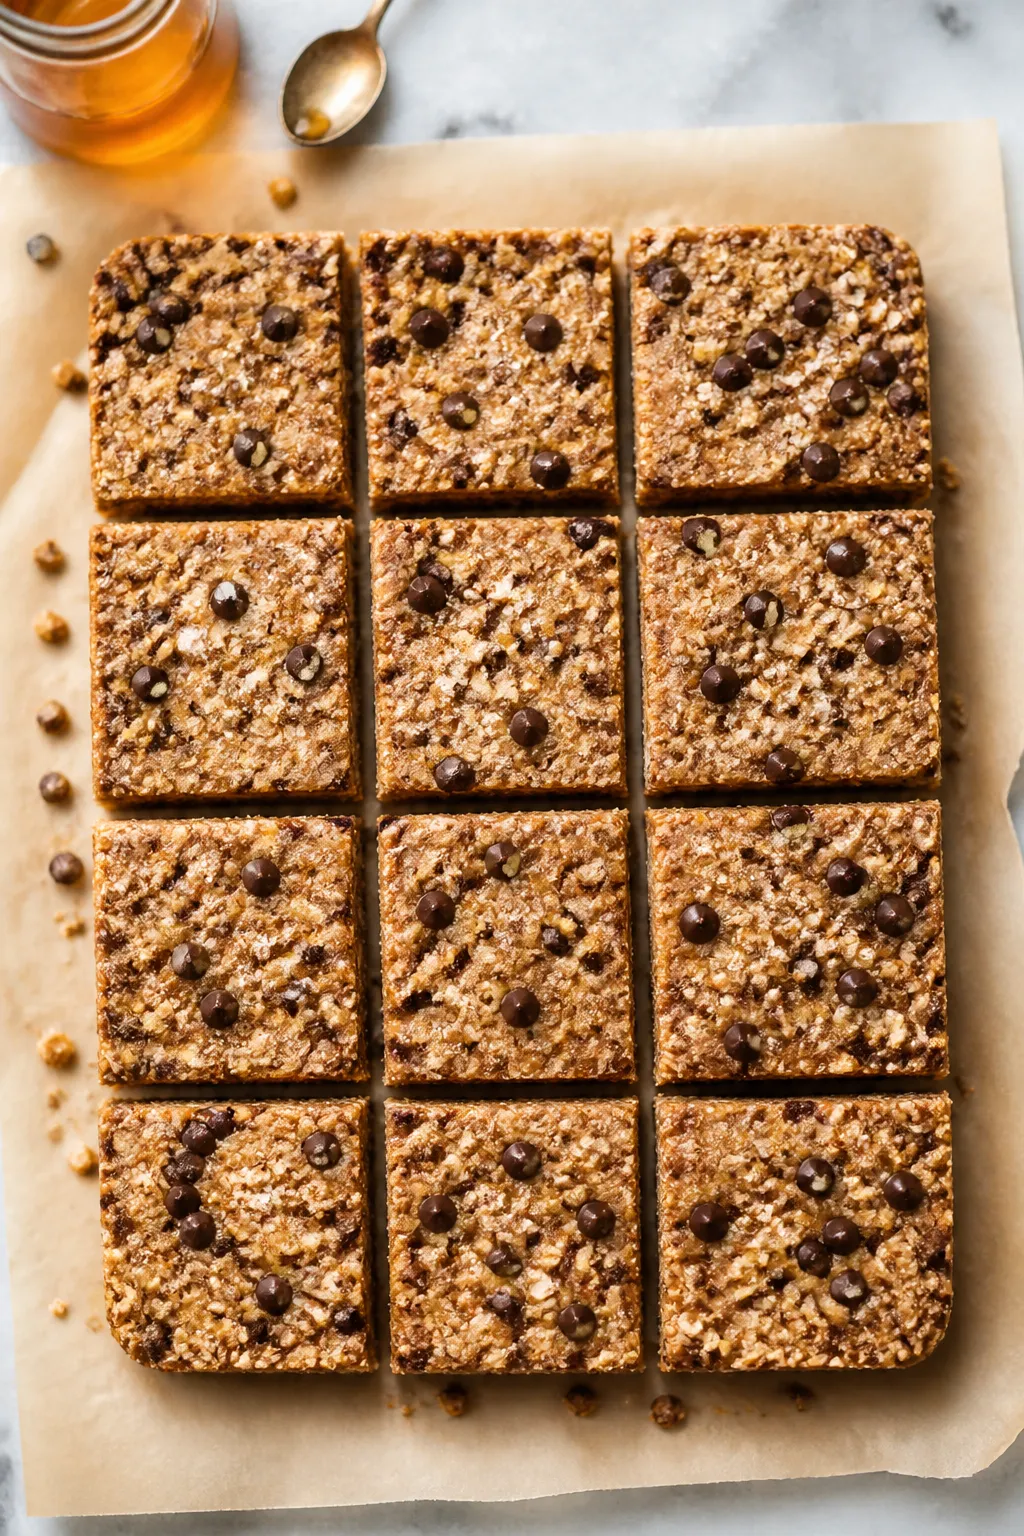
These no bake peanut butter granola bars are the kind of snack that makes busy days easier. They’re quick to mix, firm up nicely in the fridge, and taste like a treat without being overly sweet. You control the ingredients, so you know exactly what’s going in.
No oven, no fuss—just wholesome, chewy bars that hold together and actually keep you full. Keep a batch on hand for breakfasts, lunchboxes, or a mid-afternoon pick-me-up.
Why This Recipe Works
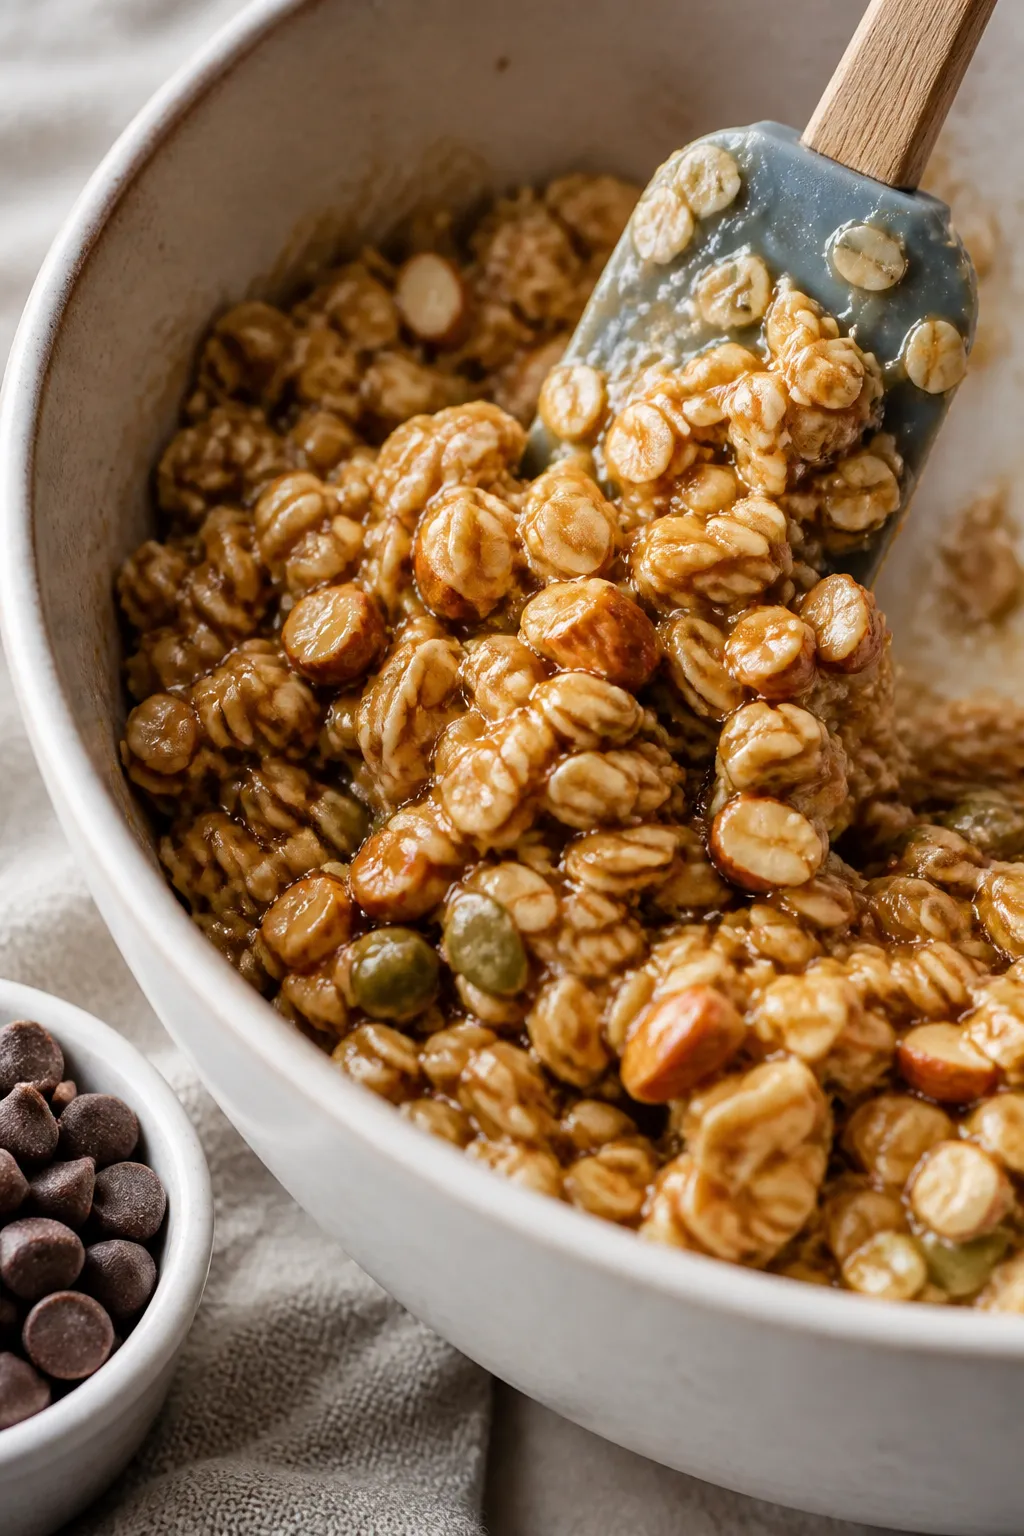
These bars lean on a smart combo of natural peanut butter and honey to bind the oats without baking. The warm mixture coats every flake, so the bars slice clean and don’t crumble.
A bit of chopped nuts or seeds adds texture and boosts protein and healthy fats. Mini chocolate chips or dried fruit bring just enough sweetness. The result is a chewy, balanced bar that tastes like something you’d buy—but better.
What You’ll Need
- Rolled oats (old-fashioned) – 3 cups.
Avoid quick oats for the best chewy texture.
- Natural creamy peanut butter – 1 cup, well stirred so it’s smooth and not oily.
- Honey – 1/2 cup, for sweetness and binding.
- Vanilla extract – 1 teaspoon, for flavor depth.
- Salt – 1/4 teaspoon, to balance the sweetness.
- Chopped nuts or seeds – 1/2 cup (almonds, peanuts, pumpkin seeds, or sunflower seeds).
- Mini chocolate chips – 1/3 cup (optional but delicious). Use mini so they distribute evenly.
- Ground flaxseed or chia seeds – 2 tablespoons (optional, for extra fiber and structure).
- Cinnamon – 1/2 teaspoon (optional, cozy flavor).
- Pinch of nutmeg – optional, but a tiny bit adds warmth.
- Parchment paper – for lining the pan.
Instructions
- Prep the pan: Line an 8×8-inch or 9×9-inch baking pan with parchment, leaving overhang on two sides for easy lifting. Lightly spray or oil the parchment so the bars release cleanly.
- Mix the dry ingredients: In a large bowl, add oats, chopped nuts or seeds, flax or chia (if using), cinnamon, nutmeg, and salt.
Stir to combine so everything is evenly distributed.
- Warm the wet mixture: In a small saucepan over low heat, add peanut butter and honey. Stir constantly until the mixture is smooth, glossy, and just warm—about 1–2 minutes. Remove from heat and stir in vanilla.
- Combine: Pour the warm peanut butter mixture over the oat mixture.
Use a sturdy spatula to fold until every bit of oats is coated. Work quickly before it cools and thickens.
- Add chocolate chips: Let the mixture rest 2–3 minutes so it’s not hot enough to melt the chips. Fold in mini chocolate chips.
- Press into the pan: Transfer the mixture to your lined pan.
Lay another piece of parchment on top and press firmly with your hands or the bottom of a measuring cup. Firm pressure is key for bars that hold together.
- Chill to set: Refrigerate for at least 1–2 hours, or freeze for 30–40 minutes, until solid enough to slice cleanly.
- Slice: Lift the slab out using the parchment overhang. Cut into 10–12 bars or 16 smaller squares with a sharp knife. Wipe the blade between cuts for clean edges.
- Enjoy: Serve slightly chilled or at room temperature.
If your kitchen is warm, keep bars cool so they stay firm.
How to Store
- Refrigerator: Store bars in an airtight container with parchment between layers for up to 1 week.
- Freezer: Wrap individual bars and freeze up to 2 months. Thaw at room temperature for 20–30 minutes or in the fridge overnight.
- On the go: For lunchboxes, wrap a bar and include an ice pack if it’s warm out. Heat softens peanut butter-based bars, so cooler is better for travel.
Benefits of This Recipe
- No oven needed: Perfect for hot days or when you want a quick prep.
- Simple pantry staples: Oats, peanut butter, and honey do most of the work.
- Balanced energy: Oats add complex carbs, peanut butter adds protein and healthy fats, and nuts or seeds boost staying power.
- Customizable: Swap in different nuts, seeds, or mix-ins based on what you have.
- Kid-friendly: Naturally sweet and easy to pack for school snacks.
What Not to Do
- Don’t use runny, separated peanut butter without stirring. Excess oil will make the bars greasy and loose. Stir well before measuring.
- Don’t skip pressing the mixture firmly. Light pressure leads to crumbly bars.
- Don’t add chocolate chips too soon. If the mixture is hot, they’ll melt and streak.
Let it cool for a couple of minutes first.
- Don’t use quick oats as a full swap. They can make the bars sandy or too soft. Rolled oats hold structure.
- Don’t slice before chilling. The chill time sets the bars and gives you clean cuts.
Alternatives
- Nut-free version: Use sunflower seed butter or tahini instead of peanut butter. Taste and add a pinch more salt if needed.
- Vegan version: Swap honey for pure maple syrup or brown rice syrup.
Note that maple syrup is thinner; if using it, add an extra tablespoon of ground flax/chia for binding.
- Gluten-free: Use certified gluten-free rolled oats.
- High-protein boost: Stir in 1/4–1/3 cup vanilla or unflavored protein powder. If the mixture gets too dry, add 1–2 tablespoons more peanut butter or a splash of milk (dairy or non-dairy).
- Fruit-forward: Replace chocolate chips with 1/3 cup chopped dried cherries, cranberries, or raisins for a tart-sweet twist.
- Crunchy style: Add 1/2 cup crisp rice cereal for light crunch without heaviness.
FAQ
Can I use crunchy peanut butter?
Yes. Crunchy peanut butter adds nice texture.
If it’s especially thick, warm it gently with the honey a little longer until it loosens and coats the oats evenly.
Why are my bars falling apart?
You likely didn’t press them firmly enough, or you cut them before they were fully chilled. Also check your ratios—too many add-ins can disrupt binding. Add a tablespoon more honey or peanut butter, then press and chill longer.
Are these bars overly sweet?
No, they’re lightly sweet from honey.
If you prefer less sweetness, reduce honey to 1/3 cup and add 1 tablespoon extra peanut butter to maintain binding.
Can I use almond butter instead of peanut butter?
Absolutely. Almond butter works well. Choose a creamy version and warm it with the sweetener just like peanut butter.
How do I prevent the bars from sticking to the pan?
Use parchment with overhang and lightly grease it.
This combo makes lifting and slicing easy and keeps the bottom from sticking.
Do I need to toast the oats?
No, but you can for extra flavor. Toast oats in a dry skillet over medium heat for 3–4 minutes until fragrant, then cool before mixing.
What’s the best way to cut clean squares?
Chill until firm, use a sharp chef’s knife, and wipe the blade between each cut. A gentle sawing motion helps prevent crumble.
Can I reduce the fat?
Peanut butter provides structure, so don’t cut it too much.
For a lighter feel, use 3/4 cup peanut butter and add 2–3 tablespoons unsweetened applesauce. Bars will be slightly softer.
How many bars does this make?
In an 8×8-inch pan, you’ll get about 10–12 standard bars. For smaller bites, cut into 16 squares.
Can I add coconut?
Yes.
Add up to 1/3 cup unsweetened shredded coconut. If the mixture gets dry, add an extra tablespoon of honey.
Wrapping Up
No bake peanut butter granola bars are the kind of recipe that fits your life, not the other way around. They’re quick to make, easy to customize, and sturdy enough to pack for work or school.
Keep the process simple, press firmly, and give them time to chill. You’ll end up with chewy, satisfying bars that everyone asks for again and again.
No Bake Peanut Butter Granola Bars - Simple, Chewy, and Satisfying
Ingredients
- Rolled oats (old-fashioned) – 3 cups. Avoid quick oats for the best chewy texture.
- Natural creamy peanut butter – 1 cup, well stirred so it’s smooth and not oily.
- Honey – 1/2 cup, for sweetness and binding.
- Vanilla extract – 1 teaspoon, for flavor depth.
- Salt – 1/4 teaspoon, to balance the sweetness.
- Chopped nuts or seeds – 1/2 cup (almonds, peanuts, pumpkin seeds, or sunflower seeds).
- Mini chocolate chips – 1/3 cup (optional but delicious). Use mini so they distribute evenly.
- Ground flaxseed or chia seeds – 2 tablespoons (optional, for extra fiber and structure).
- Cinnamon – 1/2 teaspoon (optional, cozy flavor).
- Pinch of nutmeg – optional, but a tiny bit adds warmth.
- Parchment paper – for lining the pan.
Method
- Prep the pan: Line an 8x8-inch or 9x9-inch baking pan with parchment, leaving overhang on two sides for easy lifting. Lightly spray or oil the parchment so the bars release cleanly.
- Mix the dry ingredients: In a large bowl, add oats, chopped nuts or seeds, flax or chia (if using), cinnamon, nutmeg, and salt. Stir to combine so everything is evenly distributed.
- Warm the wet mixture: In a small saucepan over low heat, add peanut butter and honey. Stir constantly until the mixture is smooth, glossy, and just warm—about 1–2 minutes. Remove from heat and stir in vanilla.
- Combine: Pour the warm peanut butter mixture over the oat mixture. Use a sturdy spatula to fold until every bit of oats is coated. Work quickly before it cools and thickens.
- Add chocolate chips: Let the mixture rest 2–3 minutes so it’s not hot enough to melt the chips. Fold in mini chocolate chips.
- Press into the pan: Transfer the mixture to your lined pan. Lay another piece of parchment on top and press firmly with your hands or the bottom of a measuring cup. Firm pressure is key for bars that hold together.
- Chill to set: Refrigerate for at least 1–2 hours, or freeze for 30–40 minutes, until solid enough to slice cleanly.
- Slice: Lift the slab out using the parchment overhang. Cut into 10–12 bars or 16 smaller squares with a sharp knife. Wipe the blade between cuts for clean edges.
- Enjoy: Serve slightly chilled or at room temperature. If your kitchen is warm, keep bars cool so they stay firm.
Notes
- Refrigerator: Store bars in an airtight container with parchment between layers for up to 1 week.
- Freezer: Wrap individual bars and freeze up to 2 months. Thaw at room temperature for 20–30 minutes or in the fridge overnight.
- On the go: For lunchboxes, wrap a bar and include an ice pack if it’s warm out. Heat softens peanut butter-based bars, so cooler is better for travel.
Let us know how it was! ♡