Chicken Pot Pie With Biscuit – Cozy Comfort Made Simple
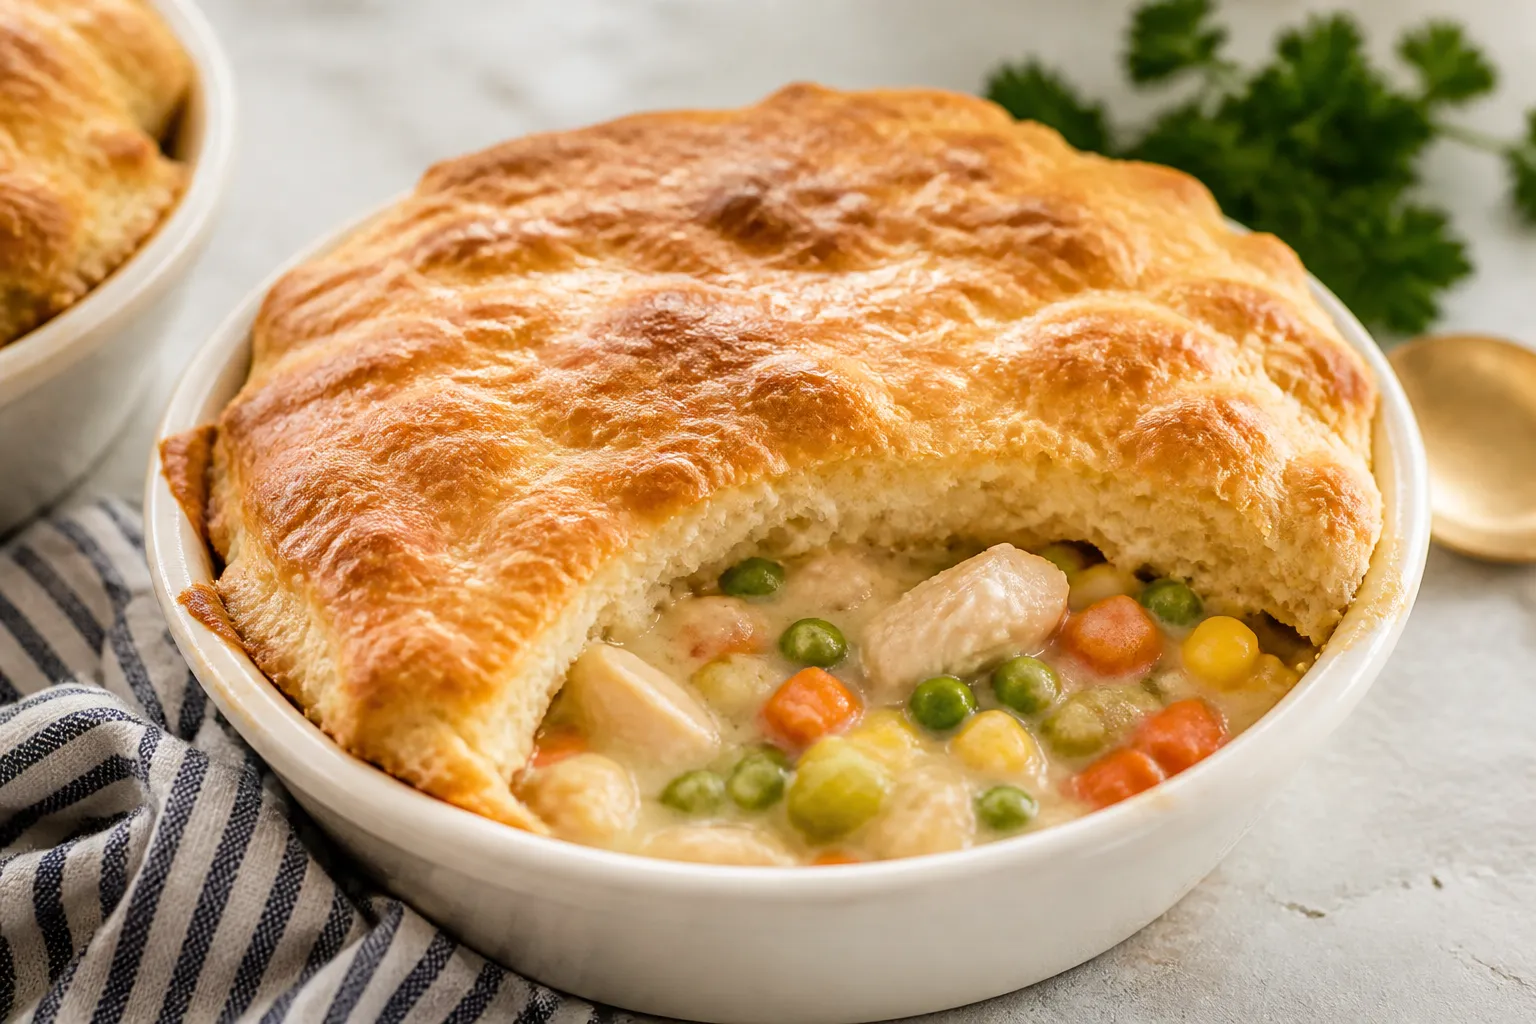
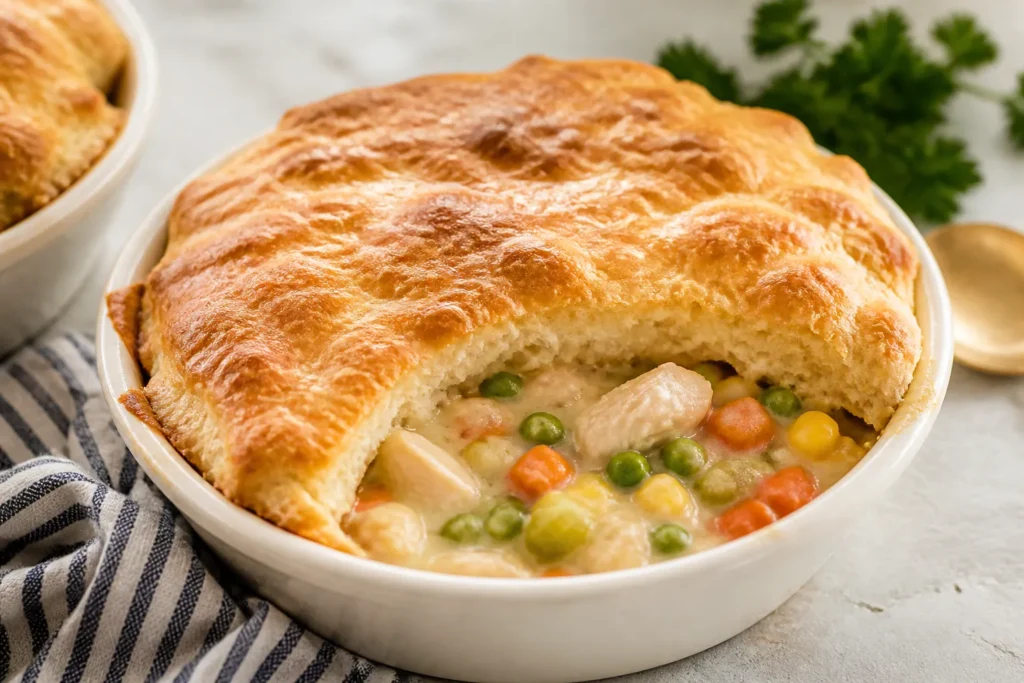
There’s something about chicken pot pie with biscuit topping that feels like a warm hug. It’s hearty, creamy, and loaded with tender chicken and vegetables under a golden, buttery biscuit crust. This version keeps the process easy and weeknight-friendly without losing that homemade taste you crave.
Whether you’re feeding your family or planning a relaxed dinner with friends, this dish delivers comfort and satisfaction in every bite.
What Makes This Special
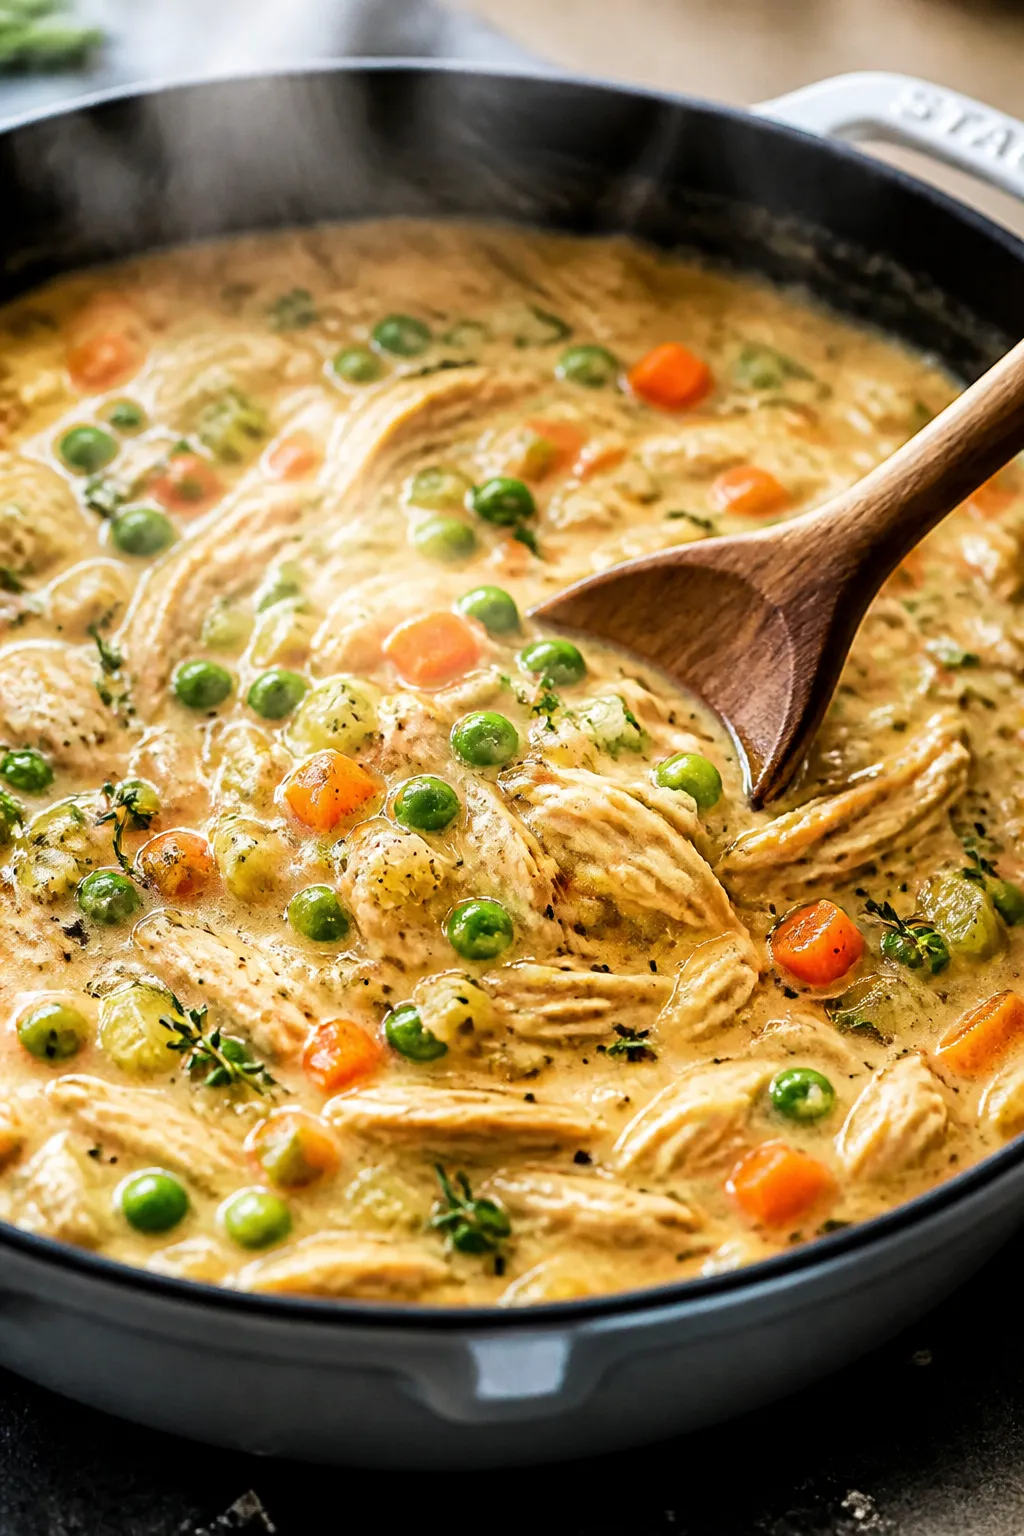
This recipe skips the fuss of pie dough and uses fluffy biscuits on top, which bake up crisp on the outside and tender inside. The filling is classic and comforting: chicken in a creamy gravy with carrots, peas, celery, and onion. You’ll make the sauce from scratch, so it tastes rich and clean without relying on canned soup.
Plus, it’s flexible: use leftover rotisserie chicken, swap in frozen veggies, or make it dairy-free if you need to. The result is a reliable, crowd-pleasing meal that’s simple enough for a Tuesday but cozy enough for Sunday supper.
Ingredients
- For the Filling:
- 2 tablespoons unsalted butter
- 1 tablespoon olive oil
- 1 medium yellow onion, diced
- 2 medium carrots, peeled and diced
- 2 celery ribs, diced
- 2 cloves garlic, minced
- 1/3 cup all-purpose flour
- 2 cups low-sodium chicken broth
- 1 cup milk or half-and-half
- 3 cups cooked chicken, shredded or diced (rotisserie works great)
- 1 cup frozen peas
- 1 teaspoon fresh thyme leaves (or 1/2 teaspoon dried)
- 1 teaspoon fresh chopped parsley (optional)
- 1 teaspoon kosher salt, plus more to taste
- 1/2 teaspoon black pepper
- 1/2 teaspoon smoked paprika (optional, for depth)
- 1 tablespoon lemon juice or a splash of white wine vinegar (to brighten)
- For the Biscuit Topping:
- 2 cups all-purpose flour
- 1 tablespoon baking powder
- 1/2 teaspoon baking soda
- 1 teaspoon kosher salt
- 1 tablespoon sugar (optional, helps browning)
- 6 tablespoons cold unsalted butter, cut into small cubes
- 3/4 cup cold buttermilk (plus a little more if needed)
- 1 egg, beaten with 1 tablespoon milk (optional egg wash for shine)
Instructions
- Preheat and prep: Heat the oven to 400°F (200°C). Lightly grease a 9×13-inch baking dish or a deep 10-inch skillet that’s oven-safe.
- Sauté the vegetables: In a large skillet or pot, melt the butter with the olive oil over medium heat.
Add onion, carrots, and celery. Cook, stirring occasionally, until softened, about 6–8 minutes. Stir in the garlic and cook 30 seconds until fragrant.
- Make the roux: Sprinkle the flour over the vegetables and stir to coat.
Cook 1–2 minutes, stirring often. This cooks out the raw flour taste and builds your sauce base.
- Add liquids: Slowly pour in the chicken broth, whisking or stirring to prevent lumps. Add the milk or half-and-half.
Bring to a gentle simmer and cook until thickened, about 3–5 minutes, stirring frequently.
- Season and add chicken: Stir in the chicken, peas, thyme, parsley, salt, pepper, and smoked paprika if using. Add lemon juice to brighten the flavors. Taste and adjust seasoning.
The mixture should be creamy but spoonable; if it’s too thick, add a splash more broth or milk.
- Transfer to dish: Pour the filling into your prepared baking dish if it’s not already in an oven-safe skillet.
- Make the biscuit dough: In a mixing bowl, whisk the flour, baking powder, baking soda, salt, and sugar. Cut in the cold butter with a pastry cutter or your fingers until the mixture resembles coarse crumbs with pea-size bits of butter. Pour in the cold buttermilk and stir just until the dough comes together.
If dry, add 1–2 teaspoons more buttermilk. Do not overmix.
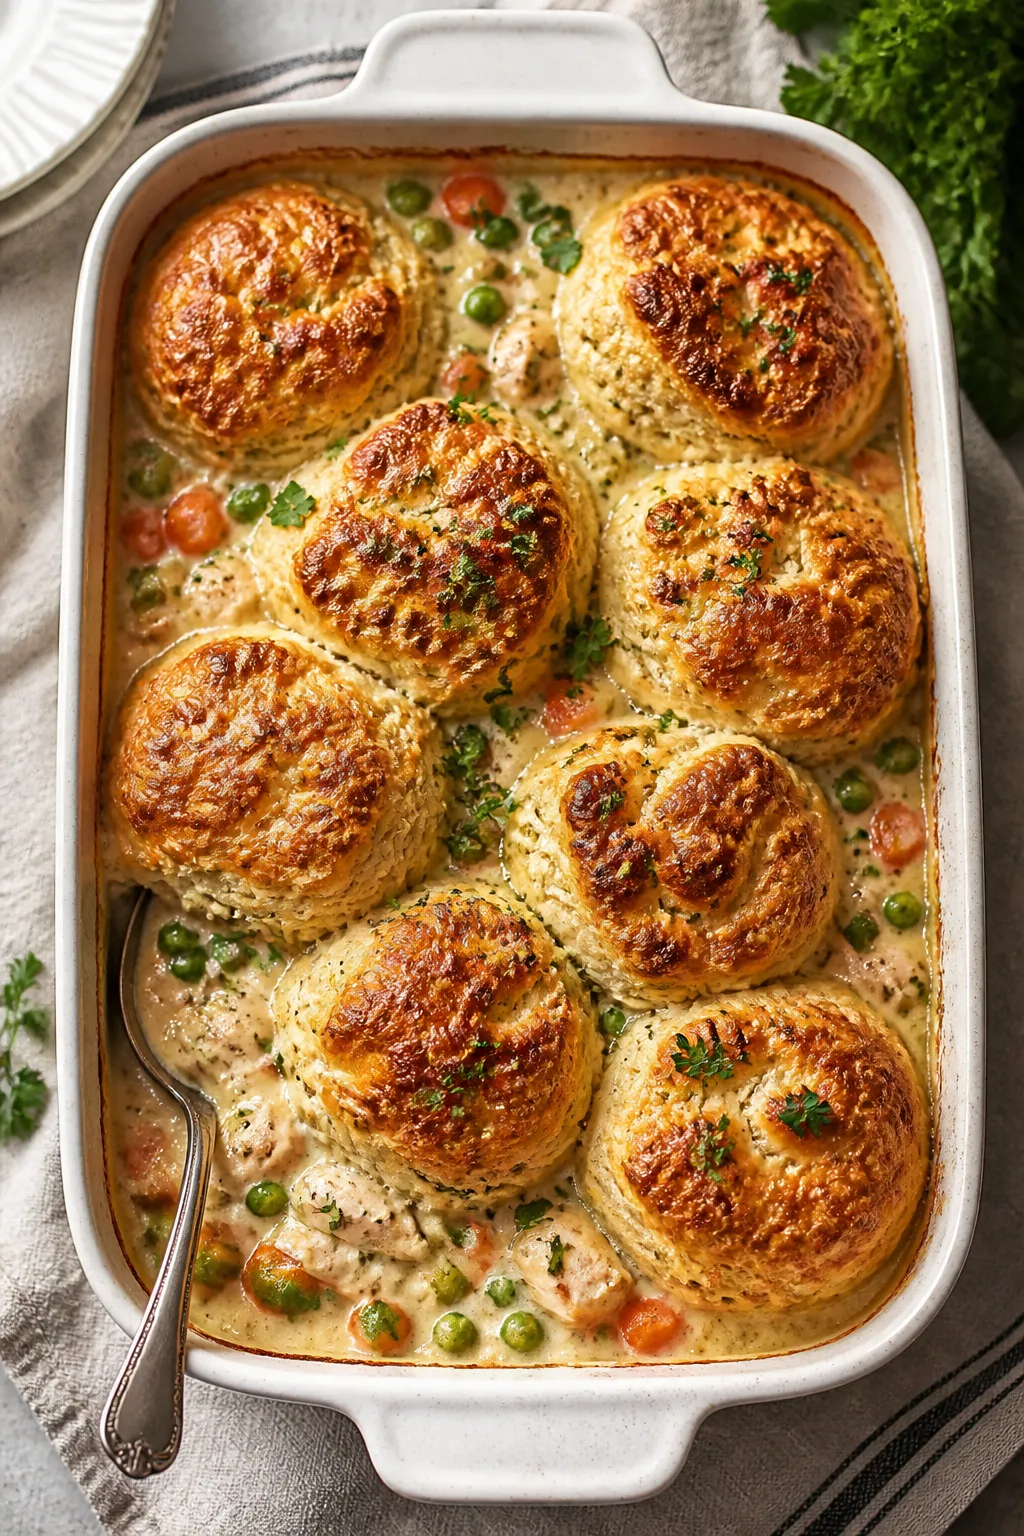
- Top the filling: Scoop the dough into 8–10 mounds and place evenly over the filling. Leave small gaps so steam can escape.
For a shinier top, brush with the egg wash.
- Bake: Bake 22–28 minutes, until the biscuits are golden and the filling is bubbling around the edges. If the tops brown too quickly, tent loosely with foil for the last 5–10 minutes.
- Rest and serve: Let the pot pie rest 10 minutes so the filling settles. Serve warm.
Storage Instructions
- Refrigerator: Cool completely, then cover and refrigerate for up to 3 days.
- Reheating: Reheat covered at 350°F (175°C) for 15–20 minutes, then uncover a few minutes to re-crisp the biscuits.
Single portions reheat well in the microwave, though the topping won’t be as crisp.
- Freezer: Assemble the filling and freeze separately from the unbaked biscuit dough for best results. Freeze the filling up to 2 months. Thaw in the fridge overnight, warm on the stove, then add fresh biscuit dough and bake.
Baked leftovers can also be frozen, but the biscuits will soften; reheat in the oven to revive texture.
Why This is Good for You
This dish balances protein, vegetables, and satisfying carbs. Chicken provides lean protein that supports muscle health and keeps you fuller longer. Carrots, peas, celery, and onion bring fiber, vitamins, and antioxidants in a very approachable way. The homemade sauce lets you control sodium and fat, and you can use milk or half-and-half depending on your goals. If you want to make it lighter, sub in extra vegetables and use less butter while keeping all the comfort.
Pitfalls to Watch Out For
- Runny filling: If the sauce seems thin before baking, simmer it a bit longer to thicken.
The oven won’t fix a watery base.
- Tough biscuits: Overmixing the dough or using warm butter leads to dense biscuits. Keep everything cold and mix just until combined.
- Over-salty filling: Use low-sodium broth and season gradually. Remember the reduction will concentrate flavors.
- Uneven baking: Place biscuit mounds evenly and avoid covering the entire surface; small gaps help steam escape and keep the tops crisp.
- Dry chicken: Add cooked chicken toward the end of the stovetop step to prevent overcooking.
Rotisserie chicken stays tender and is convenient.
Alternatives
- Dairy-free: Use olive oil or a dairy-free butter alternative in the roux. Swap milk for unsweetened almond, oat, or soy milk. For biscuits, use coconut oil or vegan butter and a plant-based milk with 1 teaspoon vinegar to mimic buttermilk.
- Gluten-free: Thicken the filling with a gluten-free flour blend or 2 tablespoons cornstarch mixed with cold broth.
Use a gluten-free biscuit mix or your favorite GF biscuit recipe.
- Vegetarian: Replace chicken with white beans or chickpeas and use vegetable broth. Add mushrooms for a meaty texture and umami.
- Extra veg: Stir in diced potatoes, green beans, or corn. Sauté mushrooms or leeks for deeper flavor.
- Herb swap: Try rosemary or tarragon instead of thyme.
A little fresh dill pairs nicely if you add extra peas and lemon.
- Spice twist: Add a pinch of cayenne or a dash of hot sauce to the filling for gentle heat. Smoked paprika adds warmth without spice.
FAQ
Can I use canned biscuit dough?
Yes. It’s a fast shortcut and still tasty.
Cut the canned biscuits into halves or quarters, arrange over the filling with a bit of space between pieces, and bake until puffed and golden. Check the package for baking time and adjust as needed.
How do I thicken the filling without flour?
Use 2 tablespoons cornstarch mixed with 2 tablespoons cold broth to make a slurry. Stir it into the simmering filling and cook a minute or two until thickened.
What if I don’t have buttermilk?
Make a quick substitute: add 1 tablespoon lemon juice or white vinegar to a measuring cup, then fill to 3/4 cup with milk.
Let it sit 5 minutes before using. You can also use plain yogurt thinned with a little milk.
Can I make this ahead?
Yes. Make the filling up to 2 days in advance and keep it chilled.
When ready to bake, warm the filling on the stove, top with fresh biscuit dough, and bake as directed. This helps the biscuits rise properly and avoids sogginess.
What’s the best pan to use?
A deep 10-inch oven-safe skillet or a 9×13-inch baking dish works well. The key is enough surface area for the biscuits to spread and brown, and enough depth to hold the bubbling filling safely.
How do I prevent the bottom of the biscuits from getting soggy?
Make sure the filling is hot when the biscuits go on top; the steam helps them rise rather than soak.
Also, leave small gaps between biscuit mounds and bake until the tops and edges are well browned.
Wrapping Up
Chicken pot pie with biscuit topping is the kind of meal that brings people to the table fast. It’s simple to make, flexible with what you have on hand, and always tastes like home. Keep the steps easy, season as you go, and don’t overwork the biscuits.
With those small details in place, you’ll have a golden, bubbling dish that’s as comforting as it is reliable—perfect for any night you want something warm and satisfying.
Chicken Pot Pie With Biscuit - Cozy Comfort Made Simple
Ingredients
- For the Filling:
- 2 tablespoons unsalted butter
- 1 tablespoon olive oil
- 1 medium yellow onion, diced
- 2 medium carrots, peeled and diced
- 2 celery ribs, diced
- 2 cloves garlic, minced
- 1/3 cup all-purpose flour
- 2 cups low-sodium chicken broth
- 1 cup milk or half-and-half
- 3 cups cooked chicken, shredded or diced (rotisserie works great)
- 1 cup frozen peas
- 1 teaspoon fresh thyme leaves (or 1/2 teaspoon dried)
- 1 teaspoon fresh chopped parsley (optional)
- 1 teaspoon kosher salt, plus more to taste
- 1/2 teaspoon black pepper
- 1/2 teaspoon smoked paprika (optional, for depth)
- 1 tablespoon lemon juice or a splash of white wine vinegar (to brighten)
Method
- Refrigerator: Cool completely, then cover and refrigerate for up to 3 days.
- Reheating: Reheat covered at 350°F (175°C) for 15–20 minutes, then uncover a few minutes to re-crisp the biscuits. Single portions reheat well in the microwave, though the topping won’t be as crisp.
Let us know how it was! ♡