Maple Chicken and Bacon Slider Easy No Bake – Sweet, Savory, and Fast
These Maple Chicken and Bacon Sliders are the kind of recipe you keep in your back pocket for busy nights, game-day spreads, or last-minute guests. They’re sweet, smoky, and a little salty, with a creamy kick to tie everything together. Best of all, there’s no cooking required if you use pre-cooked ingredients—just assemble and enjoy.
The flavors taste like you put in serious effort, but the steps are simple and quick. If you love a good mix of sweet maple and savory bacon, this will hit the spot.
What Makes This Special
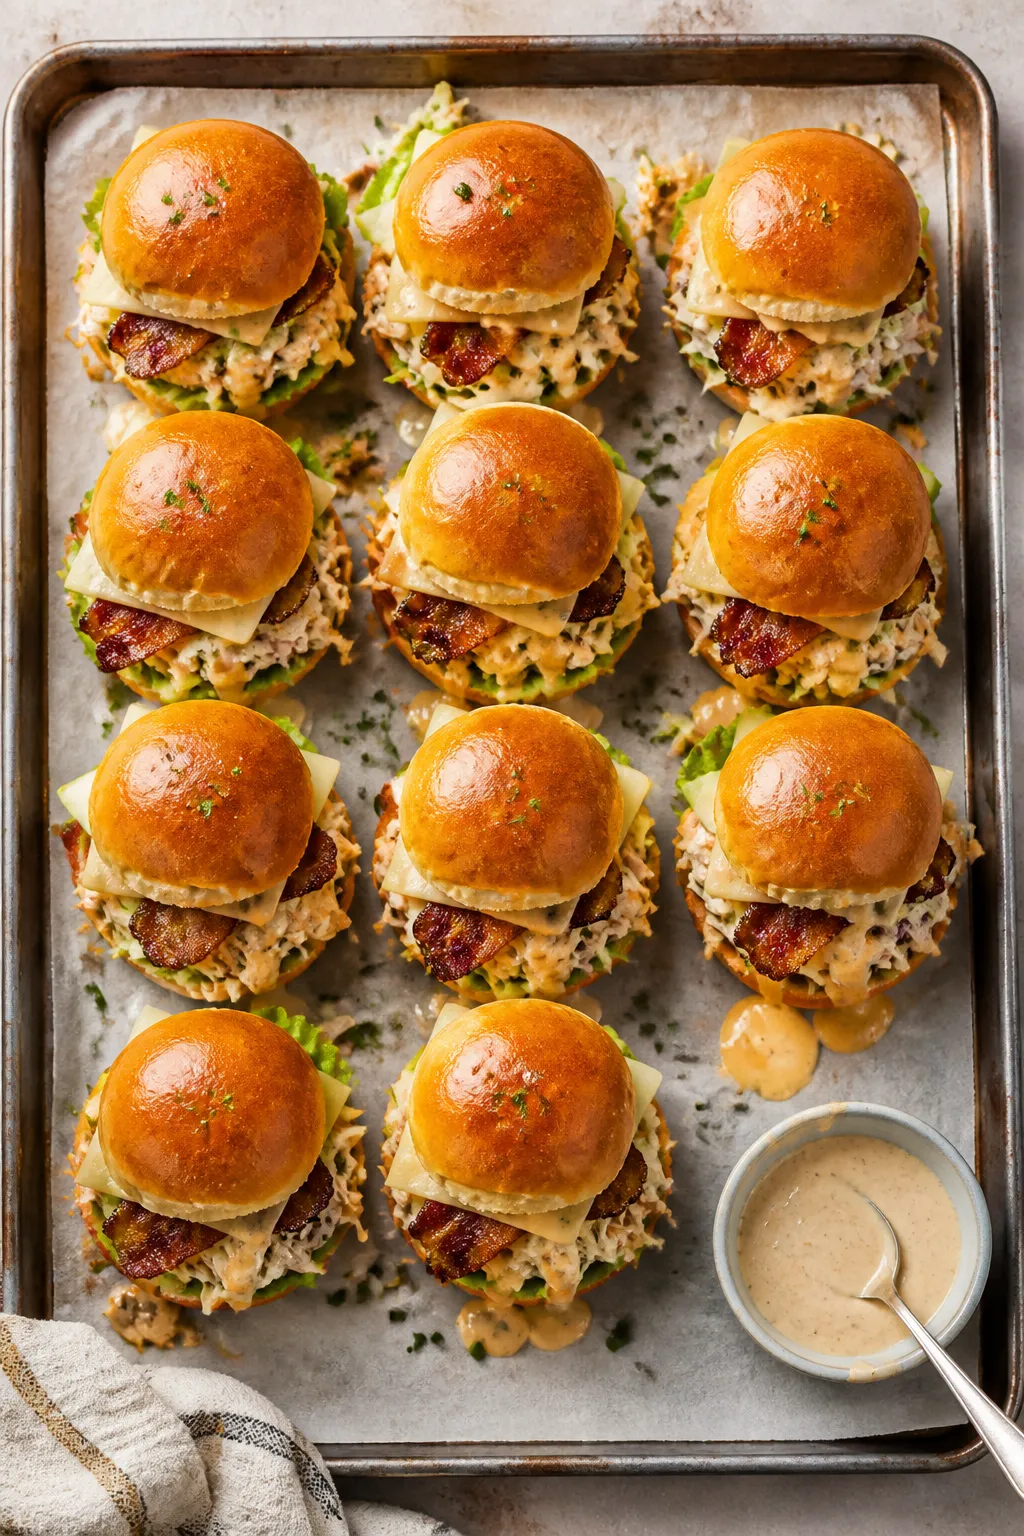
This recipe leans into convenient, ready-to-eat ingredients while delivering big flavor. You get tender chicken, crispy bacon, and a maple-mustard drizzle that makes every bite pop.
The sliders work for lunch, snacks, parties, or a no-fuss dinner. They’re also easy to scale up, customize, and prep ahead. It’s comfort food without heating up the kitchen.
What You’ll Need
- 12 slider buns (Hawaiian-style or soft dinner rolls)
- 2 cups cooked chicken, shredded or sliced (rotisserie works great)
- 8–10 strips fully cooked bacon, chopped or halved
- 6–8 slices mild cheese (provolone, Monterey Jack, or cheddar), optional
- 1/2 cup coleslaw mix (bagged, undressed), optional for crunch
- 1/4 cup mayonnaise
- 2 tablespoons Dijon mustard
- 3 tablespoons pure maple syrup (not pancake syrup, if possible)
- 1 teaspoon apple cider vinegar (or lemon juice)
- 1/4 teaspoon smoked paprika (optional)
- Pinch of garlic powder
- Salt and black pepper, to taste
- Butter lettuce or baby spinach, a few leaves per slider
How to Make It
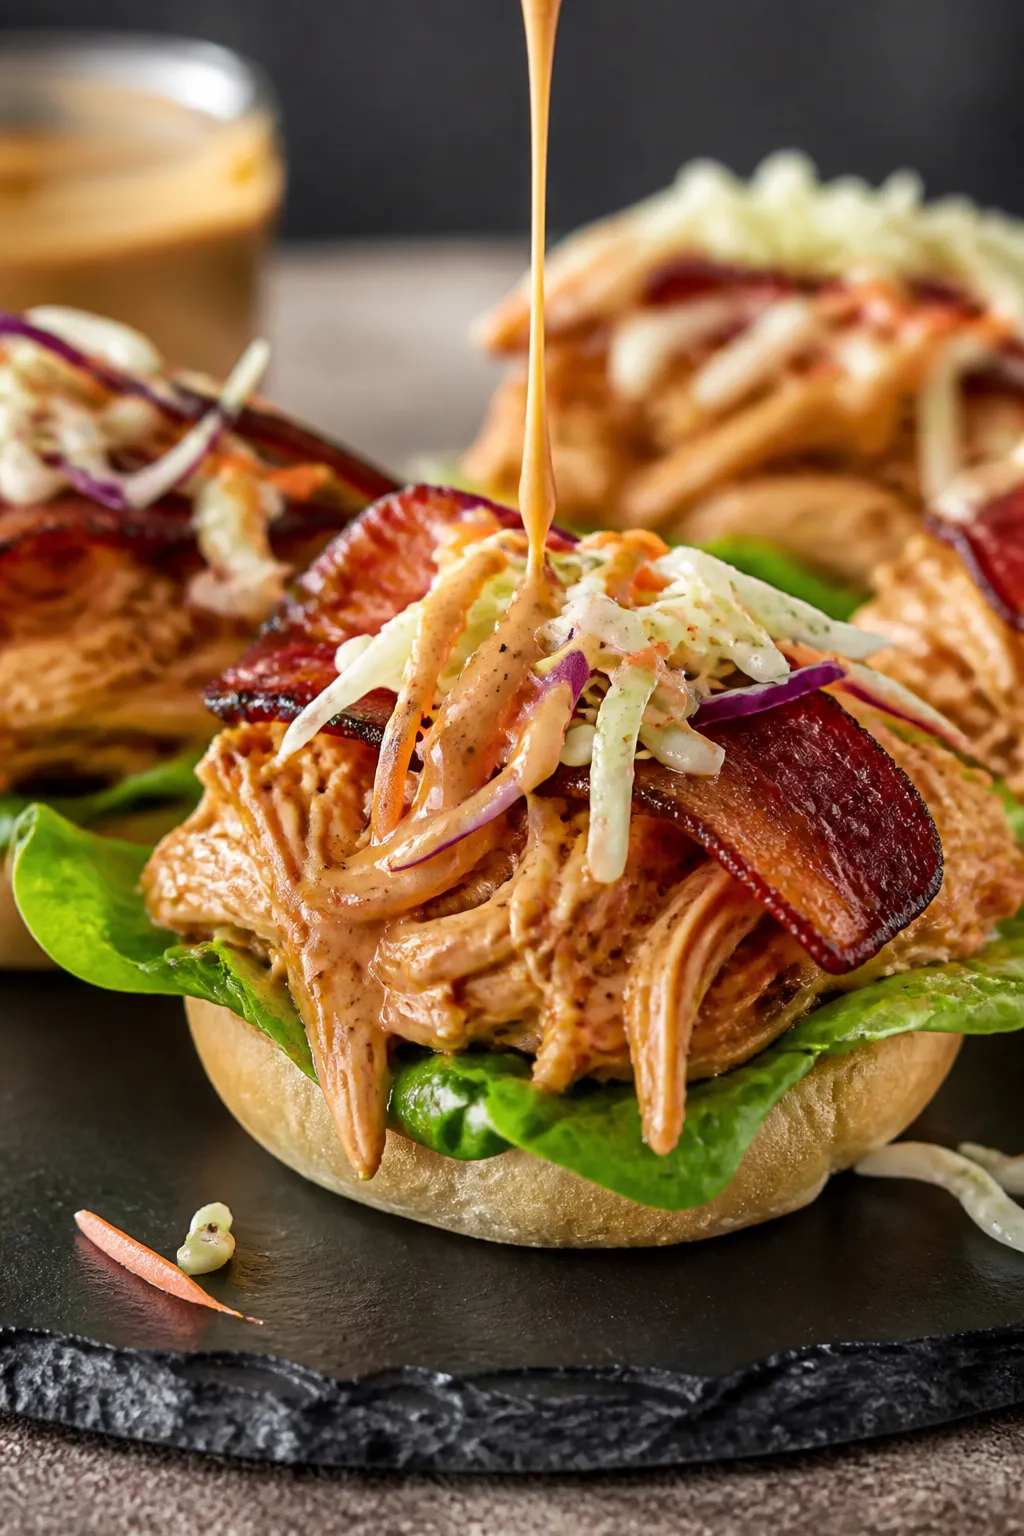
- Make the maple sauce: In a small bowl, whisk together mayonnaise, Dijon mustard, maple syrup, apple cider vinegar, smoked paprika, garlic powder, a pinch of salt, and a few grinds of black pepper.
Taste and adjust. You want a sweet-salty-tangy balance.
- Prep the chicken: Shred or slice the cooked chicken into bite-size pieces. Toss it with 2–3 tablespoons of the maple sauce to lightly coat.
This keeps the chicken moist and flavorful without being drippy.
- Get the buns ready: Slice the slider buns if they aren’t pre-split. If you like, spread a very thin layer of maple sauce on the cut sides for extra flavor.
- Layer the greens: Add lettuce or spinach to the bottom halves. This creates a slight barrier so the buns don’t get soggy.
- Add the chicken: Spoon the sauced chicken evenly across the buns.
Press lightly to help it settle.
- Top with bacon: Place pieces of fully cooked bacon over the chicken. Aim for a little bacon in every bite.
- Cheese time (optional): Add slices of cheese if you like a creamy, melty texture. Even cold, it adds a nice layer.
- Crunch factor (optional): Scatter a small handful of dry coleslaw mix over the top for fresh crunch without dressing.
- Final drizzle: Add a light zigzag of maple sauce over the fillings.
Don’t drown it—just enough to kiss everything with flavor.
- Cap and serve: Place the top buns on and press gently. Serve immediately, or cover and chill for up to an hour if you need to hold them for an event.
Storage Instructions
- Short-term: Keep assembled sliders in an airtight container in the fridge for up to 24 hours. For best texture, add coleslaw and greens just before serving.
- Make-ahead components: Store the maple sauce in a jar for up to 4 days.
Keep chicken and bacon in separate containers. Assemble when ready.
- Avoid sogginess: If storing, line the bun with lettuce first and skip extra sauce until serving time.
- Freezing: Not recommended once assembled. The greens and sauce won’t thaw well.
Health Benefits
- Protein-rich: Chicken provides lean protein that helps keep you satisfied.
- Balanced energy: The maple syrup adds quick carbohydrates, while the protein and fats from chicken, bacon, and mayo help slow digestion for steadier energy.
- Customizable nutrition: Use whole grain slider buns for more fiber, add spinach for iron and folate, and choose reduced-sodium bacon if that fits your goals.
- Portion control: Sliders make it easy to scale your serving—one for a snack, two or three for a meal.
What Not to Do
- Don’t soak the fillings in sauce: A light coat is perfect.
Too much will make the buns soggy and overpower the flavors.
- Don’t skip seasoning: Taste the sauce and adjust salt and pepper. Underseasoned sauce makes the whole slider fall flat.
- Don’t use pancake syrup as a 1:1 swap: It’s typically flavored corn syrup and will be much sweeter and less complex. If you must, reduce the amount and add a touch more mustard.
- Don’t assemble too far ahead: More than a few hours in the fridge can wilt the greens and soften the buns.
Alternatives
- Protein swaps: Use sliced deli chicken or turkey, pulled rotisserie turkey, or store-bought grilled chicken strips.
For a pescatarian twist, try smoked salmon and skip the bacon.
- Vegetarian version: Replace chicken and bacon with smoked tempeh or coconut bacon plus mashed chickpeas tossed in the maple sauce.
- Dairy-free: Skip the cheese and use a dairy-free mayo. The sauce will still be creamy and balanced.
- Gluten-free: Use gluten-free slider buns or small lettuce cups. Butter lettuce leaves make a great wrap.
- Spicy spin: Add a few dashes of hot sauce to the maple mixture or sprinkle in chili flakes.
A spicy maple drizzle is fantastic with bacon.
- Herb upgrade: Stir in chopped fresh chives or parsley to the sauce for a fresh finish.
FAQ
Can I make these completely no-cook?
Yes. Use pre-cooked rotisserie chicken, fully cooked bacon, and ready-to-eat greens. Everything is assembled cold, so you don’t need a stove or oven.
What if I don’t have maple syrup?
You can use honey, but reduce the amount slightly and add a bit more mustard to balance the sweetness.
For pancake syrup, start with half the amount and adjust to taste.
How do I keep the sliders from getting soggy?
Line the buns with lettuce, use a light hand with the sauce, and assemble right before serving. If making ahead, keep the sauce and greens separate and add them at the last minute.
What cheese works best?
Provolone and Monterey Jack are smooth and mild, cheddar adds bite, and Swiss gives a gentle tang. All pair nicely with maple and bacon.
Can I serve these warm?
Absolutely.
While this is a no-bake recipe, you can quickly warm the chicken and bacon in the microwave and use room-temp buns. The sliders will still be fast and easy.
How many sliders per person?
Plan on 2–3 per person for a meal, and 1–2 for appetizers alongside other snacks. It depends on the size of your buns and the rest of your menu.
Is there a lower-sugar option?
Reduce the maple syrup to 1–2 tablespoons and add extra Dijon for more tang.
You can also skip the drizzle on top and just keep the sauce light inside.
Can I use barbecue sauce instead?
You can, but it will change the flavor profile. If you try it, mix a little maple into the barbecue sauce for a sweet-smoky hybrid that still complements the bacon.
Wrapping Up
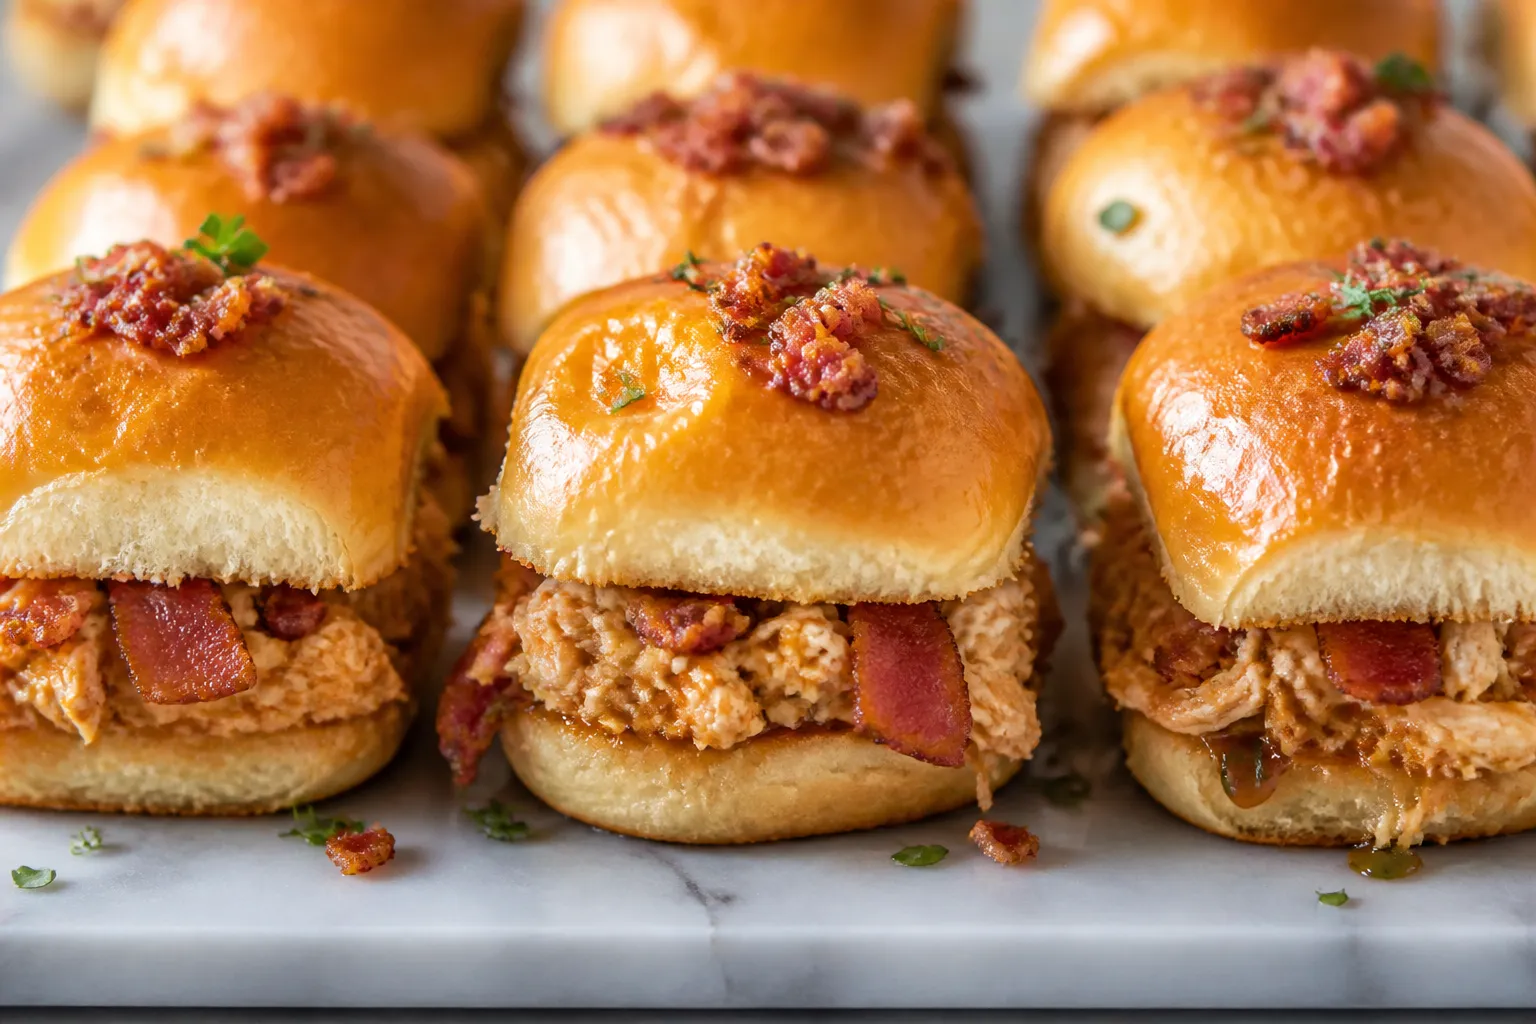
These Maple Chicken and Bacon Sliders deliver a crowd-pleasing mix of sweet, savory, and creamy without any fuss. With pre-cooked ingredients and a quick homemade sauce, you’ll have a tray of sliders ready in minutes.
Keep the components on hand, and you can whip up an easy meal or party bite anytime. Customize the toppings, keep the sauce balanced, and enjoy every sticky-sweet, smoky bite.
Ingredients
Method
- Make the maple sauce: In a small bowl, whisk together mayonnaise, Dijon mustard, maple syrup, apple cider vinegar, smoked paprika, garlic powder, a pinch of salt, and a few grinds of black pepper. Taste and adjust. You want a sweet-salty-tangy balance.
- Prep the chicken: Shred or slice the cooked chicken into bite-size pieces. Toss it with 2–3 tablespoons of the maple sauce to lightly coat. This keeps the chicken moist and flavorful without being drippy.
- Get the buns ready: Slice the slider buns if they aren’t pre-split. If you like, spread a very thin layer of maple sauce on the cut sides for extra flavor.
- Layer the greens: Add lettuce or spinach to the bottom halves. This creates a slight barrier so the buns don’t get soggy.
- Add the chicken: Spoon the sauced chicken evenly across the buns. Press lightly to help it settle.
- Top with bacon: Place pieces of fully cooked bacon over the chicken. Aim for a little bacon in every bite.
- Cheese time (optional): Add slices of cheese if you like a creamy, melty texture. Even cold, it adds a nice layer.
- Crunch factor (optional): Scatter a small handful of dry coleslaw mix over the top for fresh crunch without dressing.
- Final drizzle: Add a light zigzag of maple sauce over the fillings. Don’t drown it—just enough to kiss everything with flavor.
- Cap and serve: Place the top buns on and press gently. Serve immediately, or cover and chill for up to an hour if you need to hold them for an event.
Printable Recipe Card
Want just the essential recipe details without scrolling through the article? Get our printable recipe card with just the ingredients and instructions.