Almond Flour – A Simple, Flavorful Baking Staple
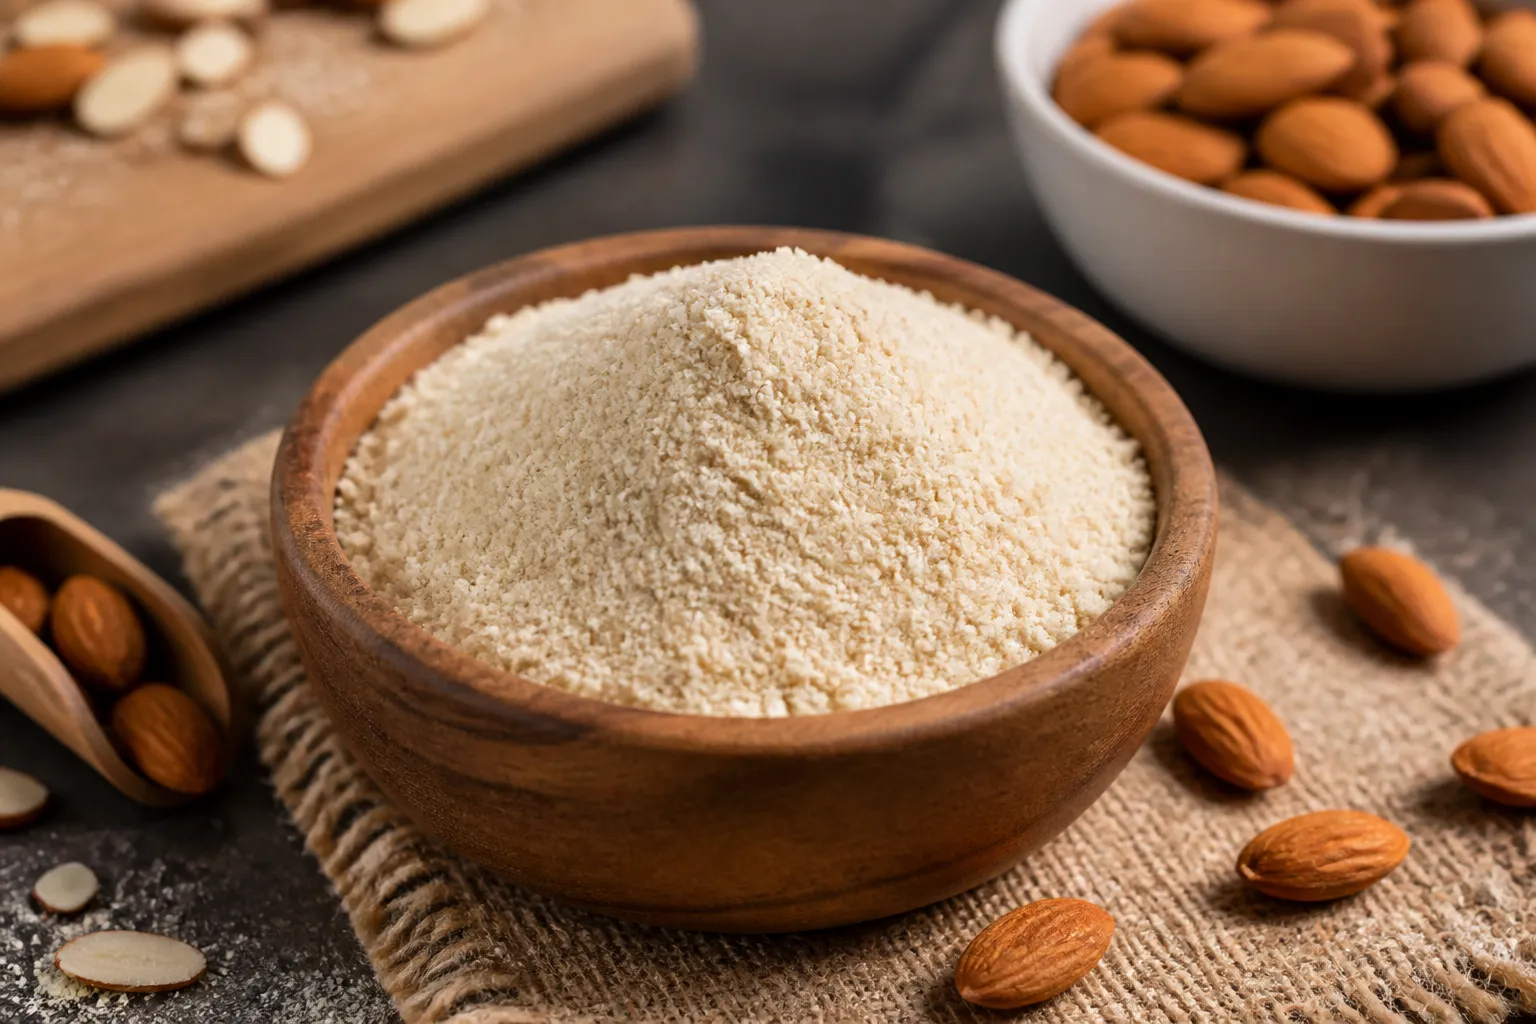
Almond flour brings a rich, slightly sweet flavor to baked goods and savory dishes alike. If you’re looking for a gluten-free option that still feels indulgent, this is a reliable choice. It’s made from finely ground blanched almonds and behaves a lot like regular flour, but with a softer, nuttier texture.
Whether you’re making cookies, pancakes, or a crispy coating for chicken, almond flour delivers great results with minimal fuss. Let’s walk through how to make it at home, how to use it, and how to get the most flavor and freshness out of every batch.
What Makes This Recipe So Good
- Freshness and flavor: Homemade almond flour tastes brighter and more nutty than store-bought, and you can control the grind.
- Fewer ingredients: It’s literally just almonds. No fillers, no weird additives.
- Naturally gluten-free and grain-free: Ideal for many dietary needs without sacrificing taste or texture.
- Versatile: Works in baked goods, as a breading, or as a thickener in sauces and soups.
- Quick to make: With a blender or food processor, it comes together in minutes.
Ingredients
- Blanched almonds (skins removed), raw and unsalted
- Optional: A pinch of fine sea salt for savory recipes
Step-by-Step Instructions

- Choose your almonds: For classic almond flour, use blanched almonds.
Skins add color and fiber but create almond meal, which is coarser.
- Dry the almonds: Make sure they’re completely dry. Any moisture causes clumping and can lead to a paste.
- Pulse, don’t blend continuously: Add almonds to a high-speed blender or food processor. Pulse in short bursts, stopping to scrape down the sides as needed.
- Watch the texture: Aim for a fine, sandy consistency.
If you go too long, the oils release and you’ll get almond butter.
- Sift for uniformity: Pass the flour through a fine-mesh sieve. Return larger pieces to the blender and pulse again.
- Weigh for accuracy: If a recipe is precise, measure by weight. Almond flour is lighter than wheat flour, and scooping can compact it.
- Store properly: Transfer to an airtight container.
Keep it cool and out of sunlight to maintain flavor and freshness.
Keeping It Fresh
Almond flour has natural oils that can turn rancid if stored poorly. Keep it in an airtight container in a cool, dark cupboard for up to one month. For longer storage, refrigerate for up to three months or freeze for up to six months.
Pro tip: Label the container with the date.
Always let chilled or frozen flour come to room temperature before baking so it doesn’t clump and affect texture.
Health Benefits
- Low in carbs, higher in protein: Supports balanced energy and can help with appetite control.
- Naturally gluten-free: A good option for people with celiac disease or gluten sensitivity.
- Rich in healthy fats: Contains monounsaturated fats that support heart health when part of a balanced diet.
- Vitamin E and minerals: Provides vitamin E, magnesium, and potassium for overall wellness.
- Fiber content: Helps with digestion and adds a satisfying texture to baked goods.
Common Mistakes to Avoid
- Overprocessing: Blending too long turns flour into almond butter. Use short pulses and stop as soon as it looks fine and sandy.
- Using wet or warm almonds: Moisture encourages clumping. Start with dry, room-temperature almonds.
- Skipping the sift: Large bits of almond can weigh down cakes and cookies.
Sifting keeps bakes light and even.
- One-to-one swaps with wheat flour: Almond flour doesn’t behave like all-purpose flour. It needs adjustments to liquids, binders, and leavening.
- Storing at room temp too long: Heat and light speed up rancidity. Refrigerate or freeze if you won’t use it quickly.
Recipe Variations
- Almond Meal: Use whole raw almonds with the skins on for a coarser, heartier texture—great for coatings and rustic bakes.
- Toasted Almond Flour: Lightly toast blanched almonds in a 325°F (160°C) oven for 6–8 minutes, cool completely, then grind.
This adds deeper flavor to cookies and crusts.
- Vanilla-Scented: Grind a small piece of dried vanilla bean with the almonds for fragrant desserts.
- Citrus Zest Blend: Pulse in a little dried lemon or orange zest for a bright, bakery-style aroma in muffins and shortbread.
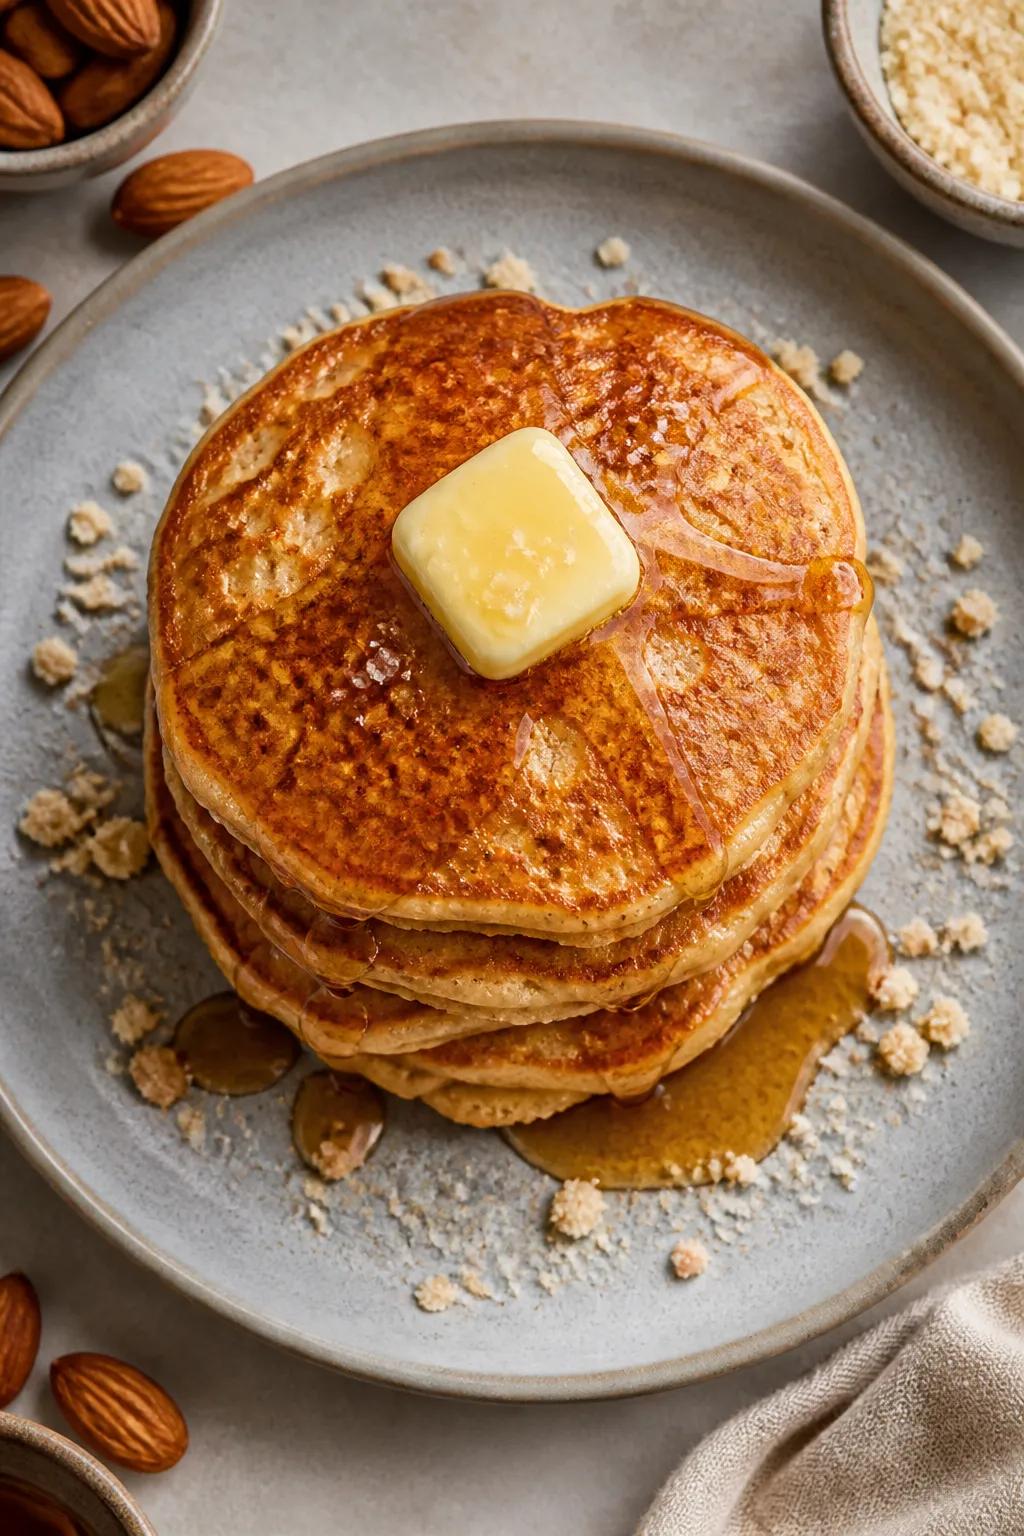
- Sweet-Savory Mix: Add a pinch of sea salt and a whisper of cinnamon for pancakes or crisps.
FAQ
Can I substitute almond flour 1:1 for all-purpose flour?
Not usually. Almond flour lacks gluten, so it behaves differently. For quick breads and cookies, start by replacing 25–50% of the wheat flour and adjust liquids slightly.
For fully gluten-free recipes, look for formulas designed for almond flour or add binders like eggs or a small amount of xanthan gum.
What’s the difference between almond flour and almond meal?
Almond flour is made from blanched almonds without skins and has a finer texture. Almond meal uses whole almonds with skins and is coarser. Flour is better for delicate, cake-like bakes; meal suits crusts, crumbles, and breading.
How do I prevent my batter from being too wet?
Almond flour is higher in fat and doesn’t absorb liquid like wheat flour.
Reduce added fats (like butter or oil) slightly, and consider adding an extra egg or a tablespoon of coconut flour to help bind and absorb moisture.
Why do my almond flour cookies spread too much?
Excess fat or warm dough can cause spreading. Chill the dough for 30–60 minutes before baking, and consider adding a tablespoon or two of tapioca or arrowroot starch for structure.
Can I make almond flour with a regular blender?
Yes, if it’s powerful enough. Work in small batches and use quick pulses.
Stop immediately once it looks fine, and sift to remove larger bits.
Is almond flour safe for people with nut allergies?
No. Almonds are tree nuts, and almond flour is not safe for those with tree nut allergies. Consider alternatives like oat flour, sunflower seed flour, or certified gluten-free blends instead.
Does almond flour go bad?
It can.
Because of its natural oils, it turns rancid over time. If it smells sharp or bitter instead of sweet and nutty, it’s past its prime. Store it cold for best longevity.
In Conclusion
Almond flour is a simple, flavorful staple that brings tenderness and rich taste to both sweet and savory recipes.
With the right technique—short pulses, a good sift, and proper storage—you’ll get consistent results every time. Keep a batch on hand for cookies, pancakes, breading, or grain-free treats. Once you start using it, you’ll find it’s one of the easiest upgrades you can make in your kitchen.
Ingredients
Method
- Choose your almonds: For classic almond flour, use blanched almonds. Skins add color and fiber but create almond meal, which is coarser.
- Dry the almonds: Make sure they’re completely dry. Any moisture causes clumping and can lead to a paste.
- Pulse, don’t blend continuously: Add almonds to a high-speed blender or food processor. Pulse in short bursts, stopping to scrape down the sides as needed.
- Watch the texture: Aim for a fine, sandy consistency. If you go too long, the oils release and you’ll get almond butter.
- Sift for uniformity: Pass the flour through a fine-mesh sieve. Return larger pieces to the blender and pulse again.
- Weigh for accuracy: If a recipe is precise, measure by weight. Almond flour is lighter than wheat flour, and scooping can compact it.
- Store properly: Transfer to an airtight container. Keep it cool and out of sunlight to maintain flavor and freshness.
Printable Recipe Card
Want just the essential recipe details without scrolling through the article? Get our printable recipe card with just the ingredients and instructions.